Check out these Toilet Paper Tube Ideas shared by the ThriftyFun community!
For napkins holders, you may as well use contact paper and tape inside of roll. Hot glue a flower, beads, or any type of picture for the theme on the top.
A great way to recycle toilet paper tubes is to use them as containers to start vegetable and flower seeds for garden plants. This is a page about toilet paper tube seedling pots.
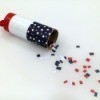
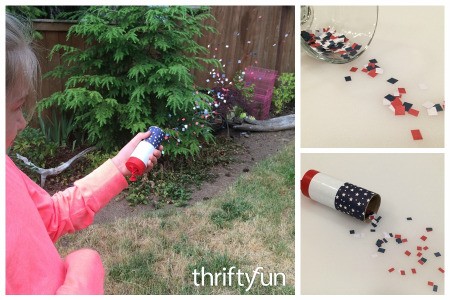
This is a page about making a toilet paper tube confetti launcher. With minimal supplies you and the kids can make this fun confetti launcher.
Toilet paper tube blowers are fun toys for kids to make and play with. This one has a rainbow theme and color scheme.
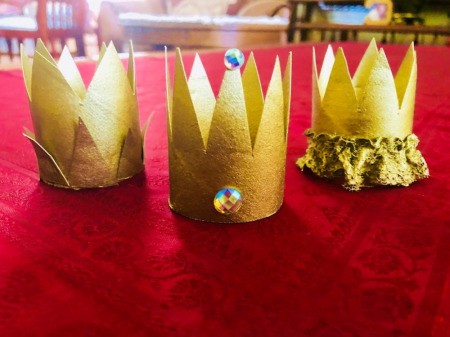
Whether you wear one on your head or use them as gift toppers you will have fun making these cute cardboard tube crowns. A bit of gold spray paint and a gem and you are off to the ball.
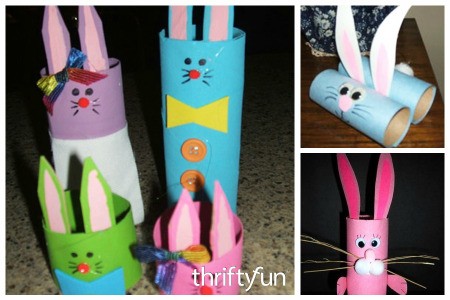
Have your children make cute decorative cardboard bunnies for Easter starting with toilet paper tubes. This is a page about making recycled cardboard tube bunnies.
This is a page about toilet paper tube bats. Recycled toilet paper tubes work well to make these decorative bats.

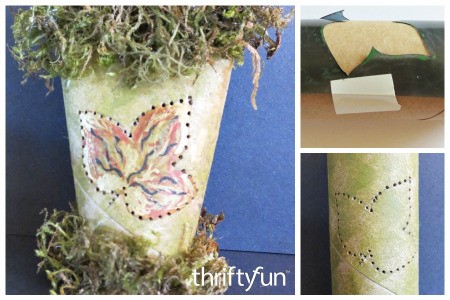
This is a page about making a toilet paper roll fall lantern. A thrifty craft to create autumn themed lights that can decorate your home.
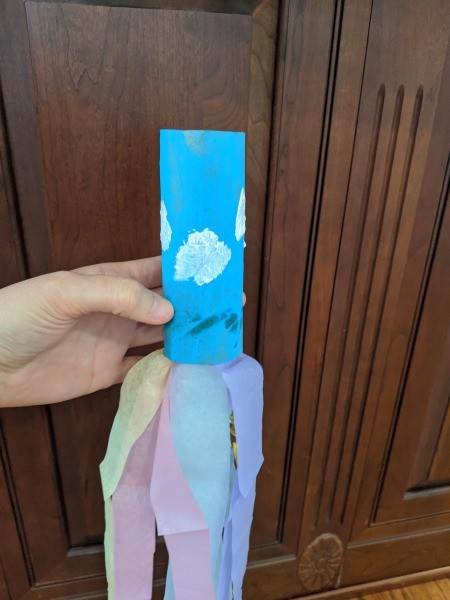
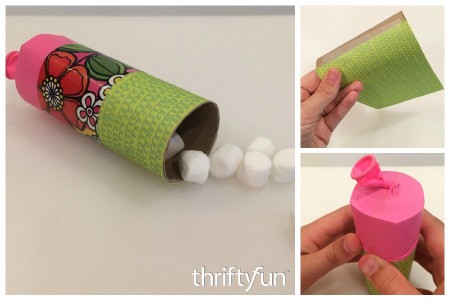
This is a page about making a paper tube marshmallow launcher. Have fun making and playing with this little launcher. It would make a great party craft or favor.
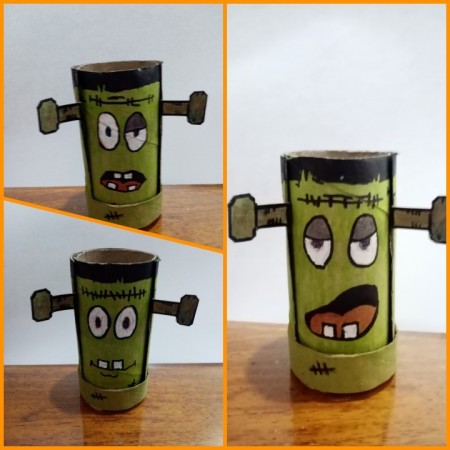
Make is fun craft with your children, quickly and inexpensively. This is a page about making a toilet paper tube dragon.

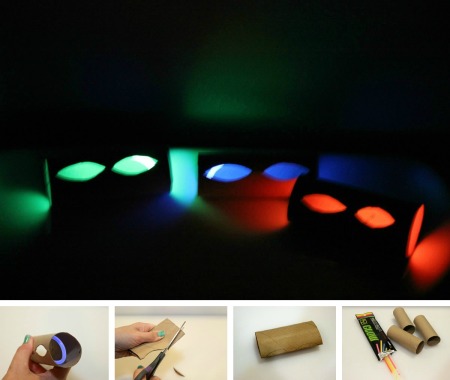
This is a page about spooky toilet paper tube eyes. Toilet paper tubes are great for making easy craft projects, including Halloween decorations.
I got the idea from my eldest son. I found him playing with a tissue paper roll as if he was telling a story with 3 characters and changing his voice as he switched the tp roll.
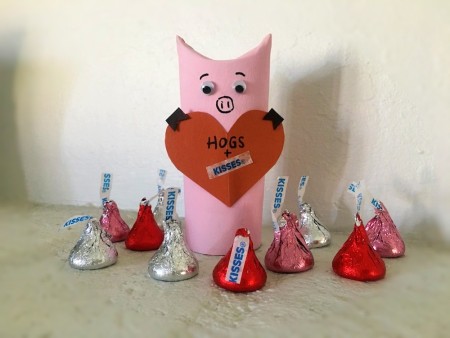
This Valentine's Day craft is based on a play on words. This sweet little TP pig makes the perfect container for some candy treats for you Valentine.
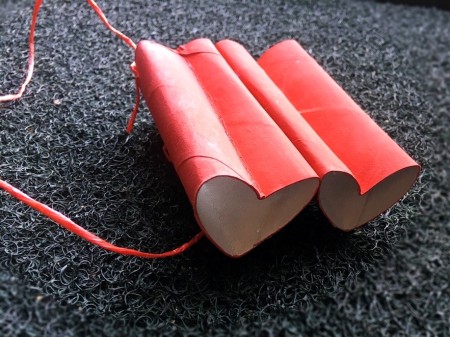
Paint and recontour TP tubes to make these fun heart shaped toy binoculars. We can show you how.
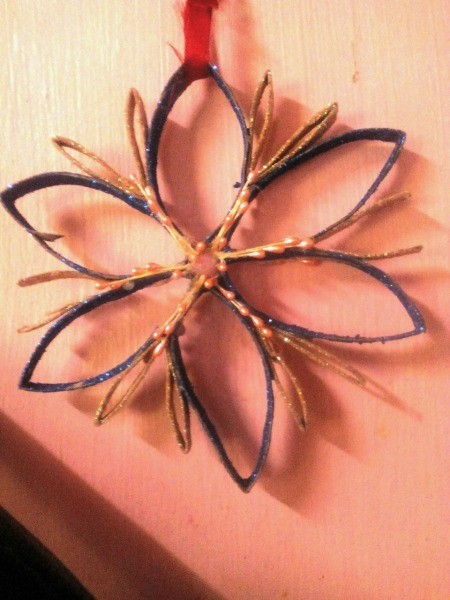
Glitter covered toilet paper roll sections can be glued together to make pretty holiday ornaments. You can add additional embellishments too. Use the instructions below to create your own.
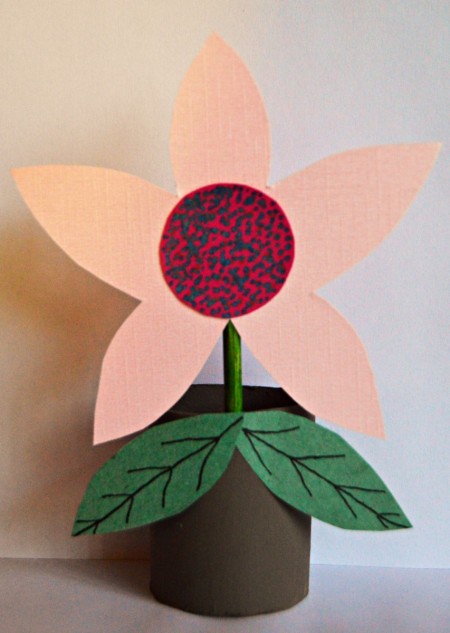
Get with your kids or students and make these cute TP roll potted flowers. The instructions, supplies list, and helpful photos can be found below.
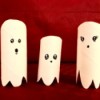
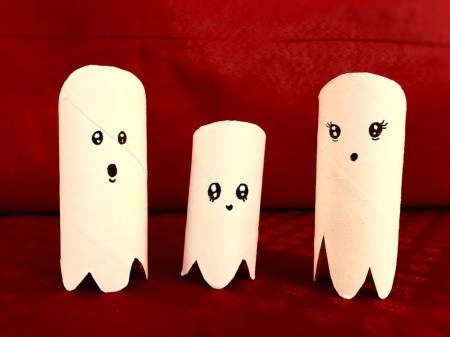
Toilet paper tubes come in handy for so many craft projects. This page offers instructions for making cardboard tube ghosts.
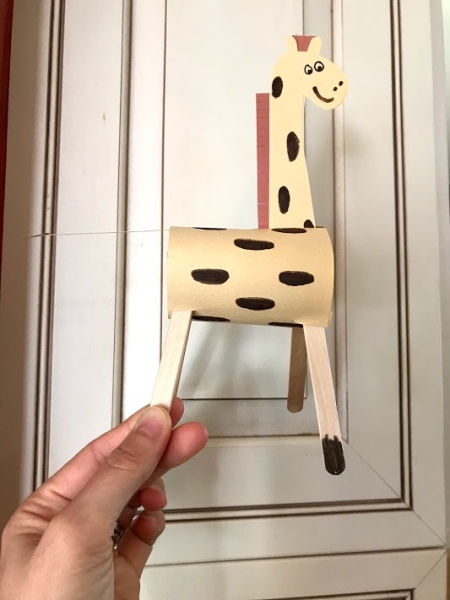
Cardboard tubes from paper towels, gift wrap or toilet paper can be useful for all sorts of craft purposes. This one is a tall giraffe toy for a toddler or preschooler.
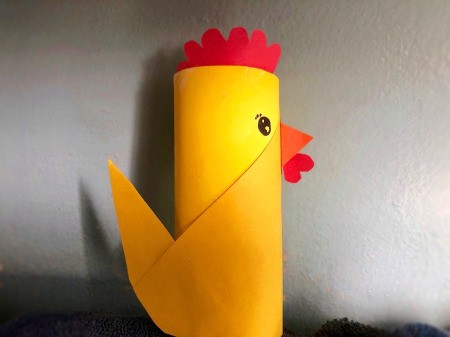
A painted TP tube, some craft paper, scissors, glue, and a black marker are all that you need for this cute, fun to make chick. This page contains instructions and photos to help you in making a toilet paper tube chicken.
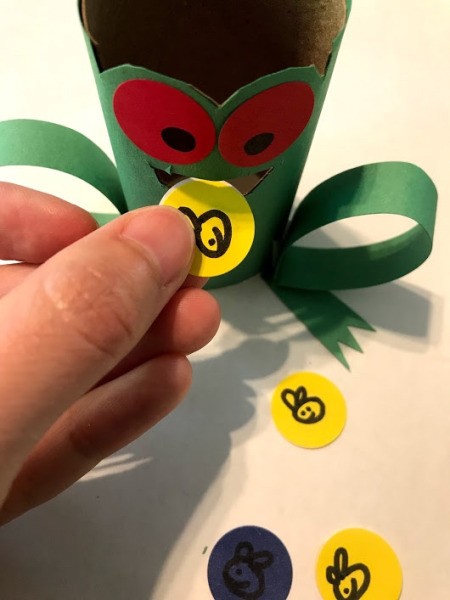
Paper tubes can be used to make lots of children's crafts. This is a page about making a pet frog from a toilet paper tube.
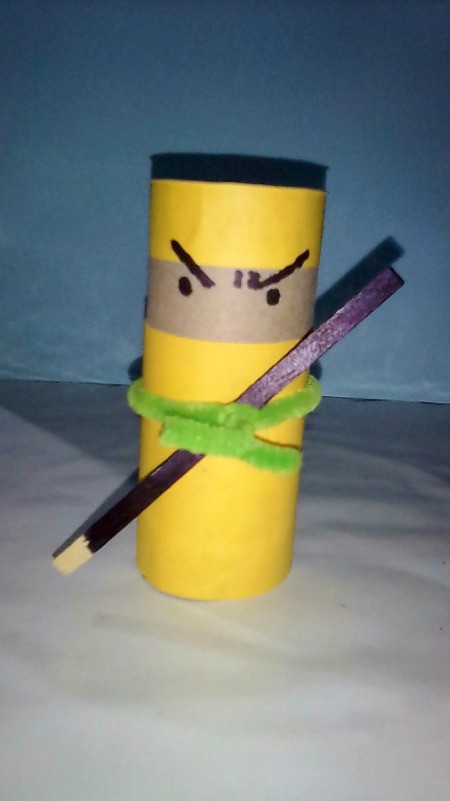
This cute recycled craft is fun to make and your younger kids will love helping to make and then playing with as many of these as you choose to create. This page contains photos and instructions for how to make a toilet paper roll ninja.
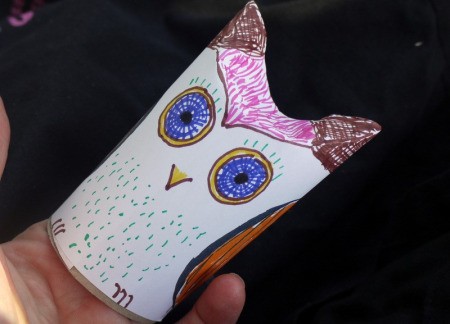
The toilet paper tube is a popular crafting supply. Here you can learn to make a cute owl Valentine. This is a page about how to make a toilet paper tube owl Valentine.
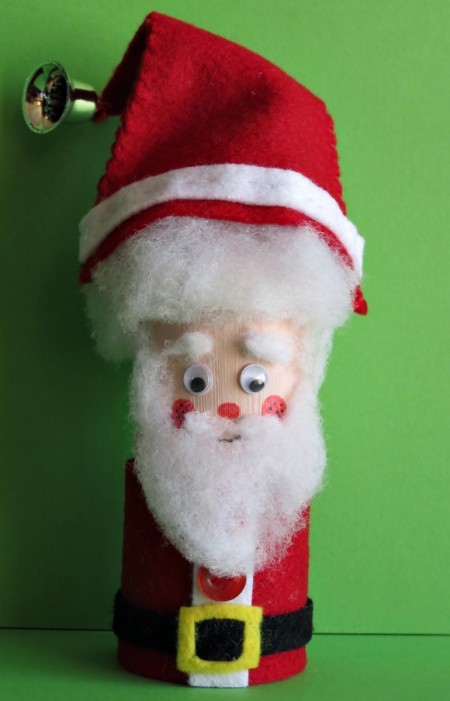
This is a page about making a toilet roll Father Christmas. Here is another fun project that uses empty toilet paper tubes.
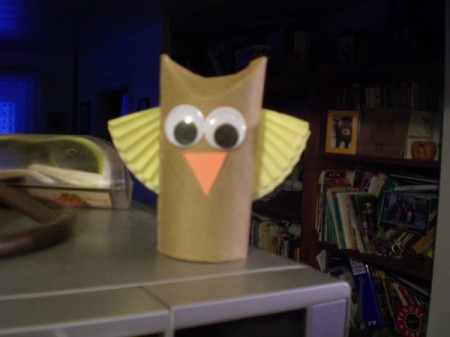
This is a page about making a recycled toilet paper tube owl. An easy, fun craft for kids uses an empty toilet paper tube, paper, glue and markers to create a cute owl.
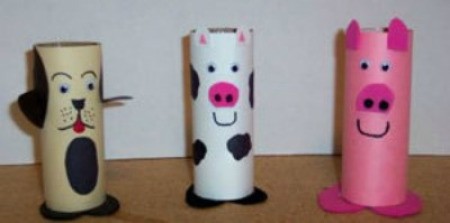
This is a page about recycled barnyard animals. A fun, kid friendly craft to make with construction paper and empty toilet paper tubes are barnyard animals.
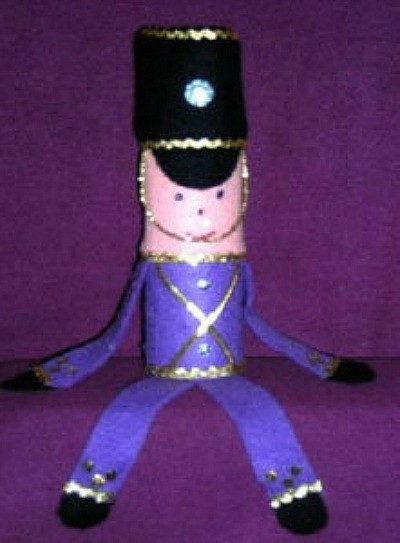
This is a page about toilet paper tube wooden soldier. It is almost hard to believe that this cute little wooden soldier decoration began with a recycled toilet paper tube.