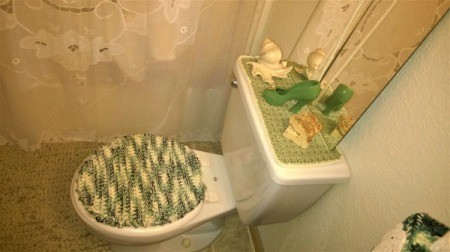
This is the final step of my bath redo. I made some pretties and today it's all done. You won't believe what it all cost! The final product is so much calmer, almost serene. I love it and am happy to share it with you.
Total Time: about 4 hours
Yield: 1 Bathroom
Supplies:
- size J hook
- tissue box
- green recycled liquor bottle
- 6 ft faux pearls and broken brooch
- 3 mini doilies
- hot glue
- darning needle
- scissors
Steps:
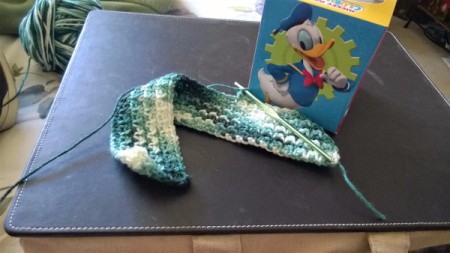
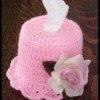
- For the tissue box cover: With a single strand of your choice of yarn, chain enough to go around the box slightly taut. You want to stretch it but not too much.
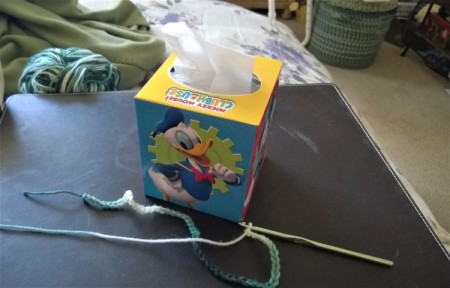
- When you are satisfied with the chain, make sure it doesn't twist, and join. You now have a circle. I used a linen stitch which is single crochet in 1, chain 1, skip 1 and another single in the next. You can use a solid stitch (one stitch in one chain), but I love this one. If you want to do the linen stitch, your chain must be an even number. Before you start, make sure the circle goes over the box. See below as to why.
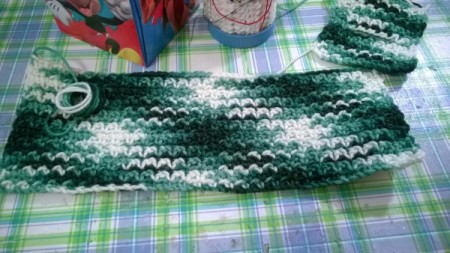
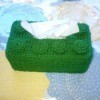
- NOTE: You see that I didn't do it like I instructed you to do. That's because my work was about 4" too short. I had to do a "patch" on the side to save all my work. I don't want you to make that mistake.
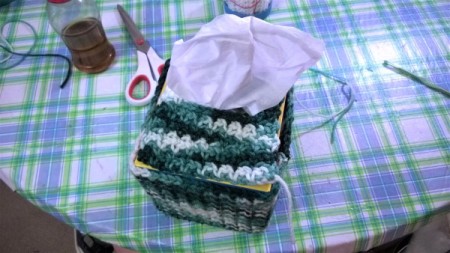
- When you start the top, make sure your chain is an even number. Then keep going back and forth till you hit the center of the top. For the next row, crochet enough for the sides and make a chain in the center then the sides again. You have now made the slit for the tissues. Continue on the rest of the way and leave a long tail for sewing.

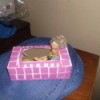
- Hot glue the 3 doilies on the sides. I only had 3 that were cream and no ones sees the back anyway. If you have more, good.
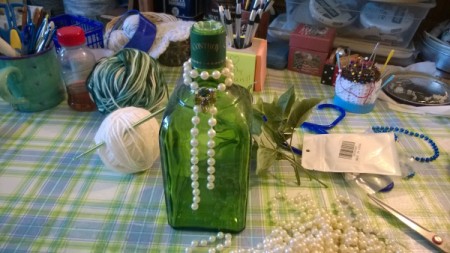
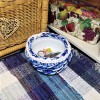
- For the green vase, I simply wrapped some faux pearls around the neck and hot glued them where two pieces of thread met. Then I glued a piece of broken brooch that was green.
- The toilet seat cover was bought at a thrift store so I can't take credit for it. I sure do love it though. It's almost the same shades as my other cover so who would have thought I would get that lucky!
- So, with the things I painted, created and just plain repurposed, the bathroom renovation came to 6.90. This is the most fun I have had in a long time, making something for my home from 'something from my home'. I hope you have enjoyed the journey. N-JOY!!
Add your voice! Click below to comment. ThriftyFun is powered by your wisdom!