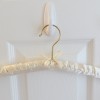
By taking second hand quilted hangers, you can embellish them to give or keep.
Approximate Time: 30-60 minutes
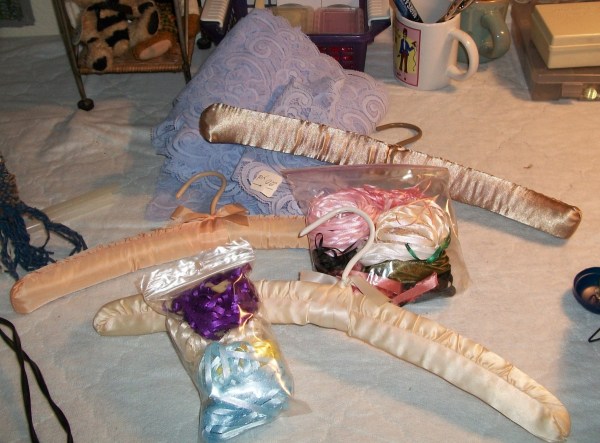
Supplies:
- quilted hangers
- lace in strips or wide to cut
- ripped rags for a country look is also cool
- low temp glue gun
- ribbon
- buttons
- flowers
- scissors for fabric
- tongue depressor or something to hold down the hot glue
- wire cutters or strong scissors for wire
Instructions:
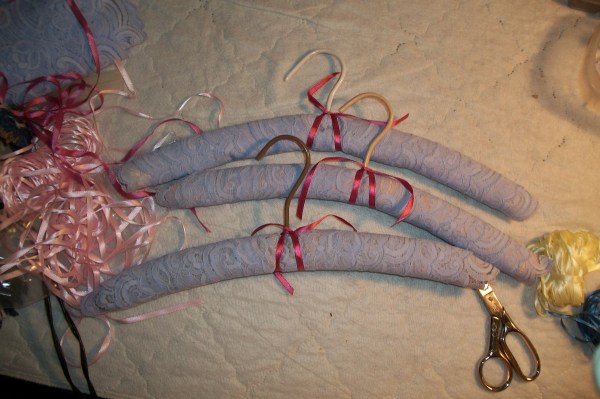
I recently made these for a friend's birthday who owns Big Gals shop in Salem, Oregon (shameless plug, I know). Her shop is decorated in lavenders and pinks.
- Simply lay out the hanger on a flat surface and plug in the glue gun.
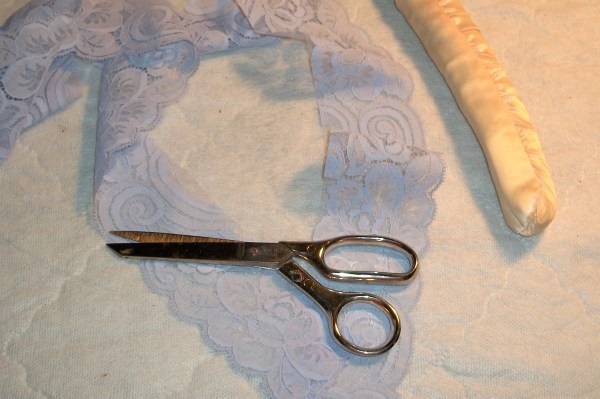
- If your lace is wide, it will no doubt have an edge or bottom.
Mine was scalloped and I was lucky enough to have it on both top and bottom, so I wanted that to overlay itself and show. I cut the lace in half.
- Measure about 3 feet and then cut in half. This will do one hanger. If your lace is narrower, you will no doubt need 6 feet.
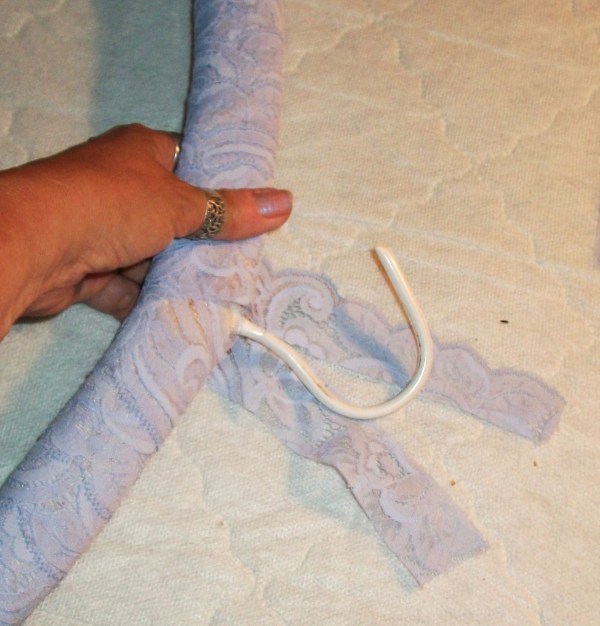
- I began at the end and spot glued it in the back, then wrapped it around to the hanger part in the middle.
You may have a bit left over, but you can trim that on the first half.
Do the second half and with the "bit left over" (if it's wide), cut that up the middle and wrap it around again on each side, gluing in the back.
Note: If something happens and you have to glue it in the front, don't worry. Your flowers and such will cover it up.
- Once the lace is done, go to the ends and spot glue the little "beginning" to the end of the hanger.
This will make it look neat and prevent snagging.

- With your flower choice, grab half of the little stems and carefully pry them up about halfway through the floral tape that holds them together.
- Place them on the base of the hanger, and wrap them around the wire hook so that each half "crosses" itself in the back, and glue into place.
Once it's set, with a wire cutter or strong scissors, cut the excess off.
- With one color of ribbon, cut about 8 inches and measure it in half, then wrap it around the back, bring it to the front, cross it, then bring it from the back to the base of the wire hook. Trim any excess and glue it to the back to cover up the stem ends. It's not easy to describe this part, so practice before you glue.
- With your ribbon, which can be two colors if you like the look of mine, or one if you prefer, wrap around the back to the front and make a pretty bow and then hot glue the button to the tie and that secures both.
Voila!
Options:
- You can use ripped strips for a country look.
- You can hang a small piece of soap or potpourri in a piece of tulle on the back for a nice sachet.
- This makes a pretty wall hanging, which is what she is going to do with them, but for delicate "intimate" ware, it can be used for a hanger.
It is far too fragile however to use for every day ware.
- I hope this gives you some ideas for the holidays. I paid .50 each for the hangers, and had all the rest here. If you had to buy everything, you might spend $2.50-3.00 for each, but mine was about .75 each.
You can't beat that especially if you are shipping. These are light as a feather!
N-JOY!
By Sandi/Poor But Proud from Salem, OR