Becky Miles
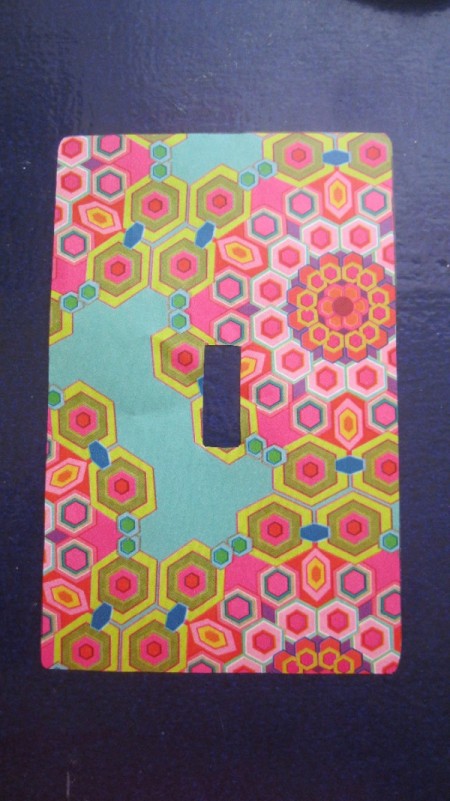
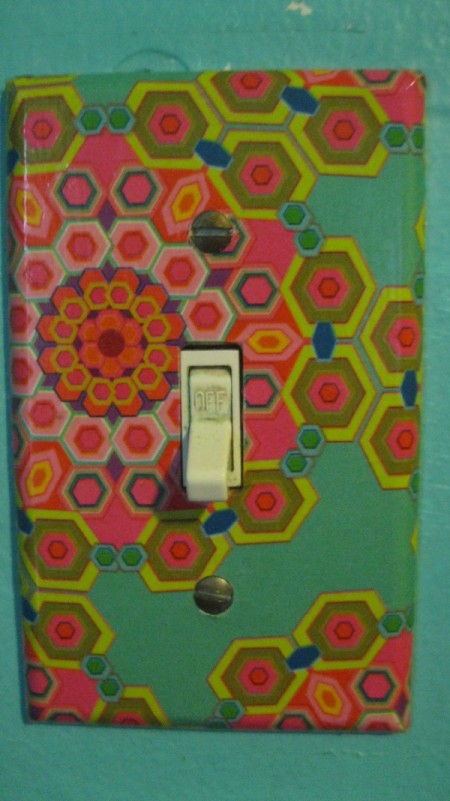
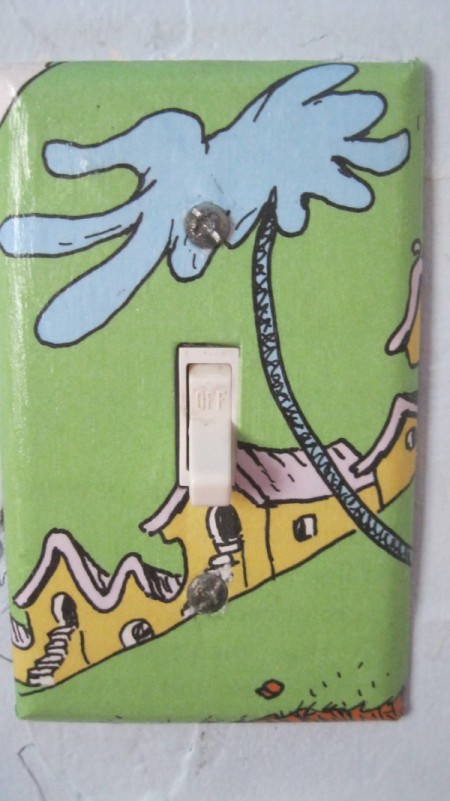
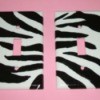
Bronze Feedback Medal for All Time! 158 Feedbacks 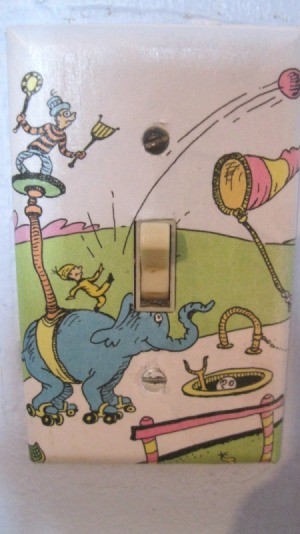 Recently on pinterest, I saw the most darling switch plate cover, covered in glitter. I thought, "Hmm. My switch plates aren't looking so great they could use some help". So, I pulled out my favorite wrapping paper and went to town with the modge podge. In my kid's room, I used a copy of a Dr. Seuss book and covered the plates with those. It was a simple and quick way to jazz things up a bit.
Total Time: About half an hour, plus drying time.
Supplies:
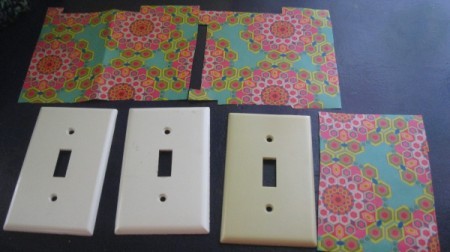
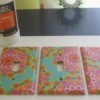
- wrapping paper, copies of book pages, scrapbook paper, comics, etc.
- 1 light switch plate
- 1 paintbrush
- Modge Podge (I made my own by mixing equal parts of white glue and water)
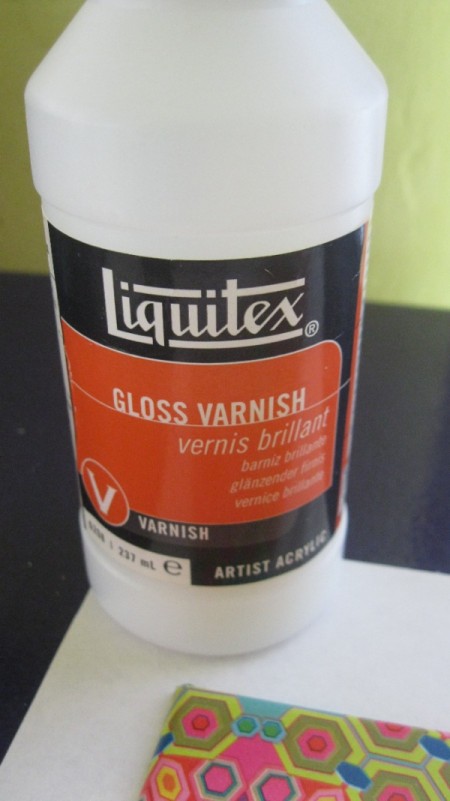
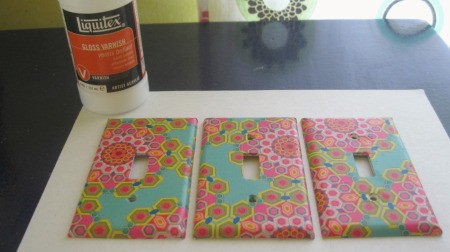
- I used Liquitex gloss varnish to seal these plates - you could also use modge podge or a spray sealant.
- fine grit sandpaper
Steps:
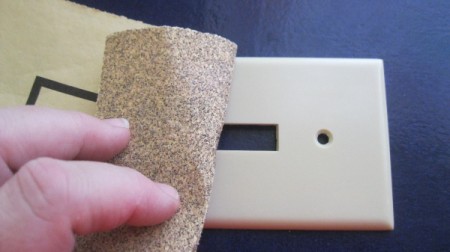
- Sand switch plates lightly. Wipe off the dust.

- Place the plate on your paper. Trace 2 of the sides. Then move the plate over and up, about 1/4 inch on each side to cover the sloping part on the edges. Trace those other 2 sides. Cut out your shape.
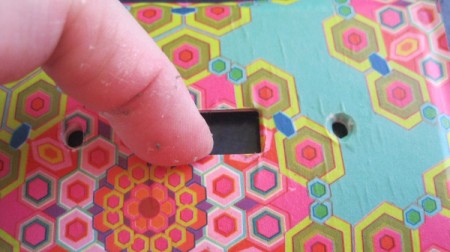
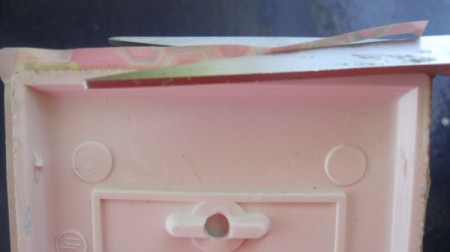
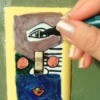
- Flip paper and plate over. Center the plate over the paper. Trace the opening where the light switch goes. Cut it out carefully.
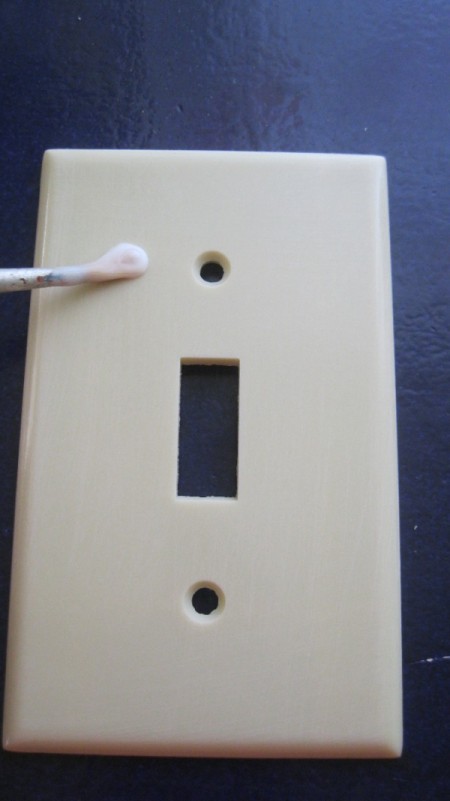
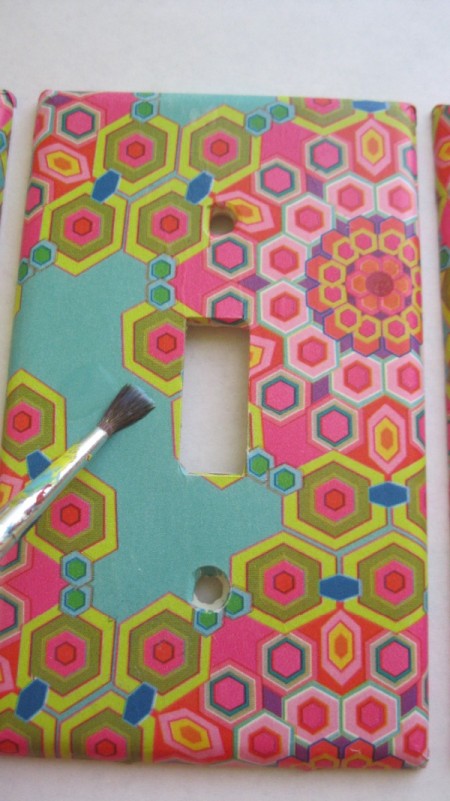
- Apply modge podge or glue to top of the switch plate. You want enough so that it won't dry out by the time you are done. But, you don't want it too gloopy, either. Make sure to apply glue in that center space and the screw holes.
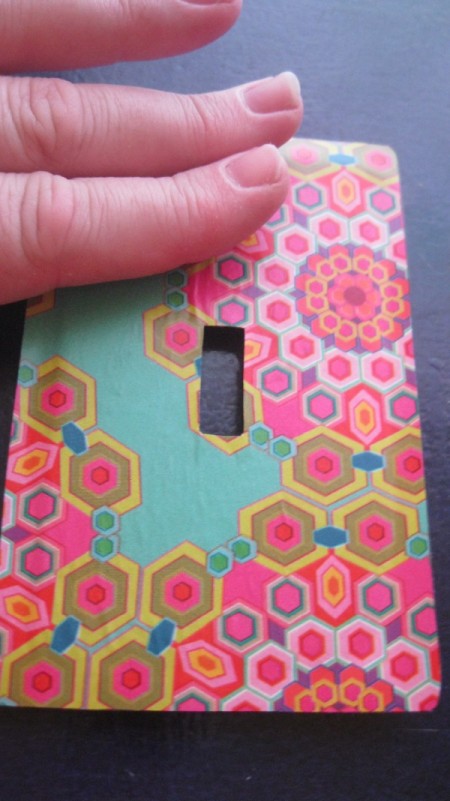
- Center paper over the plate, checking underneath where the center is cut out. Smooth over switch plate. Remove as many air bubbles as you can. Smooth the paper over the center opening, applying more glue if needed to make it lay flat.
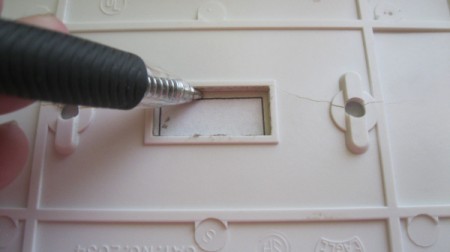
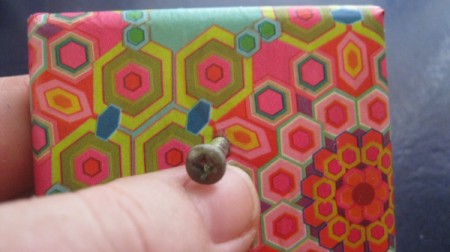
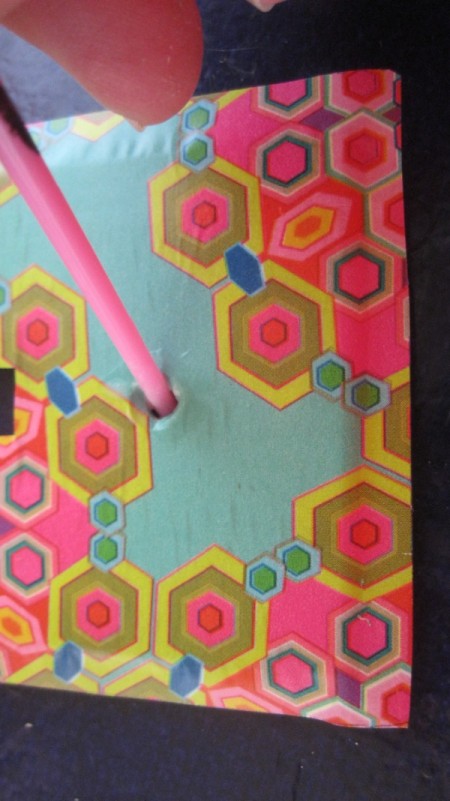
- Put screw into the hole and punch through lightly. Remove excess paper. Use your paintbrush tip to flatten the paper and smooth it out in the holes.
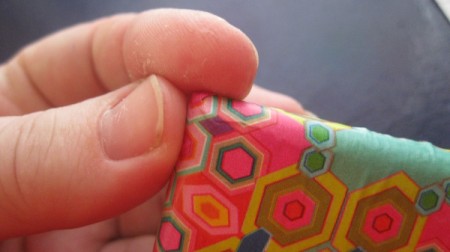
- Now, work on the edges of your plate. Apply more glue, if needed. Press smooth. Pinch the corners. Apply more glue to lay them flat.
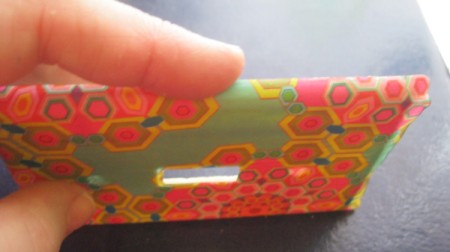
- Trim any excess paper around the plate and corners.
- Let dry.
- Apply varnish, spray sealant, or Modge Podge. Let dry in between coats. Follow the instructions on the bottle.
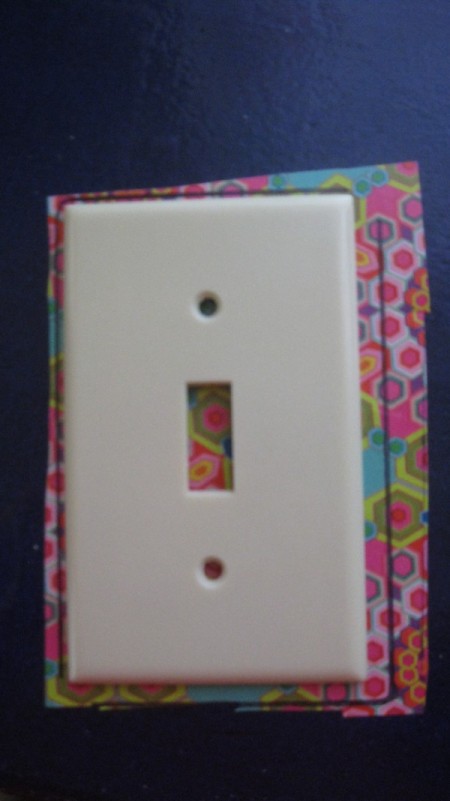
- Once dry, screw plate back into the wall.
Add your voice! Click below to comment. ThriftyFun is powered by your wisdom!
melissa
Silver Post Medal for All Time! 293 Posts February 3, 20150 found this helpful
These are awesome! I will be doing this to mine, asap.
March 12, 20150 found this helpful
Wonderful post-- I am going to cover my plate in the matching wall paper! Thanks so much!
Add your voice! Click below to comment. ThriftyFun is powered by your wisdom!