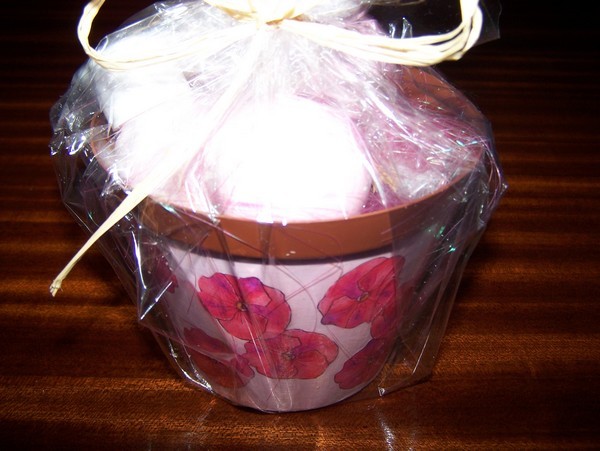
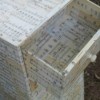
One of my pot plants recently withered and died, but the plastic flower pot was still in a very good condition. I decided to recycle this pot, by using decoupage techniques. I wanted to turn this pot into a gift container. Packing small bath treats into the finished pot made something exceptional from something that otherwise would have ended up in the rubbish bin.
Approximate Time: 1 hour 30 minutes
Advertisement
Supplies:
a 4.7 inch plastic flower pot
a 10/32 inch paint brush
white water-based primer
Paper Seal
Deco Art Glue
Modge Podge
water-based varnish
soft pink acrylic paint
hairdryer
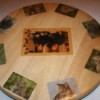
pictures of pink pansies
a pair of standard scissors
a few sheets of old newspapers to protect the working area
an old cloth
For the Gift:
20 x 40 inch transparent cellophane gift wrap
pink sparkle shreds
a handmade rose-flavoured glycerine soap
2 pink fizz balls
3 pink bath pearls
three small flower-shaped glycerine soaps
a few strands of raffia
Instructions:
Wash the pot in warm soapy water and dry it thoroughly with an old cloth.
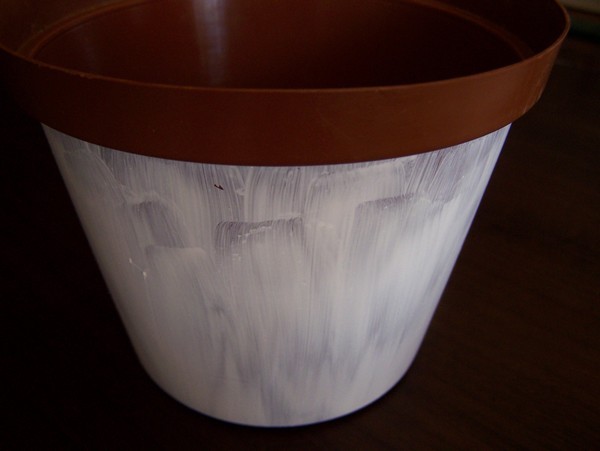
With a slightly wet 10/32 inch brush, paint a thin layer of the white water-based primer over the outside of the pot. Do not paint the bottom of the pot, and paint the sides of the pot up to where the top rim starts to protrude. Dry it thoroughly with a hairdryer - be careful not to use the highest heat setting on the hairdryer, as the pot might become too hot to handle.
Advertisement
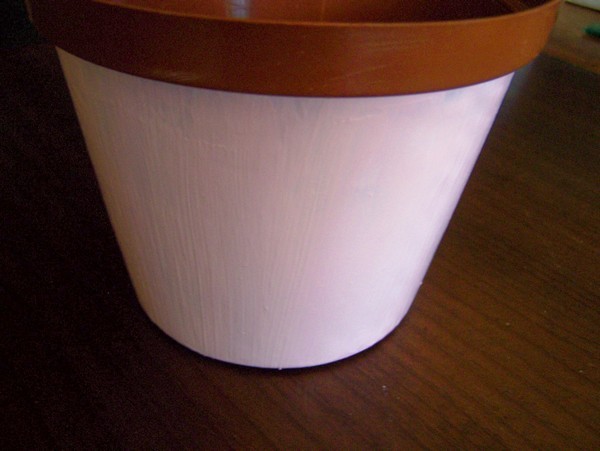
Next, using the same paint brush, add a thin layer of soft pink-colored acrylic paint over the water-based primer. Dry it thoroughly with a hairdryer.
Add a second coat of soft pink-colored acrylic paint and again, dry it thoroughly with a hairdryer.
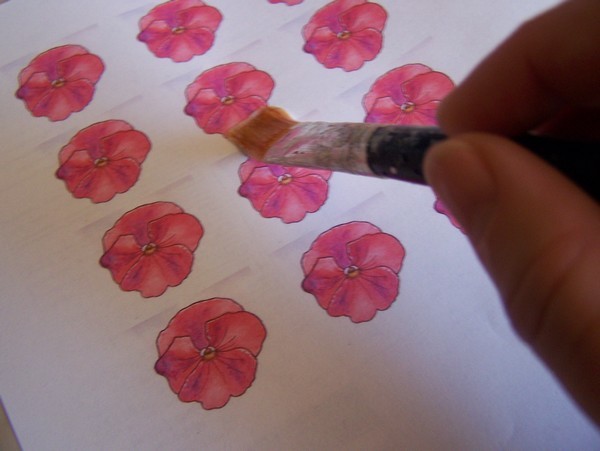
If you need photos of pink pansies, drag this photo to you desktop and print. It may be necessary to resize the pictures of the pansies and then print them, I used 20 pansies for the pot.
With the 10/32 inch brush, paint a thin layer of Paper Seal over the printout of the pansies. The Paper Seal will protect the ink from running and will make it easier to cut out the pictures without tearing them.
Advertisement
Dry the printout with pansies thoroughly with a hairdryer.
Cut out the pansies and decide how they will be placed on the pot.
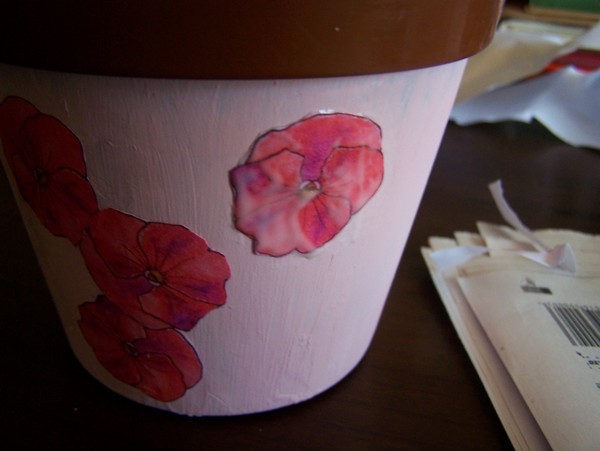
With the 10/32 inch brush, paint a substantial amount of Deco Art Glue to the back of the first pansy. Turn the pansy around and put it in position on the pot, but do not press it down.
With the brush, spread glue to the front of the pansy, lightly applying pressure so that it will stick to the pot.
Working from the middle of the pansy, and from inside towards the outside, rub out all the air bubbles and excess glue from the back of the pansy. Use an old cloth to clear any excess glue from the pot.
Advertisement
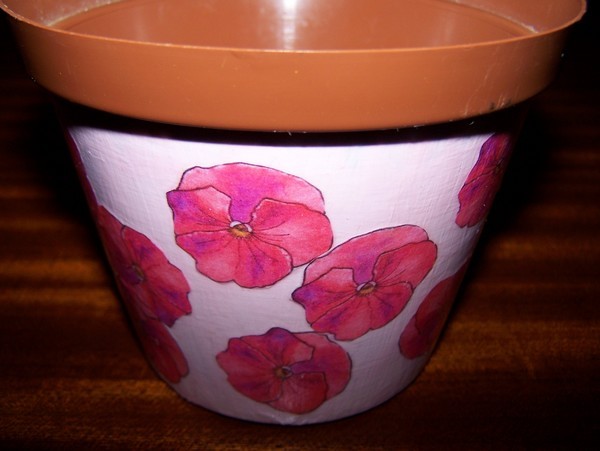
Repeat steps 9-11 with the other pansies. The pansies should "bloom" all around the pot.
Use the hairdryer to dry all the pansies thoroughly.
With the 10/32 inch brush, paint a thin layer of Modge Podge over the painted part of the pot. The Modge Podge will protect the pictures and give the product a smoother finish.
Dry the pot thoroughly with a hairdryer.
Repeat steps 13-14. You need to apply at least 6 coats of Modge Podge, but remember that with every layer, the direction in which the Modge Podge is applied, must be changed from horizontal to vertical to horizontal, etc. Also, remember that after every layer of Modge Podge, the pot must first be dried thoroughly with the hairdryer.
Advertisement
With the 10/32 inch brush, add a layer of water-based varnish to the painted part of the pot. Again, dry it thoroughly with a hairdryer.
To assemble the gift:
Put the sparkle shreds in the bottom of the pot. Pack the bath treats in the pot and wrap it with the cellophane. Tie the raffia around the top of the cellophane and make a bow to end it off.