KIM HOGGAN
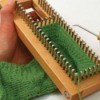
Bronze Post Medal for All Time! 114 Posts  Here is a way to knit a headband using your fingers. It is actually quite easy and fun once you get the hang of it.
Total Time: 5-10 minutes
Supplies:
Steps:
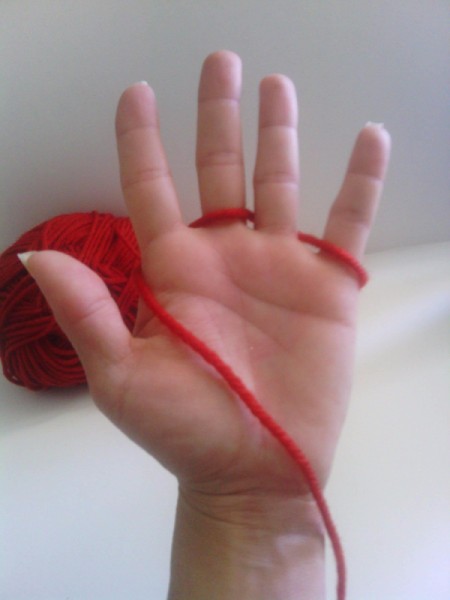
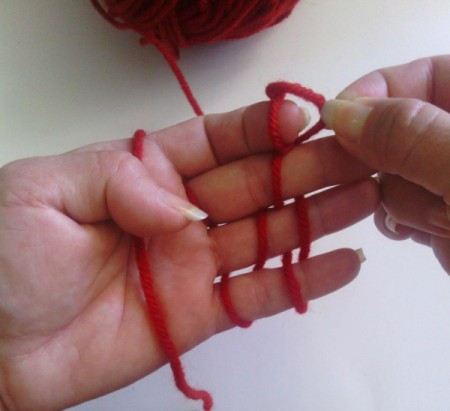
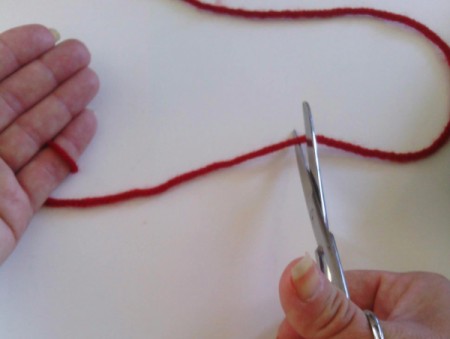
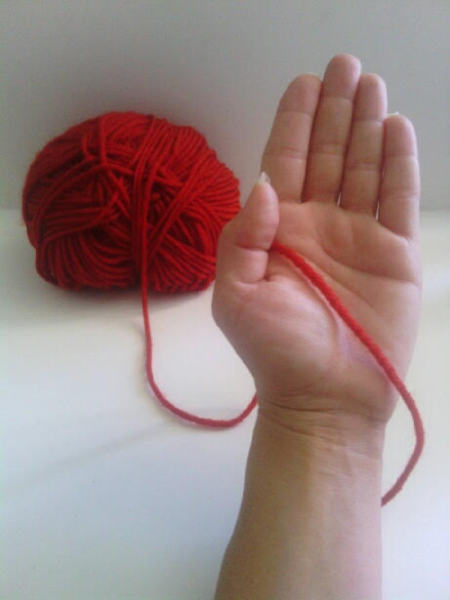
- Start by measuring about 7 inches of yarn. Hold it with your thumb against your hand.
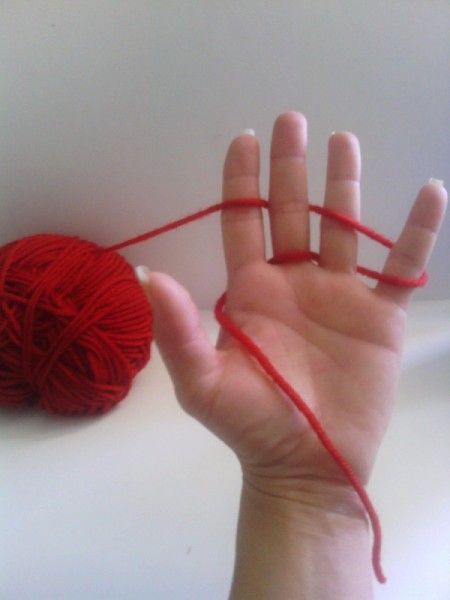
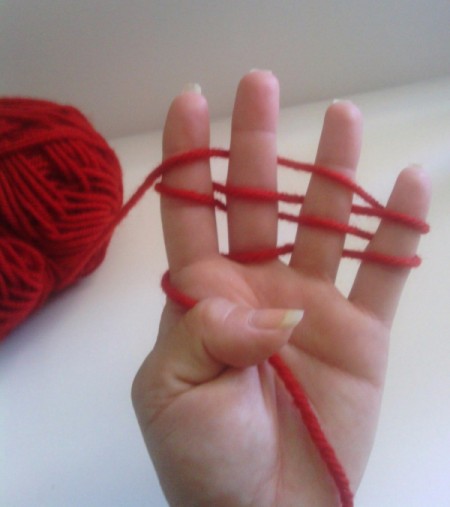
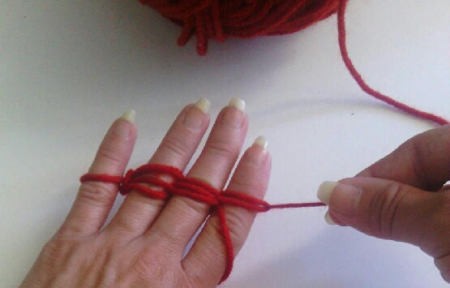
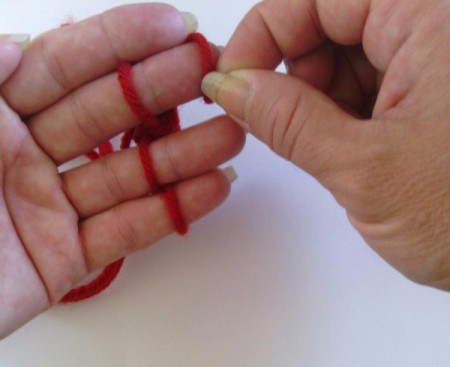
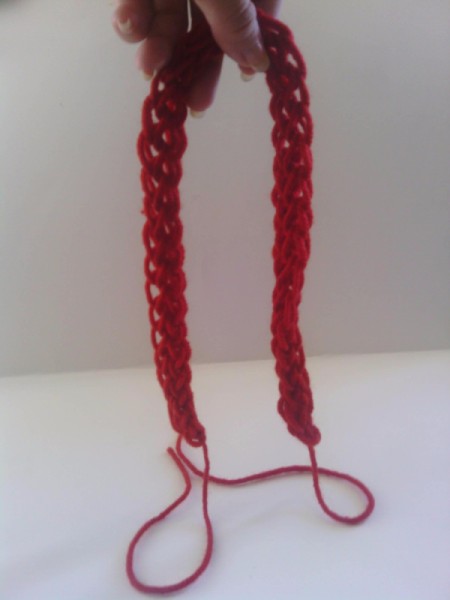
- Starting with the index finger, the repetitive movement will be under, over, under, over. When you get to the pinky you will do it again starting with the pinky, under, over, under, and over until you get back to the index finger. Start again. Then one more time until you have two loops on the index finger.
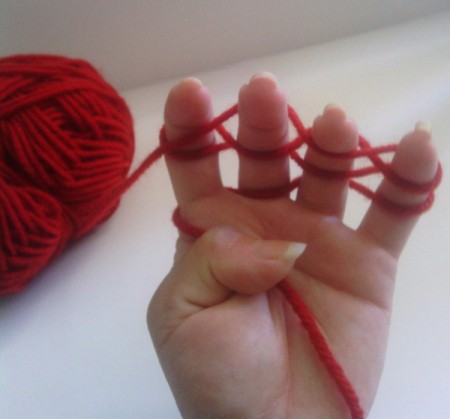
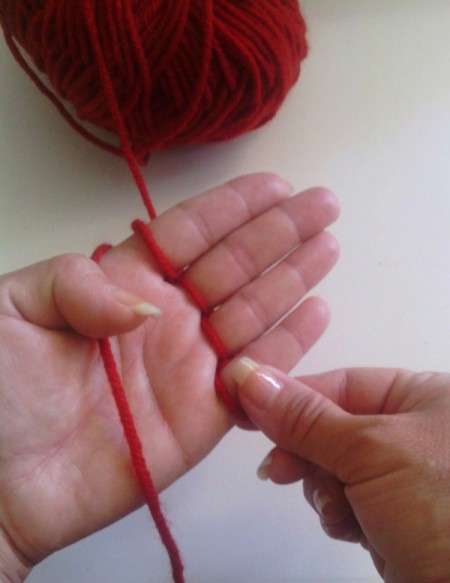
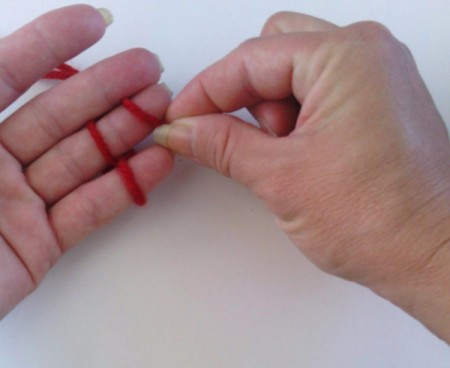
- You will then pull the bottom loop over the top loop and behind each finger. Give it a snug tug each time. Pull yarn down to hand. Start again until you reach the desired length.
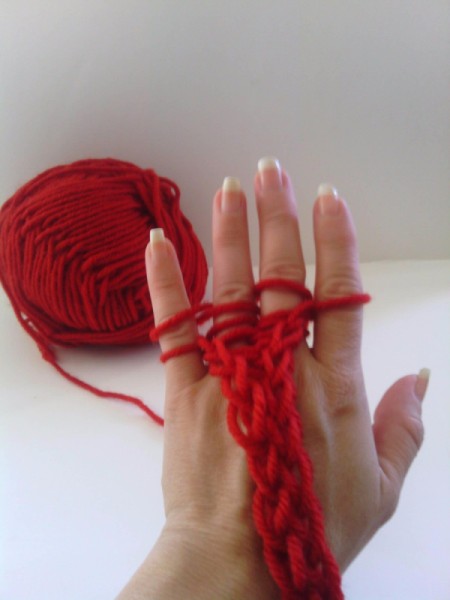
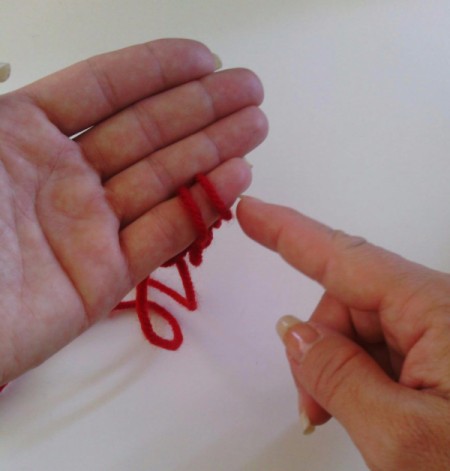
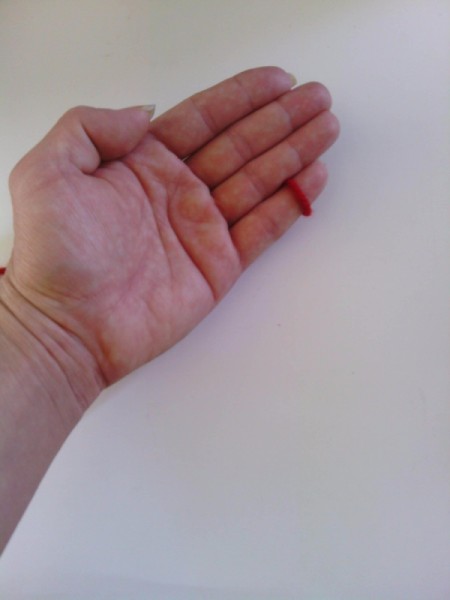
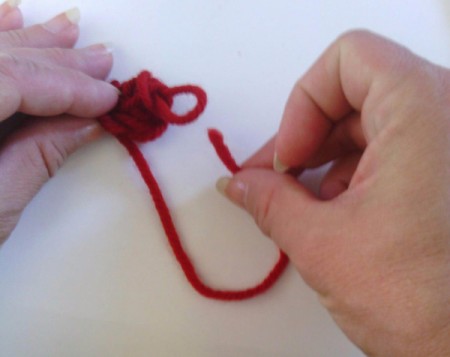
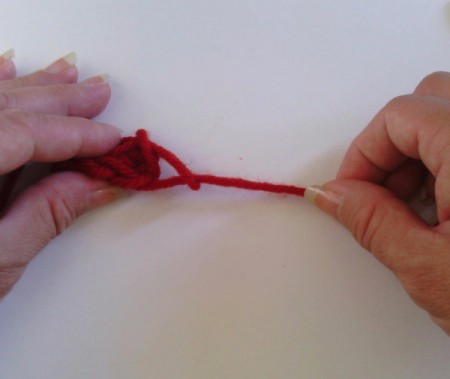
- When you have the desired length and ready to stop, this is what you do. Pull the bottom loop over the index finger. Then pull the top loop on the index finger and move it onto the middle finger. Continue this on the ring and pinky finger. Be sure to leave the last loop on the pinky finger. Measure about 7 inches again and cut the yarn. With the yarn cut , tie it by running it through the loop. Like thread through a needle. Tug it tightly. You are done. Place it on your head and enjoy ! :)
Add your voice! Click below to comment. ThriftyFun is powered by your wisdom!
Judy
Gold Post Medal for All Time! 677 Posts May 8, 20170 found this helpful
Very nice!
Add your voice! Click below to comment. ThriftyFun is powered by your wisdom!