Check out these Fourth of July Crafts shared by the ThriftyFun community!
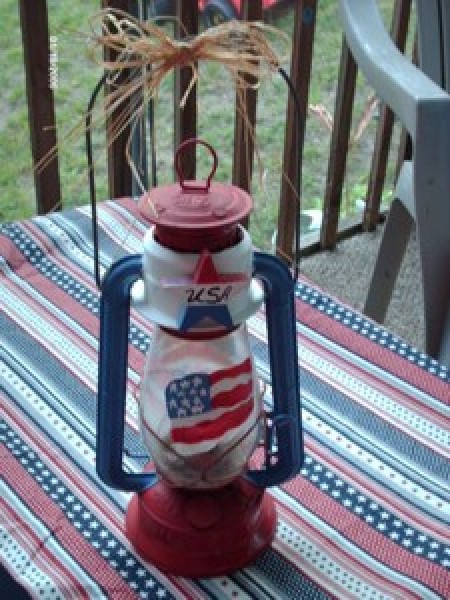
Give your old lantern a new look for your Memorial Day Celebration. This was an old rusty lantern that I gave new life to with an Americana Theme for Memorial Day and can be used as well for 4th of July.
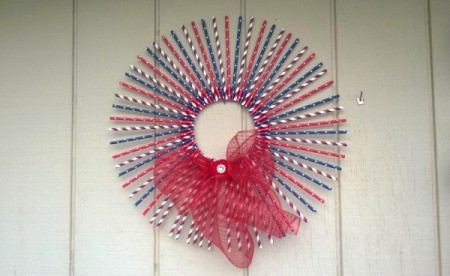
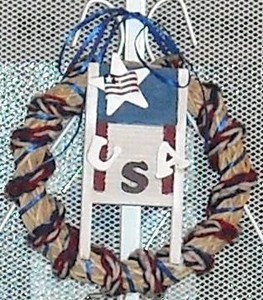
Make a cute little 4th of July wreath with some colored straws. This patriotic drinking straw wall art is sure to be an eye catching decoration for your home this 4th of July.
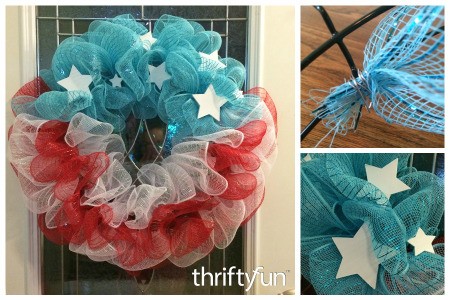
This is a page about making a 4th of July mesh wreath. Use rolls of red, white, and blue mesh to make a seasonal wreath for the 4th.
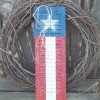
Use torn strips of red, white, and blue fabric to make this rustic framed flag for the 4th or any time. Buttons serve as the stars. This is a page about making a rustic framed fabric flag craft.

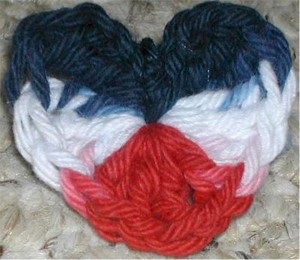
This quick and easy to make crochet heart shaped pattern is perfect for using as a pin or magnet. This page contains a red, white, and blue crocheted heart pin pattern.
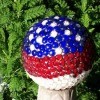
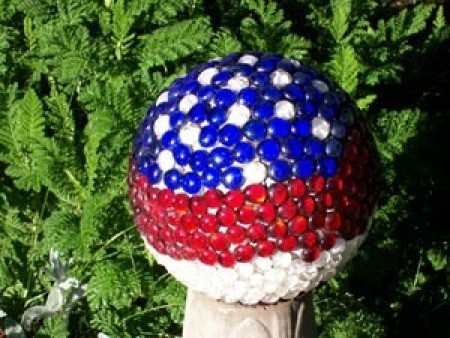
An old bowling ball can be converted into a decorative piece of patriotic garden art using flat craft marbles. This is a page about how to make a patriotic garden ball using a bowling ball.
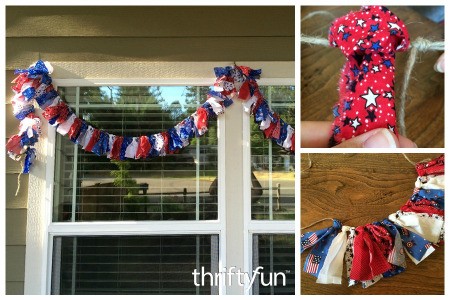
This is a page about making a 4th of July scrap fabric garland. Scrap fabric garlands are fun and easy to make for any occasion.
This is a page about American flag craft projects. There are many ways to use the American flag theme for all kinds of craft projects.
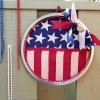
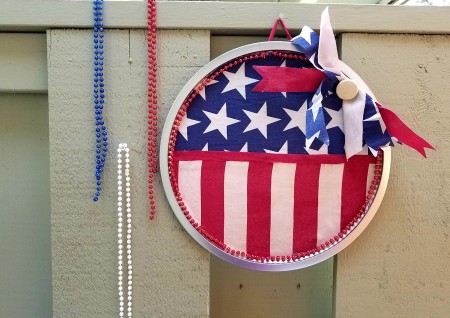
I saw this on Hometalk and did my best to embellish it a bit to make it my own. With a Dollar Tree pizza pan and my own supplies, this came out super cute IMHO!! Hope you like it!
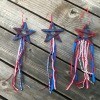
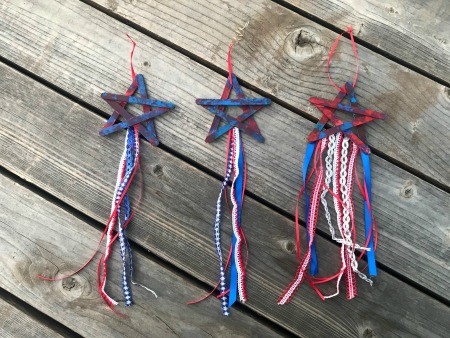
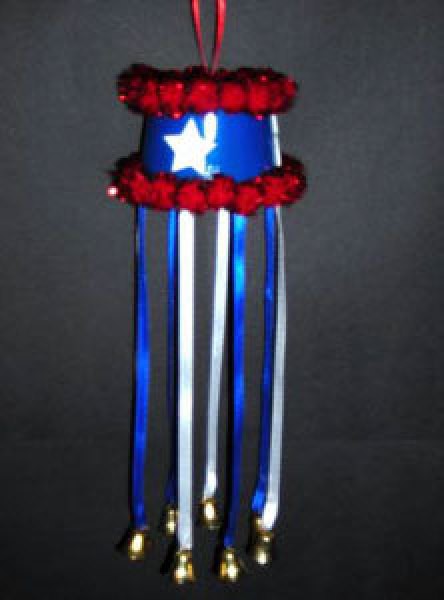
The Fourth of July is right around the corner. Make these cute star ribbon hanging decorations for indoor/outdoor.
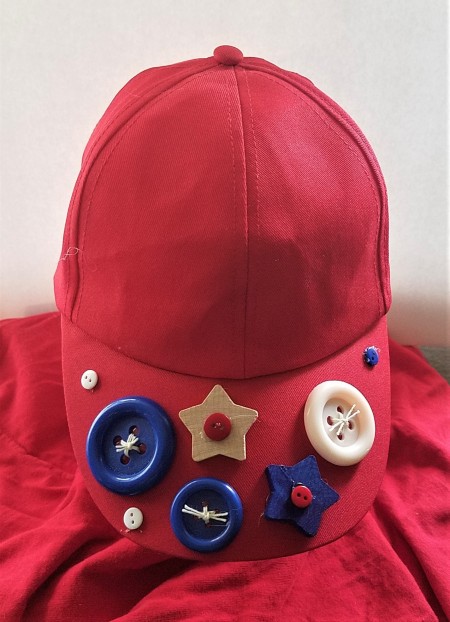
Red, white, and blue caps, Oh My!! With three Dollar Tree caps, some buttons, and wooden stars, you can make a fun and fast craft just in time for the Fourth!
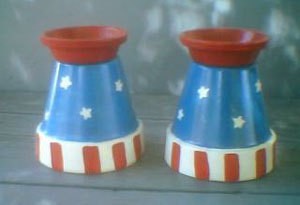
Clay pots and saucers can be painted with patriotic colors and used as decorative candle holders for the 4th. This is a page about making 4th of July candle holders.
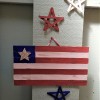
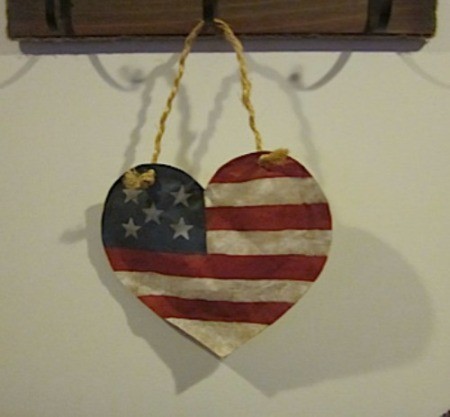
You can make this easy paper flag motif wall hanging as a stand alone piece or even incorporate it into a seasonal garland. This is a page about how to make a paper bag flag heart craft.
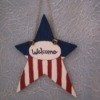
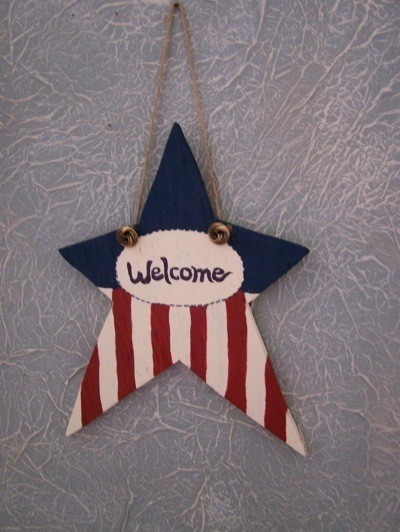
Wooden star shapes are easy to find at your local craft store. Decorating them with red, white, and blue paint or other mediums gets you started on making patriotic decorations for your home and garden.
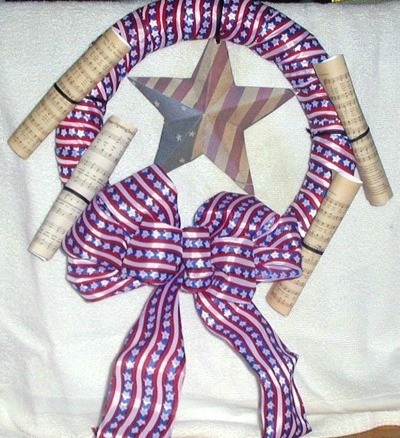
This red, white, and blue Independence Day wreath is fun and easy to make. Hang it on a door or in a window to celebrate the 4th. This is a page about how to make an Independence Day wreath.
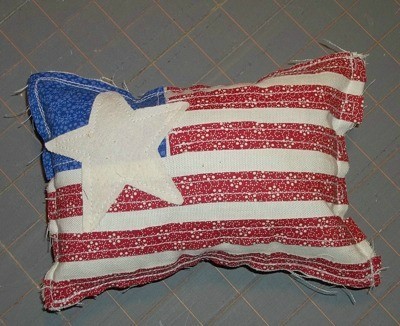
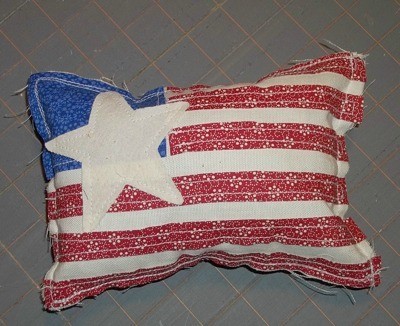
Use colored fabric in stars and stripes to make this adorable throw pillow. This is a page about making primitive applique flag pillows.
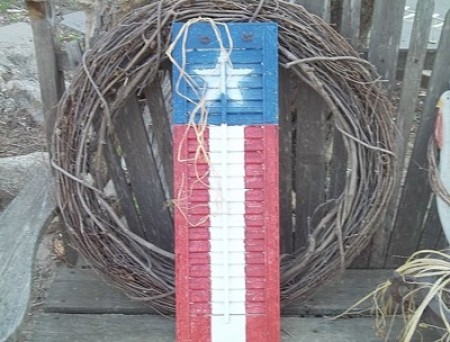
Show your patriotic spirit with these cute shutters painted with stars and stripes. This is a page about making flag painted shutters.
Stiffened fabric with felt backing can be made into one of three gifts!
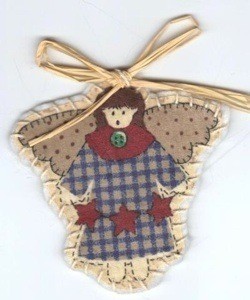
This craft is so simple, not only because of it's design, but because you can customize it any way you want.
Take all those tiny wooden items you may have that are unpainted and give them an Americana theme to display in a group for Memorial Day and 4th of July.

Here's a fun little wind chime your kids will love to make and hang for their Fourth of July Celebration. Place a line of masking tape around the blue plastic disposable cup, 2 - 2 1/2 inches from the bottom.
Check out these Fourth of July Crafts.
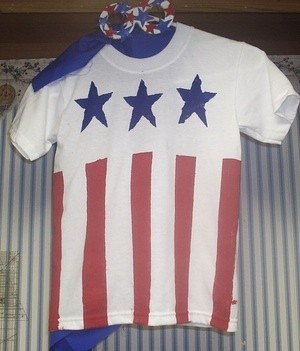
My boys and I love this time of year because we love to make things for July 4th. This is what we did last year. We made stars and stripes shirts.
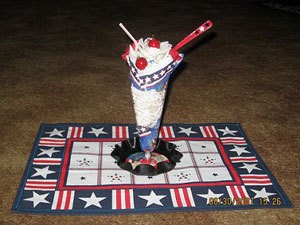
I made a patriotic decoration to be used for 4th of July. I took a plastic parfait glass and layered the following; put a paper patriotic napkin in the bottom, next layer was shredded gift bag paper, another patriotic napkin (folded to fit in the glass).