Rachel's Mom Silver Post Medal for All Time! 277 Posts
August 20, 2007
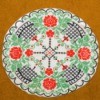
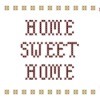
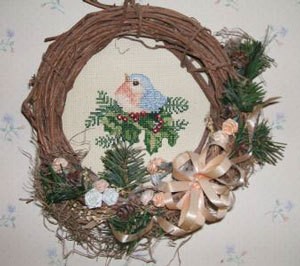
Tired of just framing your cross stitch project or turning them into pillows for gifts? Here's a unique way to display your work or create a special gift. Glue your project to a piece of round cardboard and glue the cardboard to the back of a grapevine wreath. Embellish the wreath and hang it on the wall or give it as a gift.
Advertisement
Approximate Time 30 minutes
Supplies:
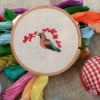
small completed cross stitch project
6 inch grape vine wreath
greenery
ribbon roses or silk flowers
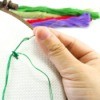
ribbon
Spanish moss
craft glue
miniature pine cones
wire for hanging
Instructions:
Cut a round piece of cardboard to fit the back of the grapevine wreath (an empty cereal box will do).
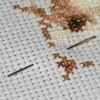
Cut your cross stitch project to fit the cardboard and glue in place.
Glue the cross stitch project to the back of the grapevine wreath.
Using moss, miniature pine cones, and leftover greenery, silk flowers, and ribbon roses from other projects, decorate the wreath. Tie a bow out of matching ribbon and attach it to the wreath.
I don't cross stitch myself but think this as a cute way to modernize cross stitching. The grapevine wreath frame is a very unique idea that I would live to try out sometime.
 Tired of just framing your cross stitch project or turning them into pillows for gifts? Here's a unique way to display your work or create a special gift. Glue your project to a piece of round cardboard and glue the cardboard to the back of a grapevine wreath. Embellish the wreath and hang it on the wall or give it as a gift.