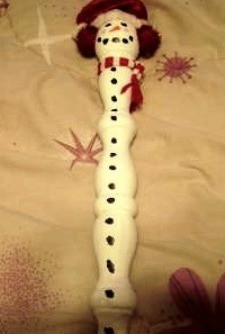
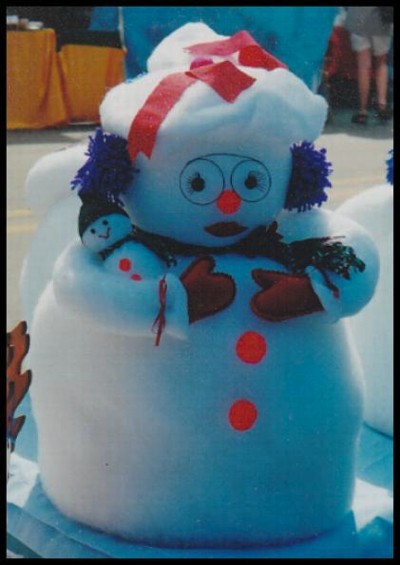
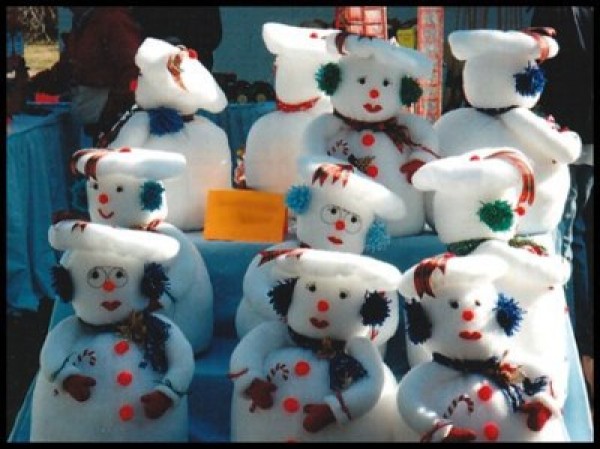
Susie is an adorable snow mom with her baby made from quilt batting. She will bring smiles to the faces of all those loved ones visiting for the holidays!
Open batting and refold in half across the width. Cut in the following sizes:
For baby: 6 1/2 x 4 inches batting (for head) and 8 1/2 x 5 inches (for body)
For mom: 21 X 12 inches for head and 21 x 40 inches for body Two 8 x 14 inches one for each arm and 16 inch square for hat. Fold in quarters, and trim to make a circle.
Sew all body parts into tube shape, wrong side out; then turn. Sew head and body along the short side, and arms on the long side. This can be done by machine. To avoid a problem when using machine, fold a piece of waxed paper over the edge before you sew, then tear the paper off when it is done.
After turning, thread dental floss and gather along one open side of the body and the head. Draw them fairly tight, being careful not to tear the batting.
Spread a little glue on the 12 inch circle and press it onto the bottom of the milk jug.
I have not done any with cardboard, but believe it will work, But if you can use the Masonite (or 1/4 inch plywood) circle, that is what I have used with success. The reason for this step is two-fold. It gives your snow mom a flat bottom to sit on, and the jug saves a lot on the amount of stuffing you need in her body.
Stuff and shape the body until smoothly rounded. Complete the arms next. Arms will be left open on both ends. Just leave about 2 inches un-stuffed on each end, and turn one end under a few inches. The mitten will be attached to this end. Instructions for making mittens click here.
Gather around the top of your body, and before you draw it up, add a little glue to the top of the arms and insert them in place inside the gathering of the body and draw up rather tightly.
Stuff the head into a nice round shape, set it over the arms at the top of the body and stitch in place using dental floss. The head should be securely attached so that it doesn't drop to the side. You may have to add additional stitching to make it more stable.
Make a pair of earmuffs by wrapping yarn around a piece of light cardboard (cereal box) 100 times. Slip a piece of the yarn (or the dental floss) under the wraps. Slide them off the cardboard and tie very tightly, then cut the loops to make fringe. Stitch one to each side of the head. Note: If you have pompon makers, they will make this job easier. They are available at Wal-mart and are inexpensive.
To make a tam style hat, gather around the edge of the circle with dental floss, using small stitches. Pull up to fit the head, and then let the edges fall over the gathering. Take a few stitches in the center top to fasten it to the top of the head. Cut the wide red ribbon to about 14 inches. Fold over so that one side is slightly longer than the other. Glue to center of the hat. Glue the pompom over the fold of the ribbon.
Cut a piece of the fabric 4 inches x 30 inches. Fold in half to 2 inches wide, and sew to form a tube. If you don't want to have to turn the tube, just sew it with wrong sides together, and arrange it around her neck with the seam underneath. Cut the ends into about an inch and a half fringe. Tie the scarf around the neck and knot it at the side. Attach optional trim over the knot.
If you want to make her a pair of glasses, cut about 15 inches of soft craft wire. Wrap the wire around any circular object such a a bottle neck that is about 2 inches in diameter. Wrap each end toward the middle until it is the desired size for her glasses. Tack the glasses to the face with dental floss. Glue or sew eyes in place. I found eyes with eye lashes for my snow-moms, but any glue on or sew on eyes will work.
Glue on red pompom for nose.
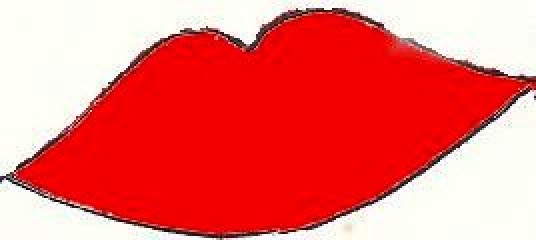
Cut a pair of lips from my design or create your own.
Glue pompom buttons down the front of the body.
Put baby into the mom's arms. Instructions for snow baby click here.
Position arms and tack them in place on her tummy.
Making Mittens:
Copy the pattern and check the size. Sometimes they don't print the correct size. The size should be about 3 inches wide and 4 1/2 inches wide, but it doesn't have to be exact. Just use your judgment by how it appears at the end of the arm.
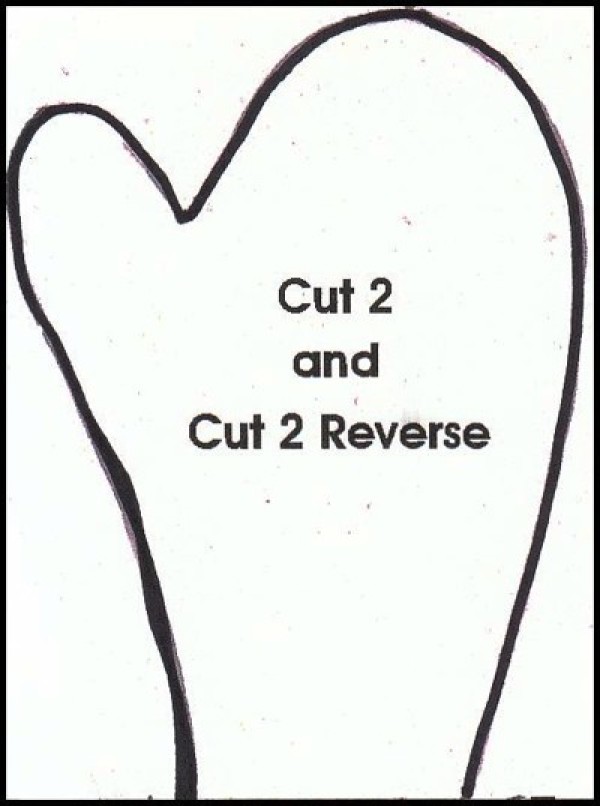
Fold your felt double and draw the mitten pattern placing the cuff edge on the open edge.
Turn the pattern over and draw a second mitten. Do not cut them yet.
With your sewing machine, sew them together on the lines. Then cut them just outside the stitches. If you like you may do a buttonhole stitch around the edge with white floss or yarn, but this is optional. Stuff lightly.
Squeeze a little glue onto the open bottom edge of the finished mitten and tuck it into the end you have turned under. Tie with the narrow red ribbon, using enough to tie a double knot and then a pretty little bow. Repeat with the other arm.
To Make Baby:
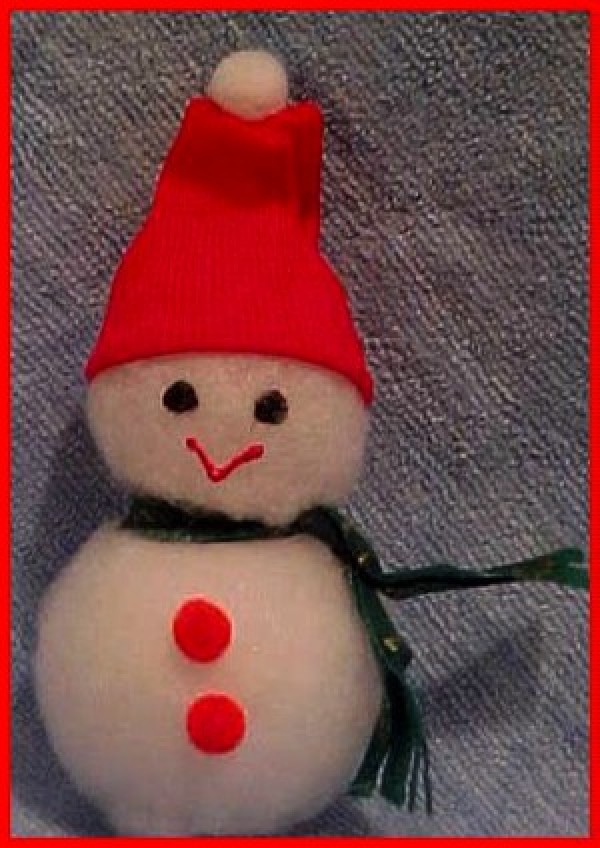
Cut quilt batting to size. Sew ends together by machine wrong side out. Turn. Gather the bottoms of each tube with dental floss. Insert the balls and trim the tops to size leaving enough to gather the tops.
Glue balls together with hot glue. Cut a scarf 1 inch x 10 inches and fringe the ends. Tie around baby's neck.
If you use ribbing for the hat cut a piece about 5 inches square, Fold and machine sew with the ribbing running up and down. Turn, folding raw edges inside. Gather one end and glue a small pompom in the middle. Place on baby's head. If it fits snugly, no need to glue.
Paint features on his face with fabric paint.
Glue on 3 red pompoms for buttons.
Tuck him into mom's arm.
By Harlean from Hot Springs, Arkansas
[Download Missing] to download the instructions as a PDF.
This page contains the following solutions.
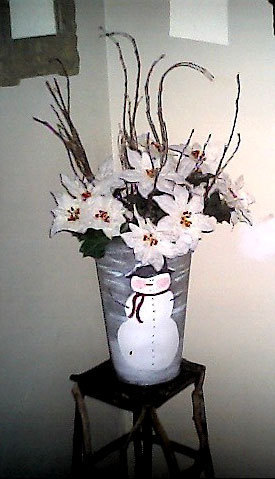
Use a galvanized bucket or in this case I used a galvanized floral bucket used to display fresh flowers and paint a simple snowman on it with acrylic paints...
This past weekend, I went on an excursion to the craft store with my daughter. Boy, what a way to have creativity spark within your children as well as yourself.
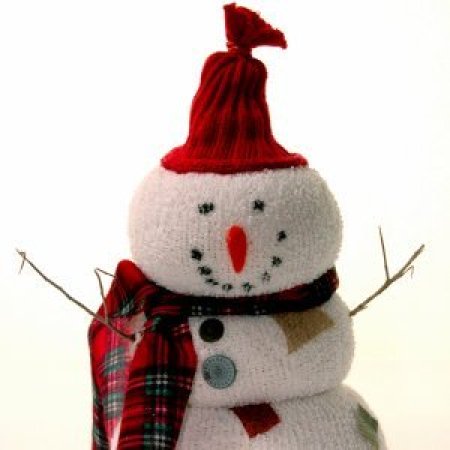
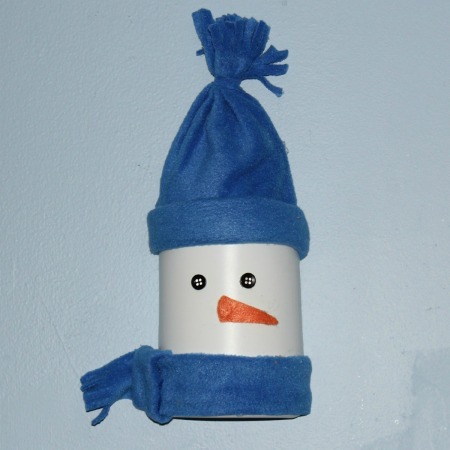
This is a page about making a sock snowman. With some simple accessories, you can turn a plain sock into an adorable snowman. They are cute decorations for around the house and make great gifts too.
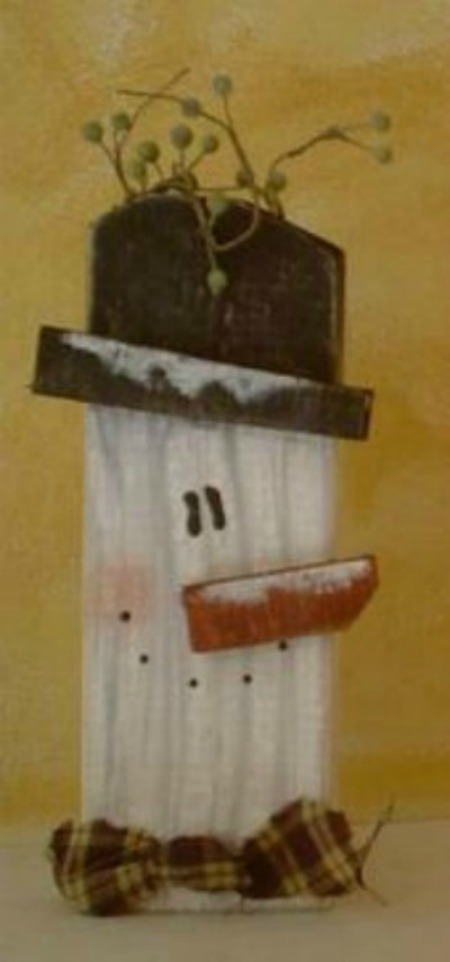
This is a page about making a 2x4 snowman. Start with a piece of 2x4, some paint, and accessories and you can create a cute snowman decorations.
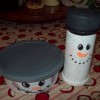
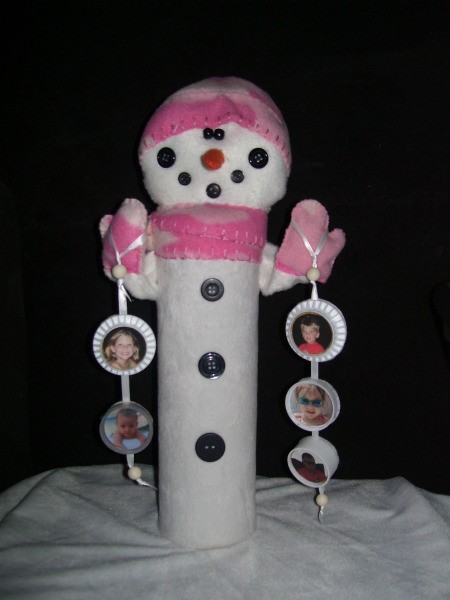
This exciting craft will show you how to make a cardboard tube snow lady that holds bottle caps with photos of your grandchildren, grandma's lil' snowballs. Display it around the holidays or year round. The detailed supplies list and directions follow.
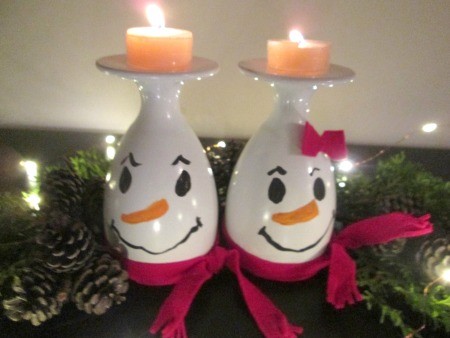
Stemmed glasses from a thrift store, such as Habitat for Humanity, can be inverted and painted to look like snowmen. Place a tea light on the base and enjoy your drinking glass candle holders.
Paint and decorate a variety of recycled plastic containers to make snowmen candy containers. The kids and grown kids will love them and the treats inside.

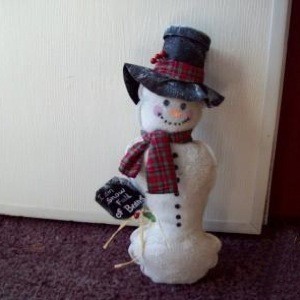
This cute little doorstop is easy to make using a variety of recycled and repurposed items from around your house. Add this decorative snowman door stop to your holiday decor using the instructions contained in this page.
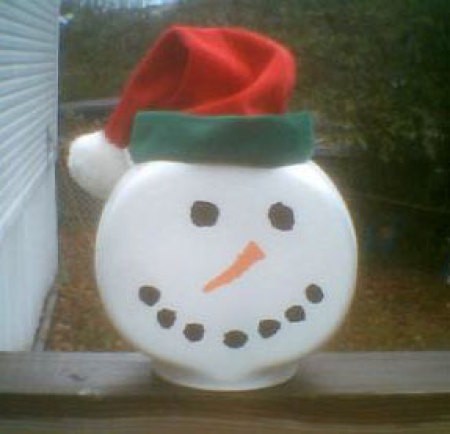
This is a page about making a fish bowl snowman. This easy and fun winter craft is sure to brighten anyones day that sees it.
This is a page about making a snowman plant stake. A cute snowman plant stake is fun to make and even more fun to use and display. This is a great gift idea as well.

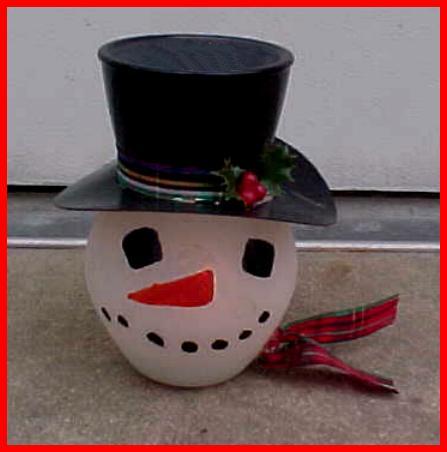
This is a page about making a snowman votive candle. Decorating a glass vase to resemble a snowman is the first step in creating this cute votive candle holder.
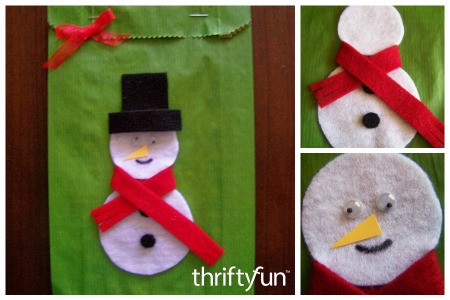
This is a page about making a snowman gift bag. A homemade gift bag becomes a gift in itself.
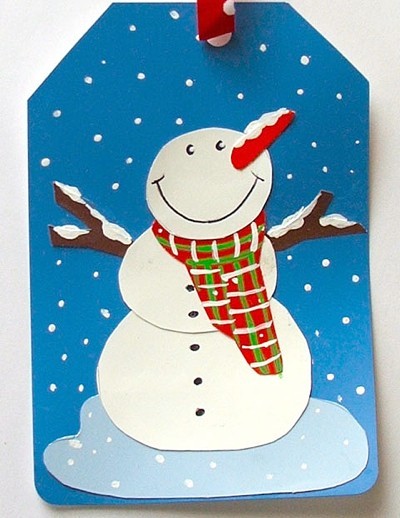
This is a page about making a paint chip snowman gift tag. Leftover paint chips from your latest painting project can be reused for crafting rather than being put in the recycle bin.
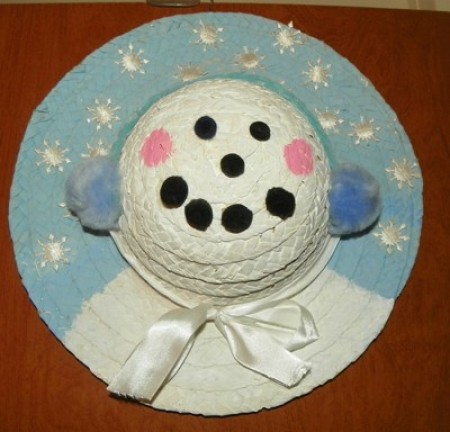
This is a page about making a straw hat snowman. A winter holiday snowman decoration to hang on your door or wall, can be made using any size straw hat.
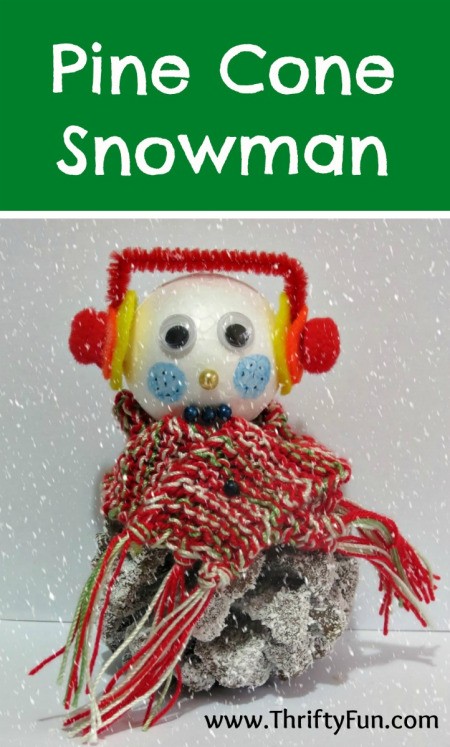
This is a page about making a pine cone snowman. Turn on your creativity and design a cute snowman decoration beginning with a pine cone. Let the whole family join in the fun.
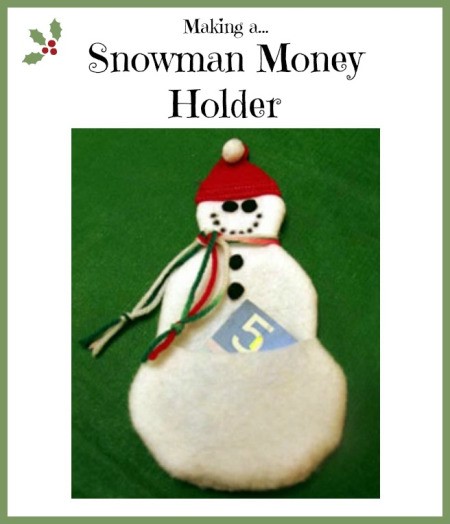
This is a page about making a snowman money holder. Putting money in a felt snowman is a great way to give money as a Christmas gift.
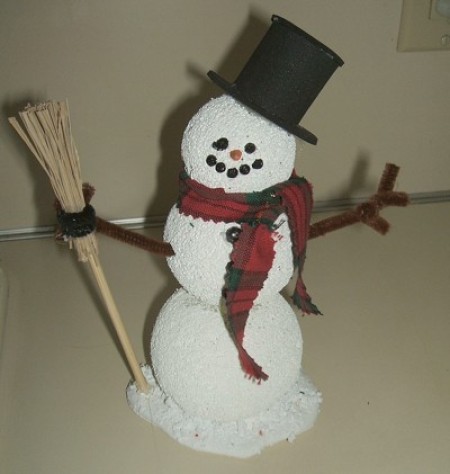
This is a page about making a Styrofoam snowman. Snowmen and women are popular holiday decorations. Make some cute tabletop ones of your own easily using Styrofoam balls.
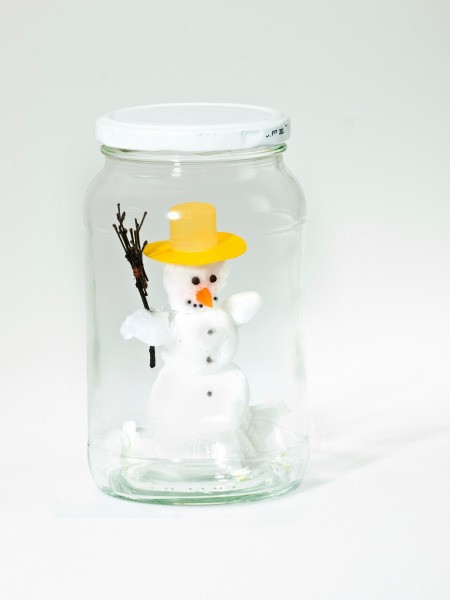
This is a page about making a jar snowman. There are many ways to decorate a new or recycled jar for a festive holiday gift or decoration.
This is a page about making a bleach bottle snowman. Plastic bleach bottles are a popular item for use in craft projects.
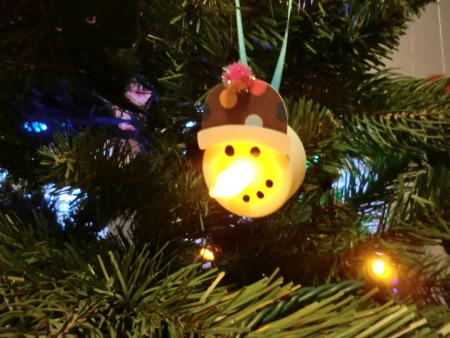
This is a page about snowman Christmas ornaments. Snowman ornaments look so cute on your tree, especially homemade ones.