 Some of my favorite hobbies include scrapbooking, crafting, and creating games using stickers, stencils, and confetti. I had a big problem of not being able to keep my items organized. It seemed I could never find a way that lasted. After numerous attempts, I am finally satisfied with my method, which has lasted me for years!

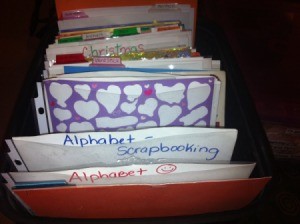
To store flat stickers and stencils, you will need cloth bins or open, plastic containers, full sheets of card stock, sheet protectors, and label tabs. First, separate your stickers by theme, like animals, birthday, Christmas, seasons, beach, weather, etc. Once you have determined how many themes you have, count out that many sheet protectors. Place two pieces of card stock in each sheet protector. I use two pieces to make it more durable. Take a third piece of card stock per theme and attach the label tabs at the top. Make one tab per theme, as these will serve as your dividers. You can also write each of your themes at the top of the card stock that is in each sheet protector, if you like. Now place all of your stickers in their corresponding sheet protectors. Set them in the cloth bin or plastic container and flip through them with ease. You can mix your stencils in behind each sticker theme or make new themes and place them in a separate container. If you have stencil sheets or stickers that won't fit in the sheet protectors, you can simply put the sheets behind the dividers.
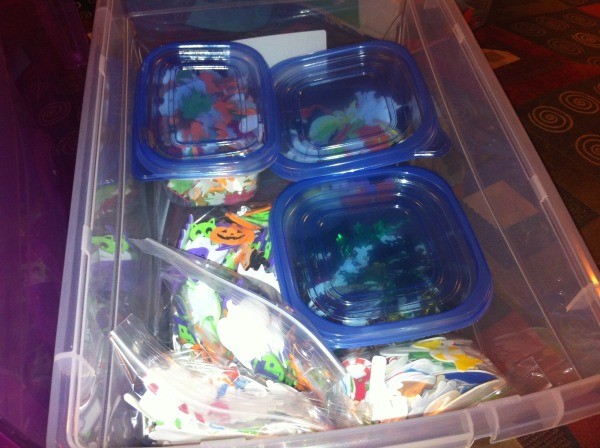
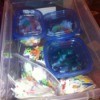
To store confetti and 2-D stickers, you will need 6-quart containers, small containers of various sizes, party cups with lids, and storage baggies. Group like stickers and confetti together and sort them into the smaller containers and baggies. For example, I have all of my fall leaves in one plastic bowl and all of my rabbits in a medium size baggie. Once all of your stickers and confetti are in containers or bags, determine how many themes you have. Place 3+ themes in each larger container. Here are my container examples:
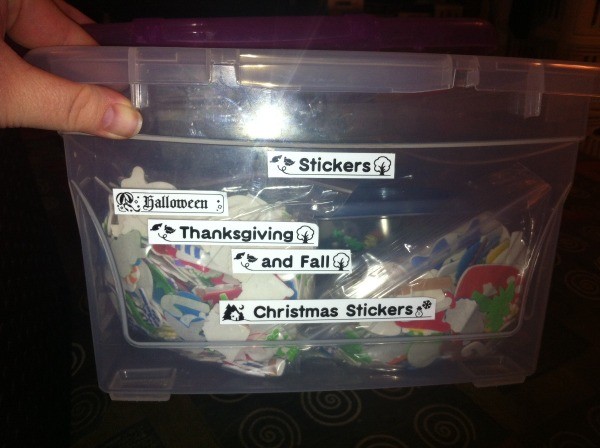
Container A: Christmas, Thanksgiving, fall, and Halloween.
Container B: Valentine's Day, St. Patrick's Day, Easter, and spring.
Container C: letters, numbers, birthday, music, and misc.
Container D: animals, insects, zoo, nature, and summer.
After each larger container is finished, label the outside with each theme!
Watch the video I made on YouTube for further clarification!
Link: Click here for my How to Organize Stickers & Stencils video.
Add your voice! Click below to comment. ThriftyFun is powered by your wisdom!