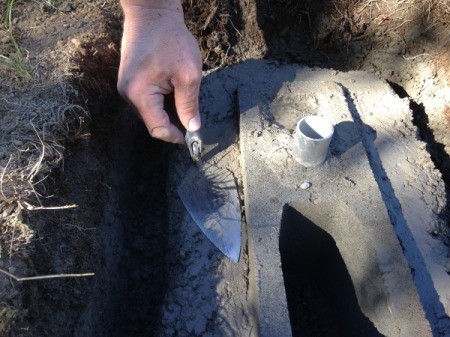
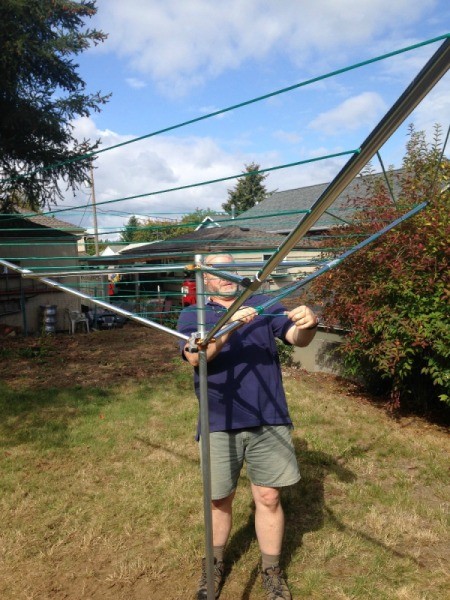
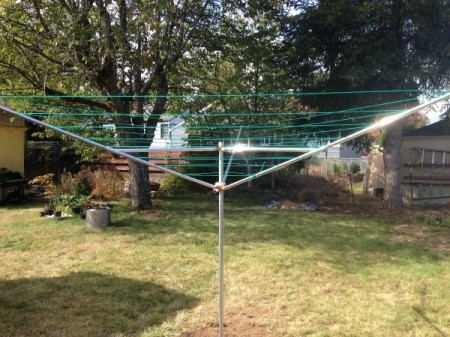
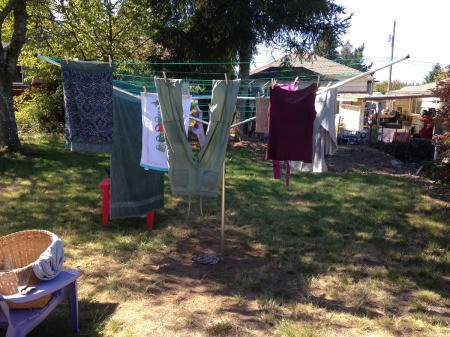
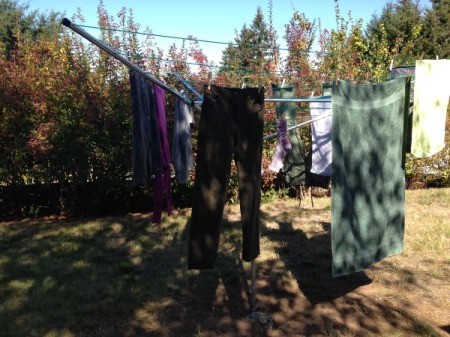
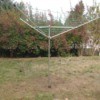
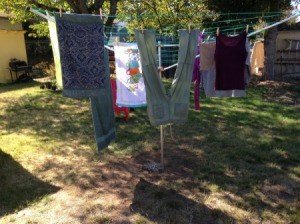
 For my birthday this year I asked the hubby for an outdoor clothesline. He chose a rotating line from Breezecatcher.com. After a bit of time spent permanently installing it, I was able to use it for the first time today.
Click here for a product review on Thriftyfun Breezecatcher Rotary Clothesline
Source: Breezecatcher.com
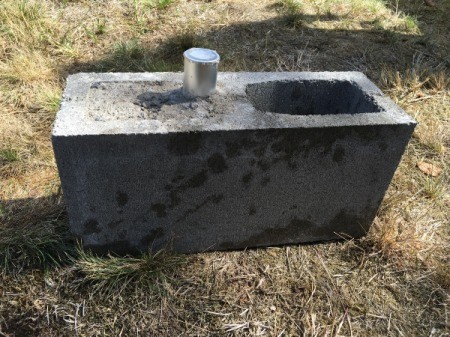
Supplies:
Related Product:
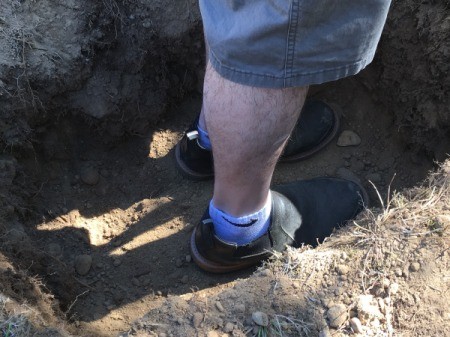
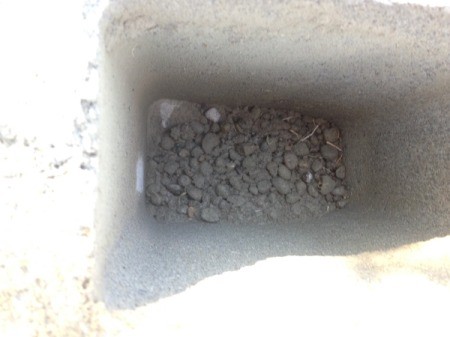
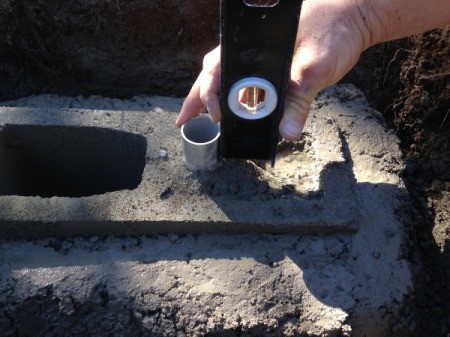
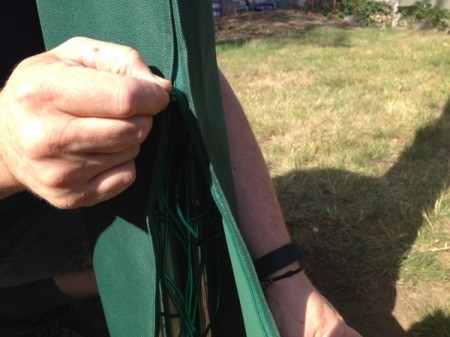
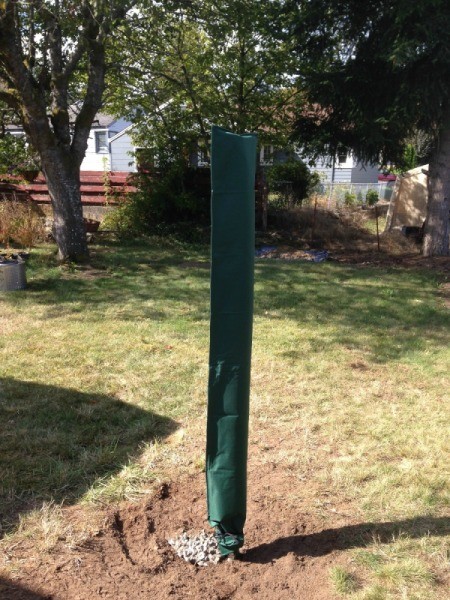
Steps: