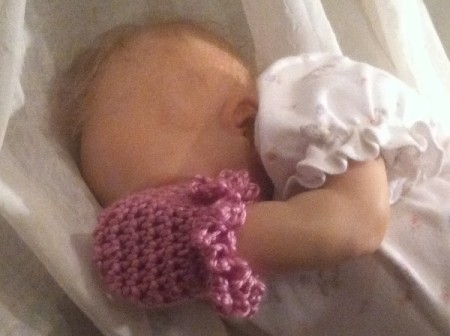
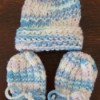
 You don't want your new little sweetie scratching their face, so make them these mitts! These would very easily become suitable for a baby prince if you left off the wrist ruffle and stitched in blue. These are super easy and fun to make. Enjoy!
Total Time: About an hour
Yield: As many as you like
Source: self
Supplies:
- "h" crochet hook
- tiny amounts Caron Simply Soft yarn
- 2 coated rubber bands, about 1'' across
- scissors
- embroidery needle for weaving in ends
Steps:
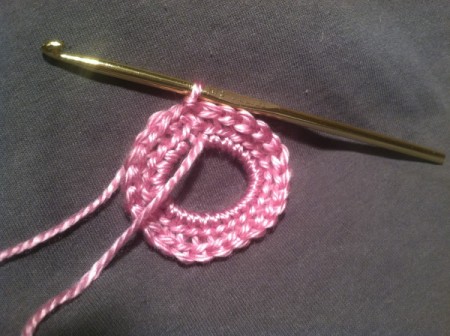
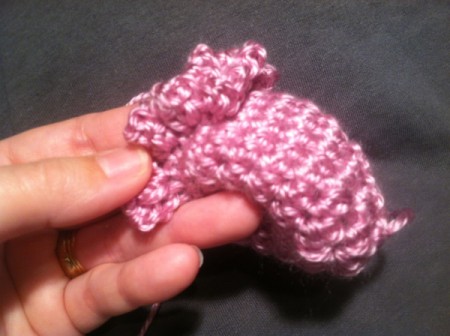
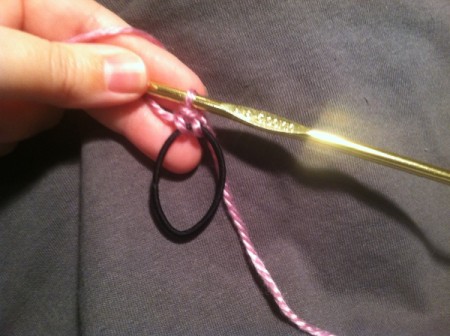
- These are crocheted with a rubber band so that they stay on your little munchkin's wrist. They are not too tight, just enough so they don't fall off. Attach yarn with a single crochet to a rubber band.
- Work 23 more sc around rubber band, join with slip stitch to first sc.
- Chain 1, sc in BACK LOOP ONLY in same stitch and each around. Join with a slip stitch in first sc. (You are leaving the front loop so as to have a place to attach your ruffle later on. If these are for a prince, sc in BOTH loops for this row and simply leave ruffle off. :)

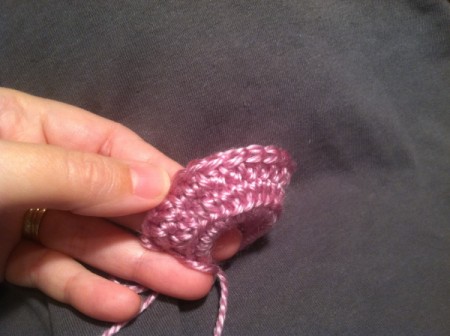
- *This row and each one after is now worked in BOTH LOOPS* Chain 2, half double crochet in next stitch and each around. Join with slip stitch to top of chain 2.
- Repeat last row 3 more times.
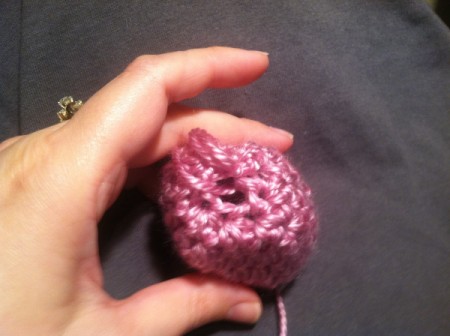
- Chain 2, make half double decrease, *1 hd in next stitch, decrease in next stitch*, repeat from * to * till end. Join to chain 2.
- Chain 2, decrease around. Leave long tail for assembly, finish off.
- You will still have a little opening at the top of your mitt. Turn inside out and whipstitch closed with embroidery needle. Weave in end and turn right side out again.
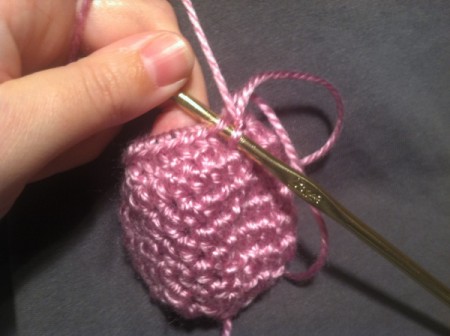
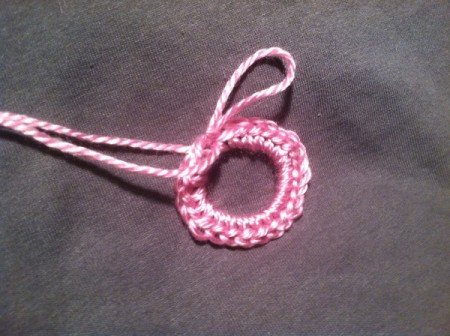
- Now you will be going back to those free loops at the bottom of the mitt. Attach with a single crochet in one of the loops. Chain 3, single crochet, chain 3.
- In next loop, sc, chain 3, sc, chain 3. Repeat this in each loop around. Join with slip stitch to first sc. Finish off and weave in ends.
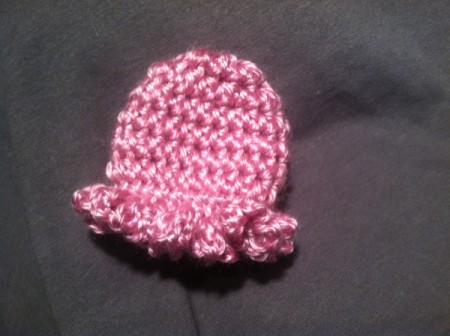
- This is what you should have.
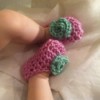
- Repeat one more time so that you have 2. Enjoy!