Check out these Decorative Picture Frame Crafts shared by the ThriftyFun community!
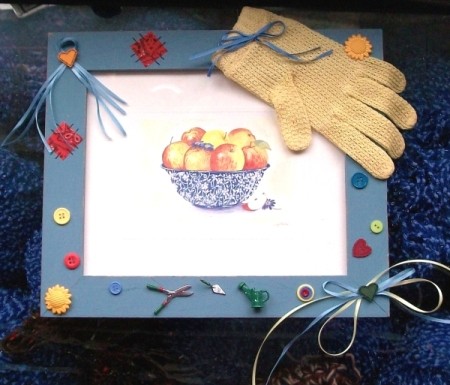
I bought a nice wooden frame with a colander of apples in it for .50 a couple of years back. Today I finally had the time to fix it up properly by adding ribbon, buttons, fabric scraps, and an old glove. It turned out really nice.
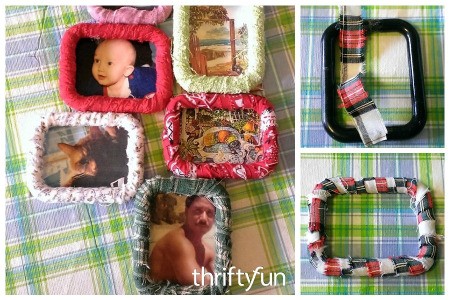
This is a page about make drawer handles into mini frames. Photo frames can be made from a wide variety of repurposed items.
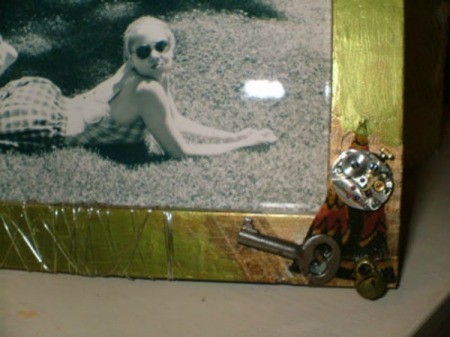
Decorate a purchased frame or rejuvenate an old one with paint and miscellaneous items from your junk drawer. This is a page about junk drawer picture frames.
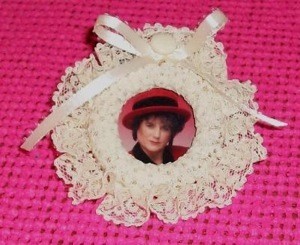
A wooden drapery ring, some lace, and other embellishments come together to create this pretty mini frame. This is a page about lacy wrapped mini frame.
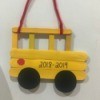
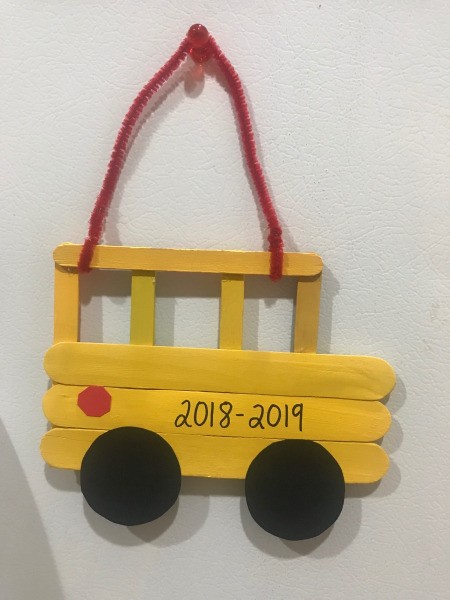
What better way to display your child's school photos than with this craft stick school bus picture frame. Hang it on the fridge and gift one to the grandparents.
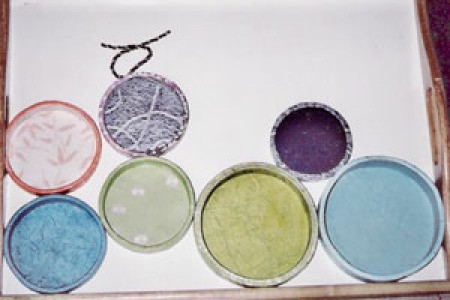
Bits of broken crayons are melted and poured onto a piece of waxed paper that has the basic frame design drawn on it. Add additional elements using different colored crayons.

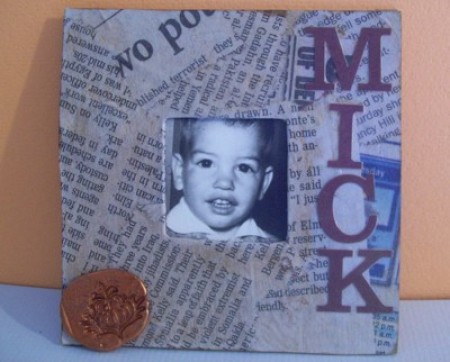
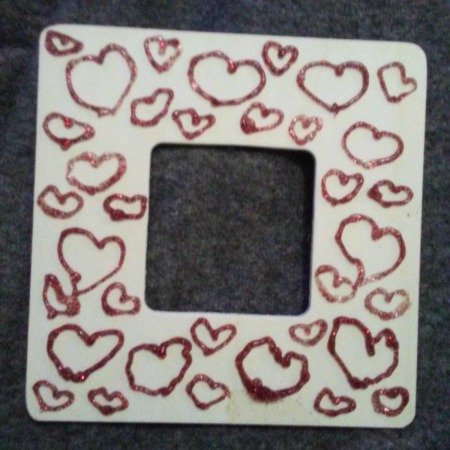
It's easy to create a custom frame for photos or artwork. This is a page about how to make personalized frames.
Add a personal touch to any photograph or piece of artwork. Paper can be used to cover an inexpensive frame or to make a custom matting.
Make your own picture frame from recycled items for a fun customizable craft project. There are so many different items that can be used; glass, plastic, metal, wood, cardboard.
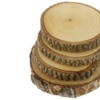
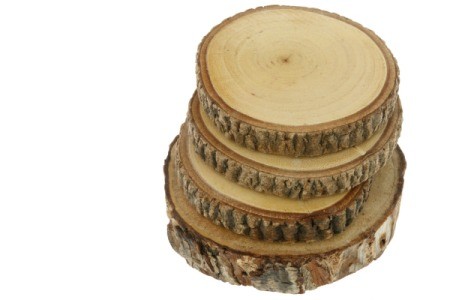
Log slices can be used in many craft projects. Making them into picture frames is another excellent use for them. This is a page about making picture frames from log slices.
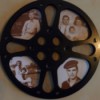
This is a page about making a film reel frame. If you are lucky enough to have or find and old 16mm film reels, you can try your hand at making this clever photo frame.

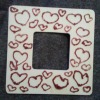
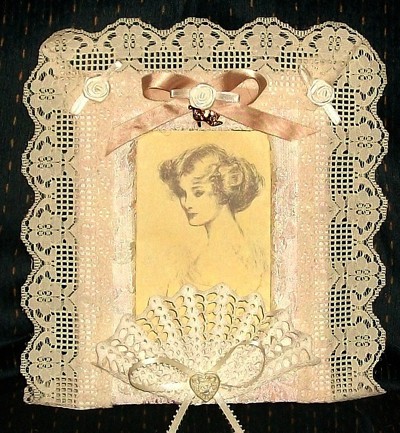
This is a page about making a vintage frame. Lace, ribbons, buttons, and other embellishments can be used to decorate a plain photo frame giving it a vintage look.
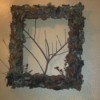
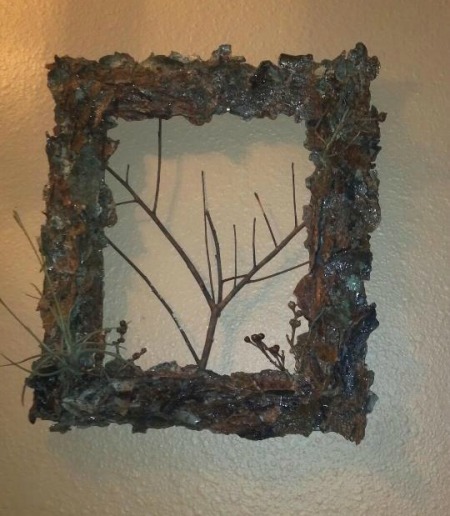
This is a page about making a bark covered picture frame. For a rustic look, cover a purchased photo frame with pieces of bark.
This is a page about decorating a wooden picture frame. Plain wood picture frames can be decorated in many ways to fit into your home decor or to be given as gifts.
Check out these Decorative Picture Frame Crafts.
Updated: This idea came to me when I was reading about laminated wood products. I decided to try it out using cardboard and craft glue and came up with a very strong but very light wood substitute.
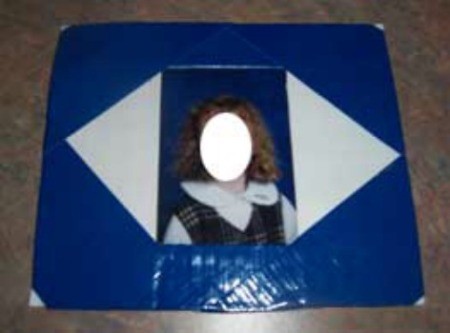
Even if you don't have a frame, you can make your pictures look decorative with colored duct tape! Add a magnet to the back and you can display it on your refrigerator with pride.
When making a pet photo frame, instead of using "real" dog or cat treats, try making them out of polymer clay. Pets then will not attempt to eat the frames
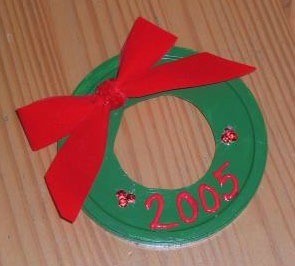
Just cut a hole out of the middle with an exacto knife and paint the lid green. I hot glued on some red sequins for the holly berries and used fabric paint for the 2005.
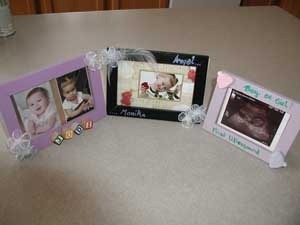
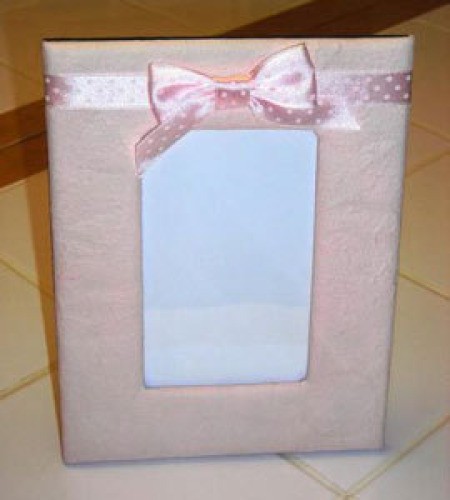
Revamp old photo frames for new uses. Even baby shower gifts! I revamped a garage sale find. I used what was suppose to be an old wedding bells procelain picture frame into a baby shower frame.
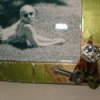
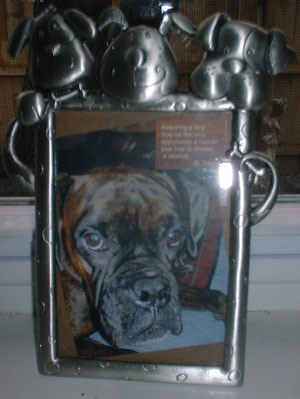
To add pizzazz to your pictures, add something extra to them as I have done with this one. I picked this cute dog frame up on clearance for $1.00. Then, I took a piece of brown textured scrapbook paper placed it behind a slightly turned picture of my dog, Gabe. Then I printed out this quote by M. Siegal, "Acquiring a dog may be the only opportunity a human has to choose a relative." It took less than 5 minutes and didn't require fancy equipment or skills: just a printer and Microsoft Word.
Here are the Decorative Picture Frame Crafts asked by community members. Read on to see the answers provided by the ThriftyFun community.
I am looking for decorations (skis, spurs, barb wire...etc ) for some old barn wood photo frames I bought. Does anyone know where I could purchase decorations for photo frames?