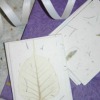
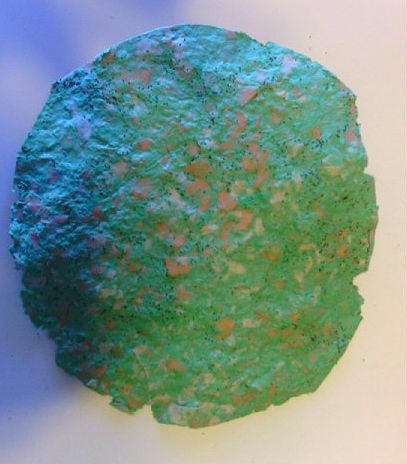
These recycled paper seed circles make lovely gifts! All you need is scrap paper, a blender, some flower or vegetable seeds, and some type of screen. The easiest screen to use is a cheap metal cooking splatter screen, or you can make an instant screen by cutting a square from a pair of old pantyhose or tulle fabric remnant, and clamping it in an embroidery hoop.
Approximate Time: 20 minutes, plus drying time
By GuinevereW from AZ
This page contains the following solutions.
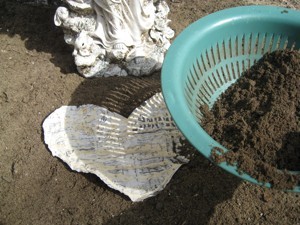
Last week I read an article on here how to put your seeds on newspaper, so I decided to make a heart. I put pansy seeds on the paper and used the mixture of flour and water. I tend to bury the seeds too deep so I sifted my dirt on top so I would not do that anymore.
Here is a way to recycle paper and make plantable paper with seeds. Makes nice gifts!
I would like to make my own plantable paper and put my own wildflower, or lavender seeds on the paper. How do I keep the seeds from falling off?
Here are the questions asked by community members. Read on to see the answers provided by the ThriftyFun community.
Looking through crafts, I found an article about making seed paper by Ellen Brown. I am going to try this, but want to know how to put a greeting on the front of the card?
It would be really easy and look very nice if you printed the greeting on a piece of vellum paper slightly smaller then the card and affixed it with a piece of ribbon. A co-worker did this with her plantable wedding invitations and it turned out beautifully.
It would be really easy and look very nice if you printed the greeting on a piece of vellum paper slightly smaller then the card and affixed it with a piece of ribbon
Thanks for this idea. I really like it and will try it.
Barb
You are very welcome. You should post pics when you get them finished. =)
The other ideas are better, but I was thinking you could also rubber stamp your card.
I would love to get a seed paper card. What a great idea.
I was thinking you could also rubber stamp your card. I can't believe I didn't think of this. I just joined a stamping class. I'll try both ideas. Thanks for posting this. I love this site and the people on it.
I've seen that paper online too ! That's very cute!
here are some free printable quotes to use with your cards : www.google.com/