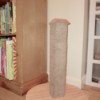
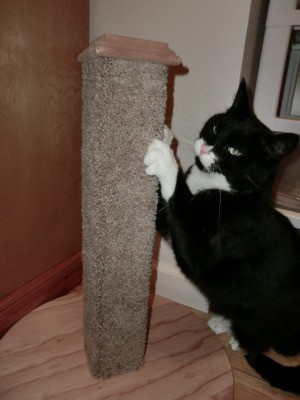
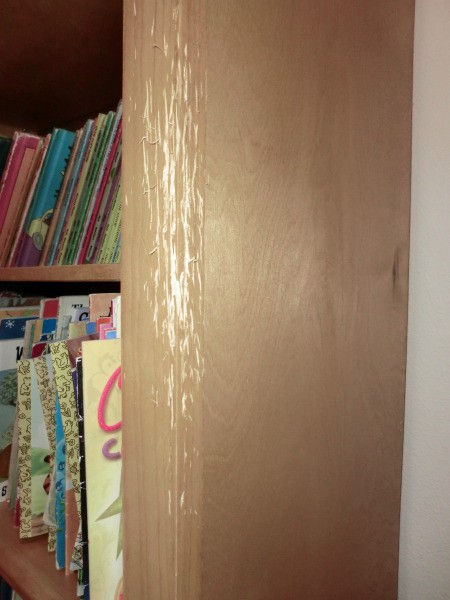
 Our cat Oolong decided to start scratching our book case. Apparently he was mad that we got rid of our big cat tree. My husband and I decided that we would make him a small scratching post that we could put next to where he was scratching. These cat scratching posts end up costing less than $10 to make.
Total Time: 1 hour
Yield: 1
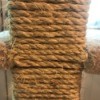
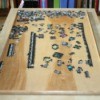
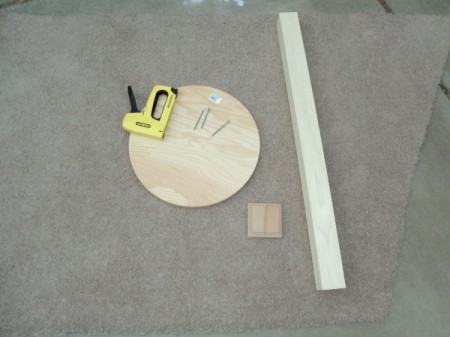
Supplies:
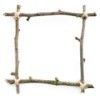
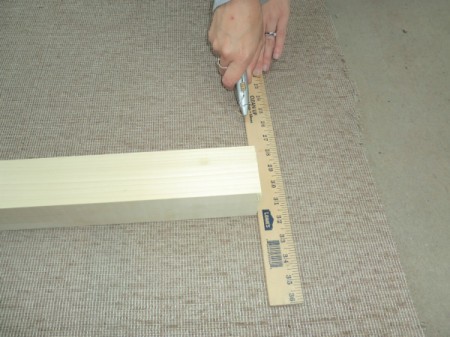
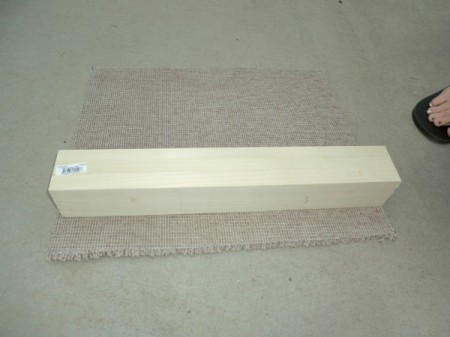
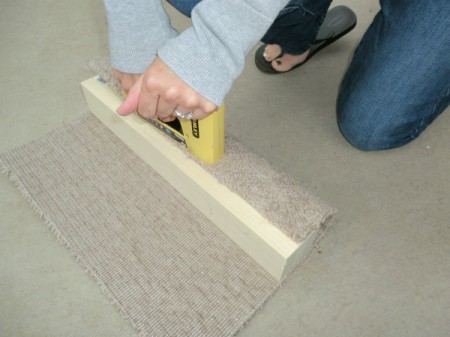
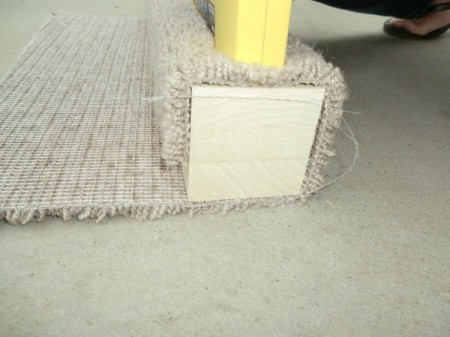
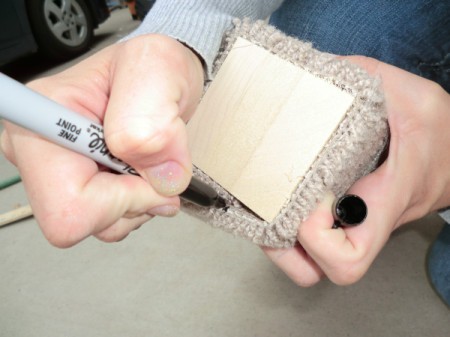
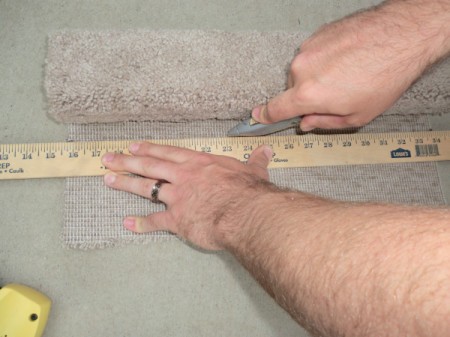
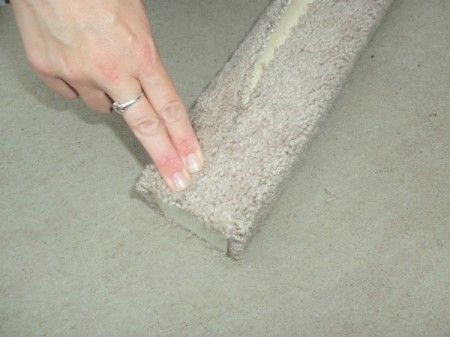
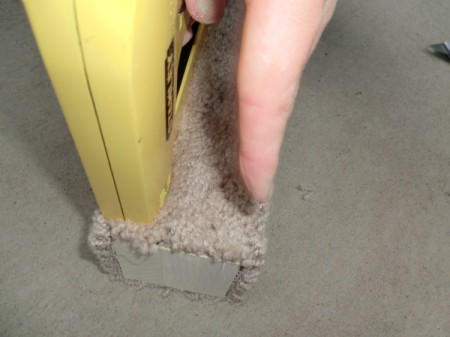
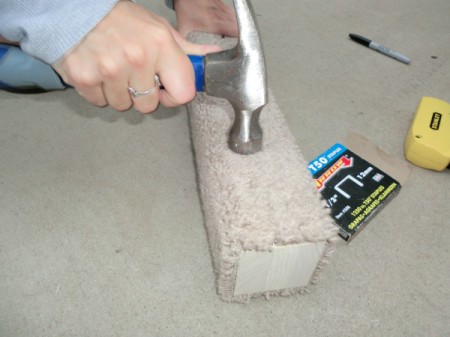
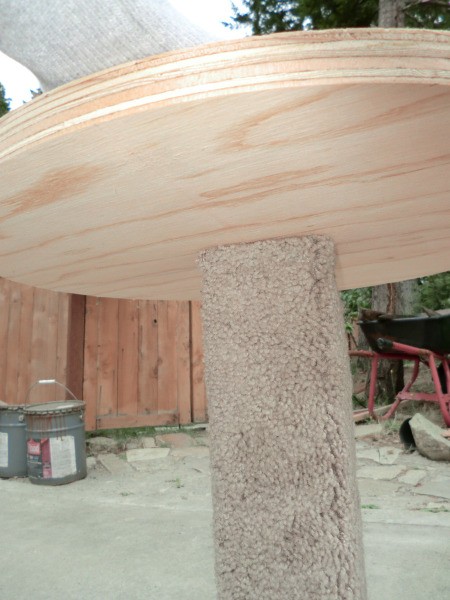
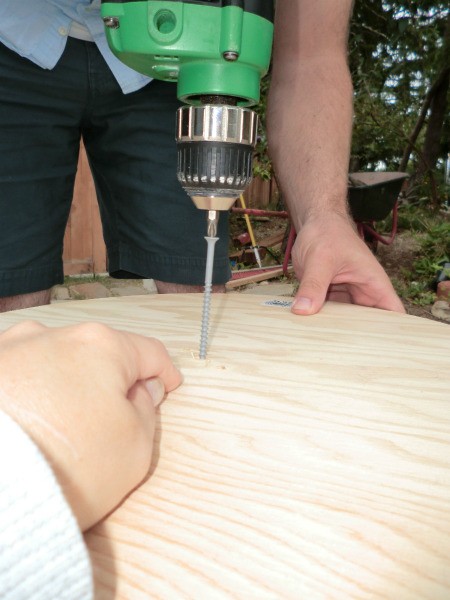
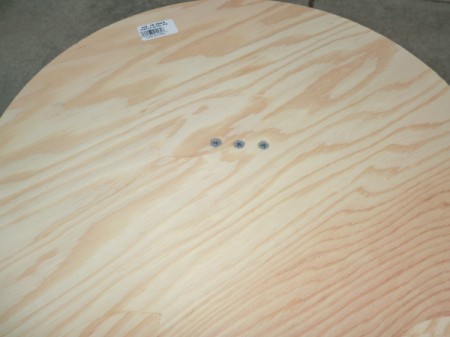
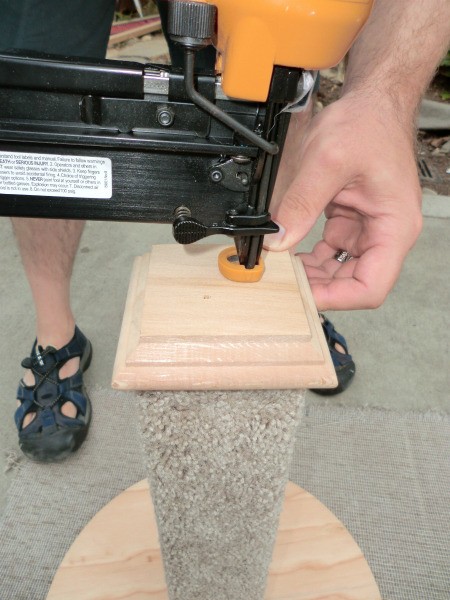
Steps:


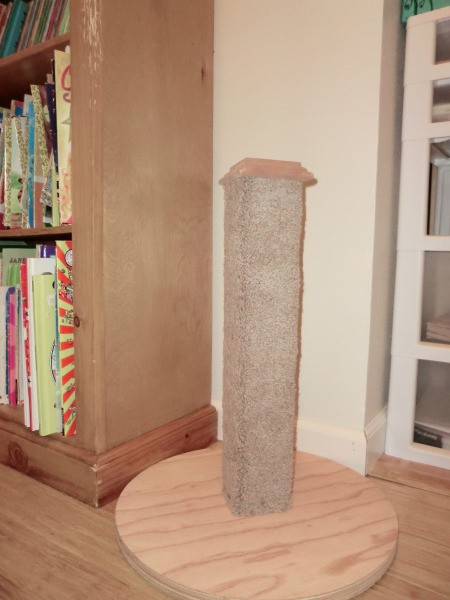
This is a video about building a cat scratching post. Cats love to scratch on things especially furniture. Prevent them from ruining your furniture by giving then an alternative place to sharpen their claws.