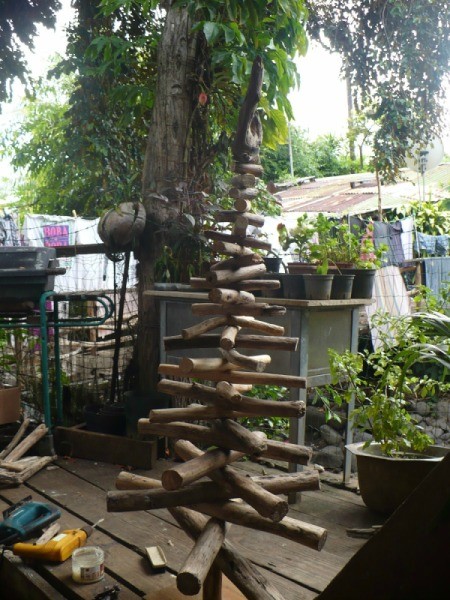
 Living in Tahiti has many advantages, but when it comes to Christmas it has one major disadvantage. We don't have live Christmas trees here on the islands. Therefore, we normally end up settling for an artificial tree this time of year. However, many years ago artificial trees weren't shipped here to the islands. So the people here on the islands used driftwood to make their trees for the holidays.
Source: A local tradition in Tahiti
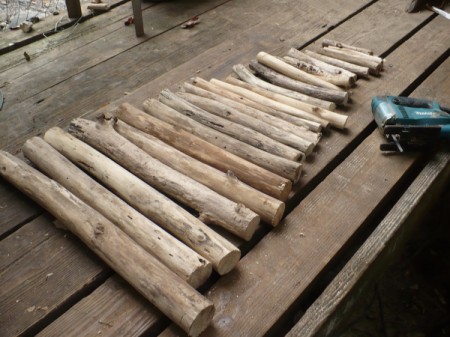
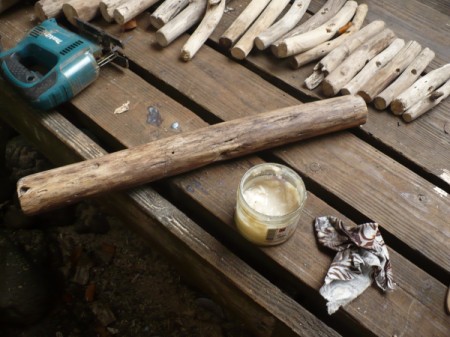
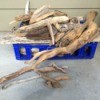
Supplies:
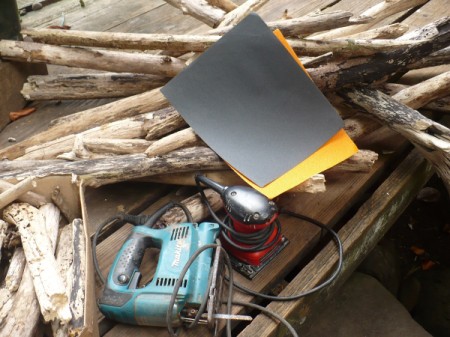
Steps: