ShirleyE
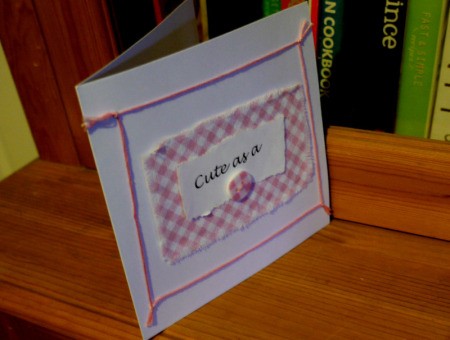
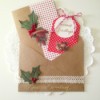
Bronze Post Medal for All Time! 239 Posts 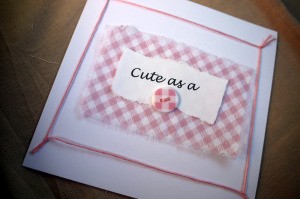 Every new baby is as cute as a button and deserves this lovely handmade greetings card. It is suitable for girls or boys - just change the colours. Or say "cute as buttons" for twins or triplets and use the appropriate number of buttons
Supplies:
- 1 blank greetings card
- 1 rectangle of woven fabric
- 1 button
- embroidery floss
- scissors
- strong clear glue
- the use of a printer

Steps:
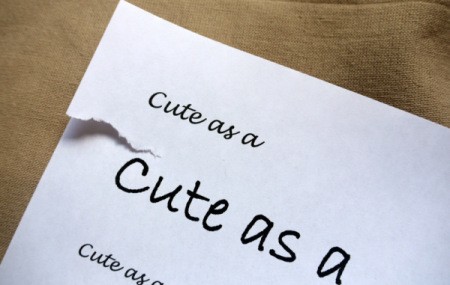
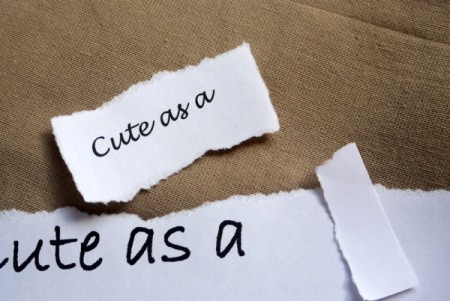
- Print out the message "cute as a" several times in different fonts. Choose the one you think will fit the card best and carefully tear it off.
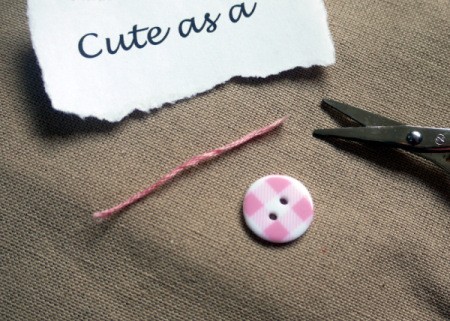
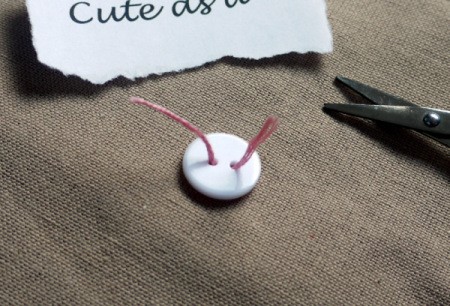
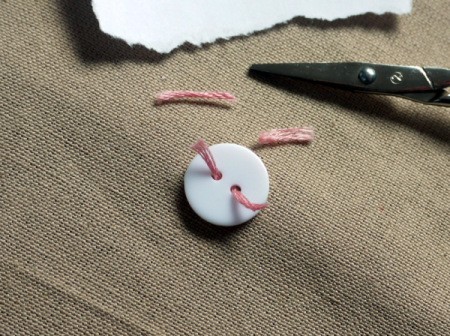
- Cut a short length of embroidery thread and pass the ends through the button holes.
- Trim the ends.

- Cut a rectangle or square of fabric bigger than the message.
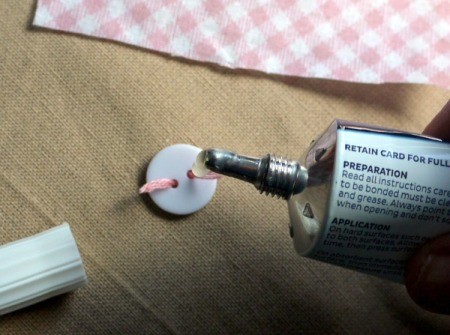
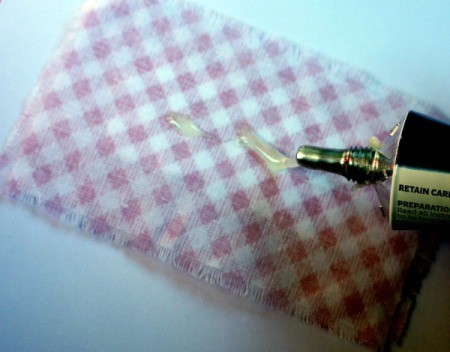
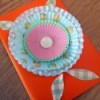
- Apply a generous amount of strong clear all purpose glue to the back of the button and also to the back of the message.
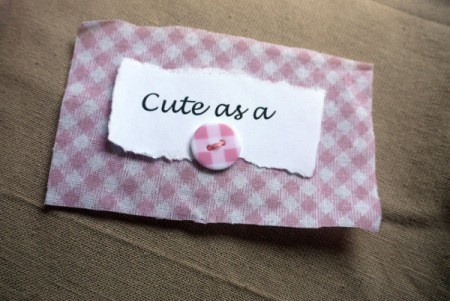
- Stick them in place on top of the fabric.
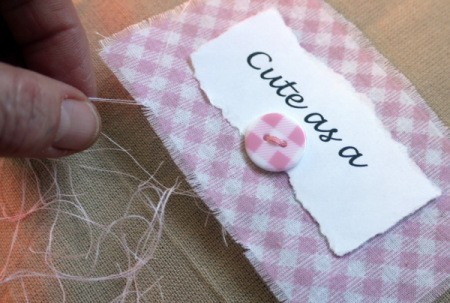
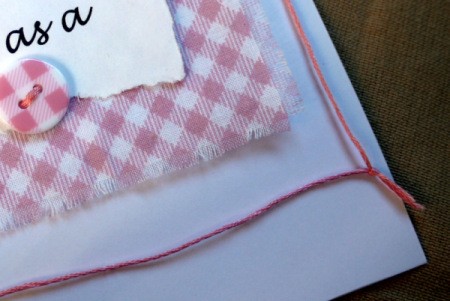
- Fray the edges of the fabric.
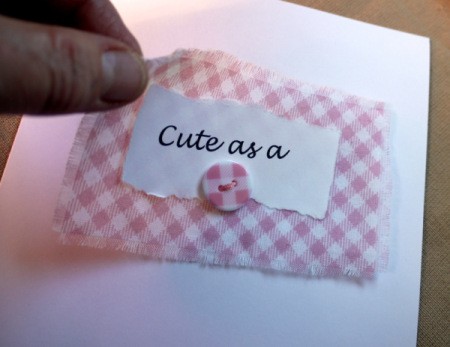
- Apply glue to the reverse of the fabric in the centre.
- Position it on the card.
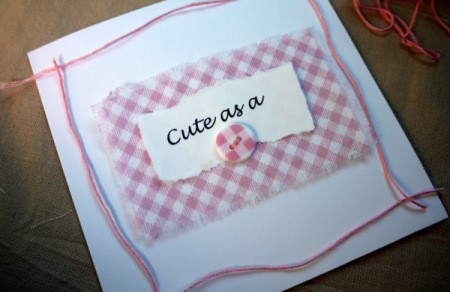
- Cut 4 lengths of embroidery floss to fit around the edges of the card.
- Tie them together and glue in place.
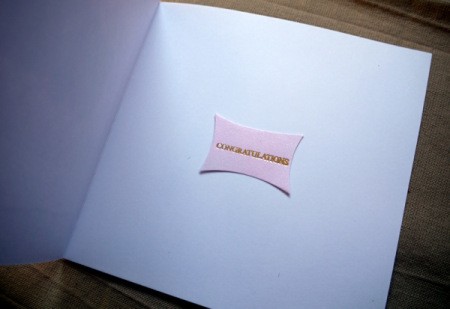
- Print out a message for the inside (or use a ready made message) and glue it in place.
Add your voice! Click below to comment. ThriftyFun is powered by your wisdom!