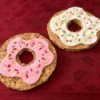
 Do you need a beautiful, inexpensive gift? Picture tile coasters are wonderful gifts no matter what the occasion is. Newlyweds may enjoy coasters with pictures of their wedding and new parents may enjoy coasters with pictures of their new bundle of joy. Picture tile coasters make great Christmas gifts, birthday gifts, and more. They are fun and easy to create, although they do take some time to complete from start to finish (most of which is drying time).
Total Time: Including dry time, it may take about a week to have completed coasters.
Supplies:
- glue gun with glue sticks
- 'Mod podge- found in the craft section of stores
- foam brush
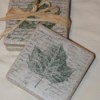
- 'tiles - I use 4.25"x4.25" smooth glossy ceramic tiles that can be found at various stores for less than $0.75 each. (I was excited to find a box of about 75 neutral-colored tiles at a rummage sale for $2!) Choose whichever color you think would be best.
- 'clear acrylic sealer - found in the craft section of stores
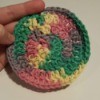
- 'felt
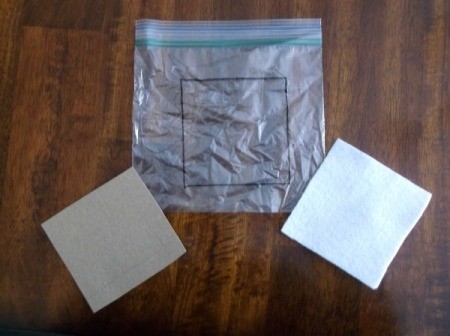
- 'thin cardboard (optional) - I used a cereal box
- 'clear sandwich bag (optional)
- 'newspapers or table cover to cover your work space (optional)
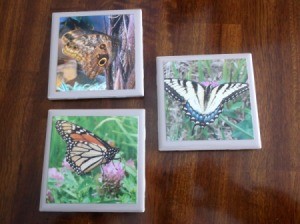
- 'pictures that you would like to put on the coaster
Steps:
If you are giving as a gift, think of what that person may enjoy having. If they are for a married couple's first Christmas together, maybe include a few favorite wedding photos. You get the idea!
I use 4x6 pictures that I cut down to the size I want on the coasters; however, you may be able to print your pictures to fit your desired size.
If you have printed your picture as the size you want on the coaster already, you can skip the first two steps. I do these steps because I use 4x6 printed pictures, so part of the picture needs to be cut to fit on the tiles properly.
- Optional - Cut the cardboard to the size that you would like the picture to be on your coaster. The cardboard will be used as your template when cutting out your picture. This template can be used over and over again with any additional coasters you make.
- Optional - Trace the cardboard template on to the clear sandwich bag with a pen or marker. Put the traced sandwich bag over top of the picture that you have chosen to put on your coaster. I like to do this so that I can see how much of the picture will be included on the tile and where I would like to cut the picture. When I have the picture lined up under the sandwich bag where I would like to cut it, I mark it with a pen. Then, I trace the cardboard template on to the picture where it will be cut.
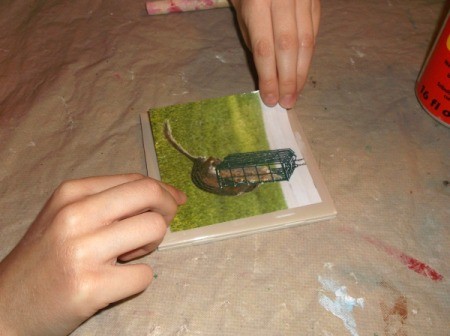
- Cut the picture so that it fits nicely on to your coaster. I personally think the coasters look nicer when you leave a small even gap around all four edges of the tile instead of having the picture go all the way off the edges.
- Quickly wipe off the tiles so there isn't any debris that will get on your picture. When you are satisfied with how you have cut your picture, put a thin layer of mod podge on to the back of the picture. This will act kind of like glue to hold it on to the tile. Make sure to flatten the picture entirely on to the tile mod podge side down. Try not to get fingerprints all over the front of the picture, if possible. Let this dry for a little while.
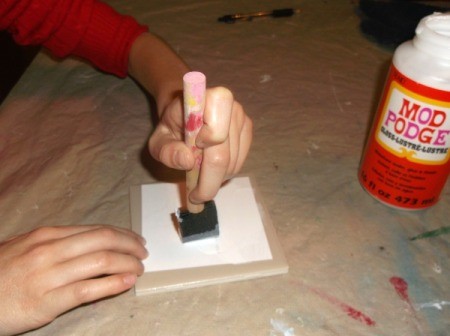
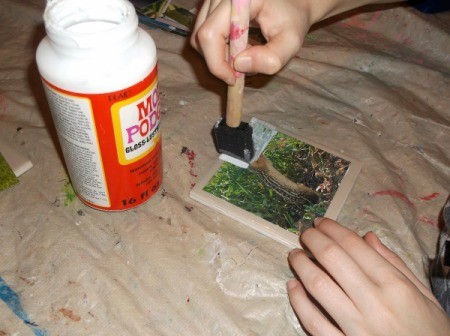
- If you don't give the mod podge enough time to dry on the picture back, the picture will slide all over the coaster, which can be very frustrating! Once the picture seems secure, cover the entire picture all the way to the ends of the tile with a layer of mod podge, making sure to keep all lines either horizontal or vertical. Let completely dry again.
- Once completely dry, do another coat of mod podge over top of the picture, going all the way to the ends of the coaster. Let dry.

- Spray a coat of clear acrylic sealer over the coaster. This is best done outside! Let dry. Spray another coat of clear acrylic sealer over the coaster. Let dry. If desired, you can spray a third layer of clear acrylic sealer over your coaster. I like to have the extra layers of the sealer to protect the pictures from any liquids.
When your coaster is completely finished, you should be able to put it under a running faucet and watch the water bead up and drip off of your coaster. I wouldn't suggest doing this for a long period of time, but it does make me feel better knowing that it won't be damaged after just one use. - Use the cardboard template that you created in step 1 to trace your felt. Cut the felt on your lines and hot glue it on to the back of your coaster, centering it like you had done with the picture on the front. If you would prefer, you can use cork board instead of felt on the back. Either way, this will protect any furniture from being scratched by the tile.
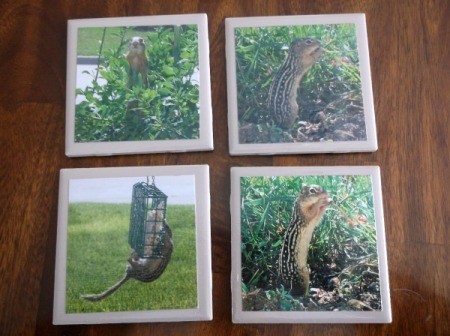
- Once the coasters are completely dry, I like to let them sit in my garage for a couple of days so that the smell of the sealer on them isn't overpowering. Once the odor has disappeared, you can wrap them for someone else or enjoy them yourself! The picture possibilities are endless. If you would prefer, you could set these on little stands for decoration. Have fun and enjoy!