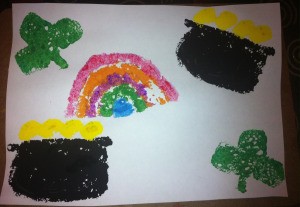
 Here's another fun, easy, and kid-friendly art activity for St. Patrick's Day. In this case, children use sponge shapes to paint with! Shamrocks and pots of gold are the easiest to make from the sponges. Older children should be able to draw and cut them out without much help. For my pre-k class, I usually cut the shapes beforehand so they can dive right into painting!
Total Time: 20 minutes to paint and a couple hours to dry
Yield: 4 paintings
Supplies:
- 5 pieces white construction paper
- 5 paint brushes or wash and reuse
- finger paint (black, yellow, green, and at least 3 other rainbow colors)
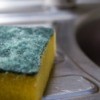
- 3 dish sponges
- 2 paper plates
- hot glue gun with stick (optional)
- 3 soda bottle caps (optional)
- scissors
- 1 permanent marker

Steps:
- Use a permanent marker to draw a shamrock, pot, and rainbow on the sponges.
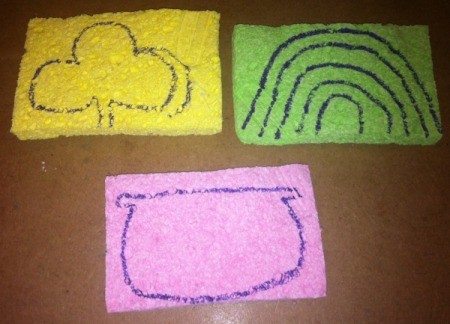
- Cut out each shape that you drew. New sponges are definitely easier to cut! I also drew and cut out a small circle to serve as a gold coin.
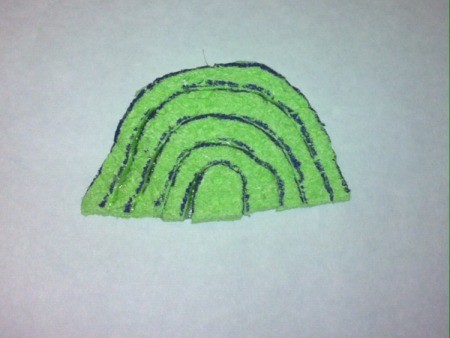
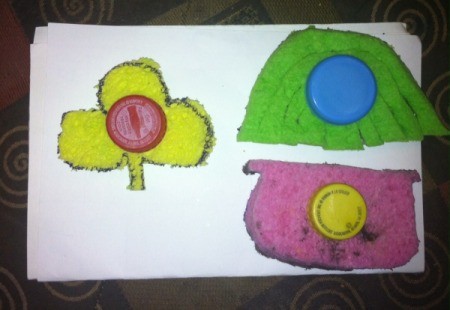
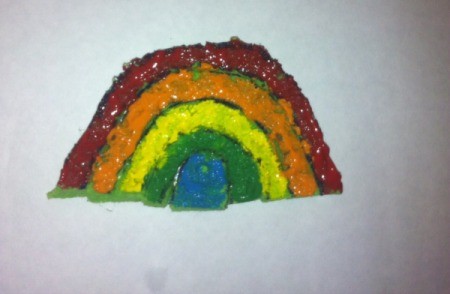
I cut the rainbow layers apart and hot glued them back together to add definition between the layers. The rainbow works whether you do that or not. - I didn't need this step, but younger kids might. Hot glue a soda bottle cap to one side of each sponge to serve as a knob to hold onto. Kids can dip the sponges in the paint easier and not get paint on their fingers.

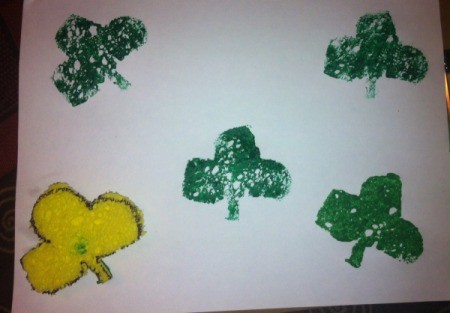
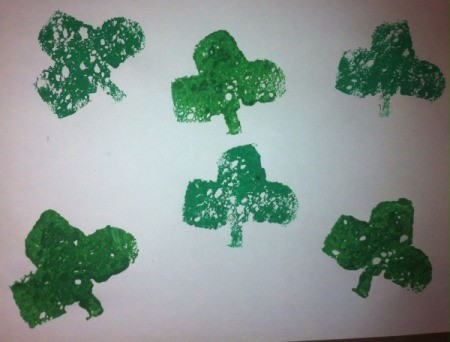
- For the shamrock painting, pour green paint in a plate and dip the sponge in it. Then press the shamrock onto the page. Add as many as you like.
- For the pot of gold, first dip the pot in black paint and press the amount you want on another page. Use the little circle sponge piece to add yellow coins on top.
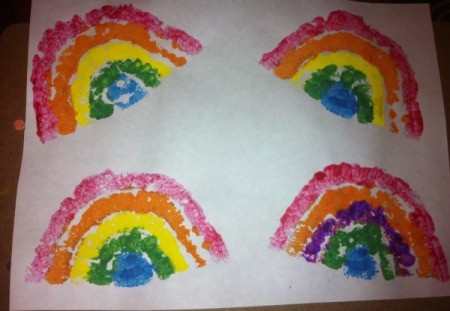
- For the rainbow, use paintbrushes to add colors to each layer. Press it to your third page.
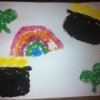
You can also use all of the sponge stamps on the same page, like in my main photo.
Add your voice! Click below to comment. ThriftyFun is powered by your wisdom!