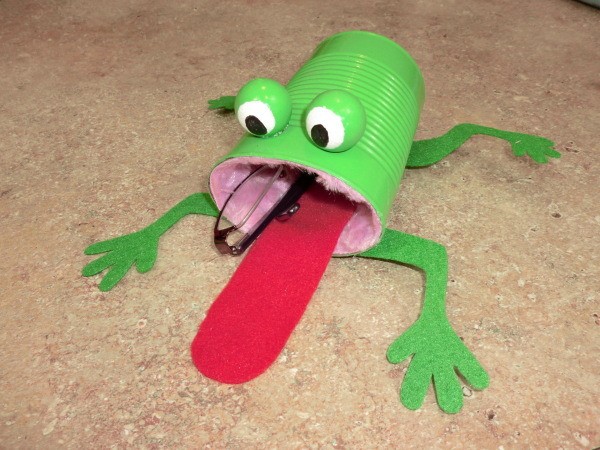
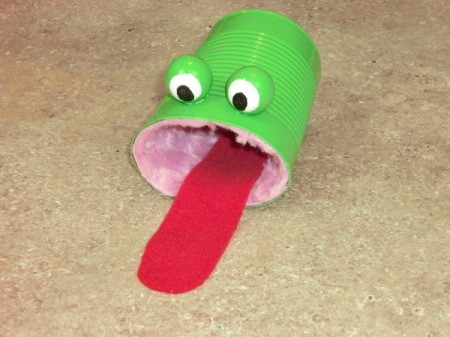
This big mouthed little frog is a great place to store your eyeglasses, iPod, or phone. It is a fun craft for kids to make or as a silly gift for a friend. He is sure to make you smile wherever he is.
Approximate Time: 1.5 hour
Advertisement
Supplies:
tin can (soup can size)
green paint
white paint
black paint
paint brushes
sm. round wooden craft heads
hot glue gun
pink fur
red fleece
scissors
stiff green felt
Instructions:
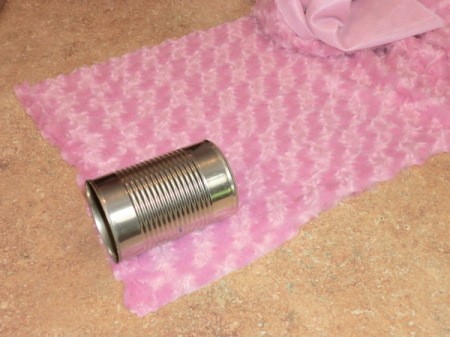
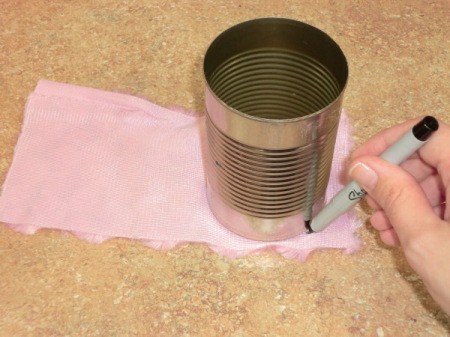
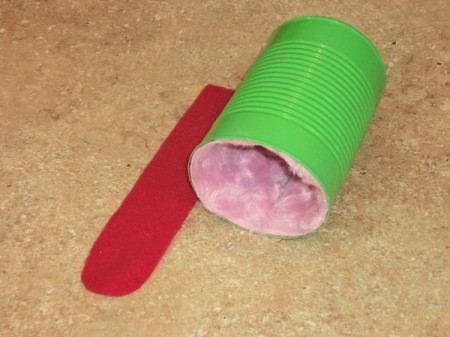
Lay your can on the piece of pink fur as a guide for cutting a strip of fur that will line the can. Cut fur to size. Then trace around the bottom of the can on the backside of the fur to make a circle for the inside, bottom of the can. Set cut fur aside.
Using green acrylic craft paint, paint the can and wooden heads (for eyes). Allow to dry.
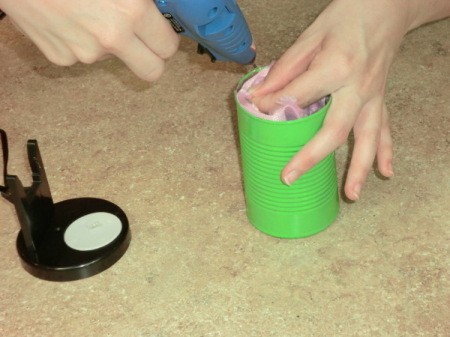
Apply hot glue to the backside of the fur circle and adhere to the inside, bottom of the can. Now fit the strip of fur for the sides into the can.
Advertisement
Run a line of hot glue down the inside of the can to adhere the edge of the fur. Now apply hot glue near the top edge, all the way around the can, adhering the fur as you go. Then apply another line of hot glue down the side and adhere the end of the fur.
Next, cut out a long slender tongue from the red fleece that is a little longer than the can so that it hangs out. Apply hot glue to the back and adhere it along the seam of the fur.
Using white paint, paint the whites of the frog's eyes. Allow to dry. Once dry, use black paint to paint the pupil.
Advertisement
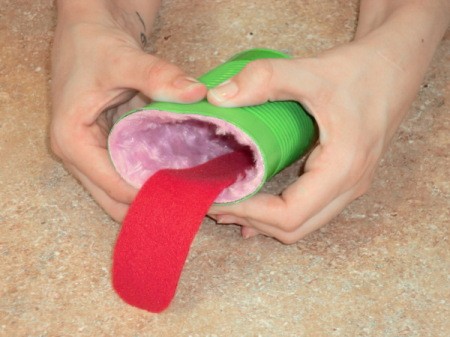
Gently squeeze the opening of the can to make the mouth wider and flatter.
Using hot glue, adhere the eyes to the top of the can.
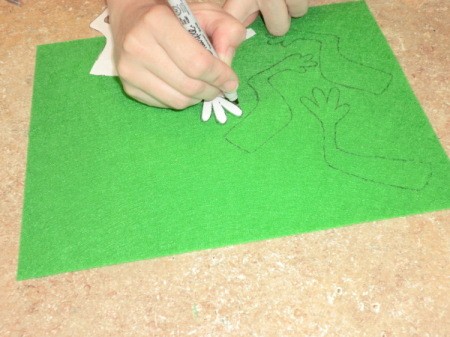
Next, on a piece of paper draw a front leg and a back leg. Trace each of the twice onto the green felt.
Cut them out and hot glue the to the bottom of the can. I recommend laying them out and "testing fitting" them so that you apply the glue on the correct side of the felt.