
ThriftyFun is now on Pinterest! Click below to follow us.
![]()
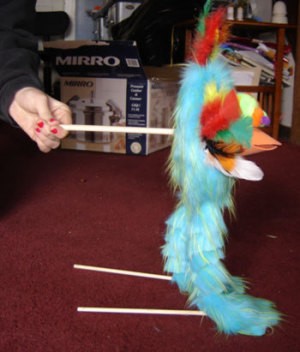
This week's featured craft is Adorable Yarn Bunny Craft.
We have several new guides we are working on this week. Please look them over and see if you have any advice to share.
Like ThriftyFun on Facebook: https://www.Facebook.com/ThriftyFunFB.
ThriftyFun now publishes over 20 newsletters a day in a wide variety of topics! Subscribe to additional newsletters here: http://www.thriftyfun.com/about/subscribe.lasso
Many of our submissions are entered in one of our weekly contests. Winning submissions receive $25! Be sure to give a "thumbs up" to your favorite posts as we use these ratings to help select a winner.
Thanks for reading,
The ThriftyFun Team
 This video by Christina Crawford, from Stamping With Style, talks about the basics of stamping. Watch the related videos to learn more about cleaning your stamps and color coordinating your projects.
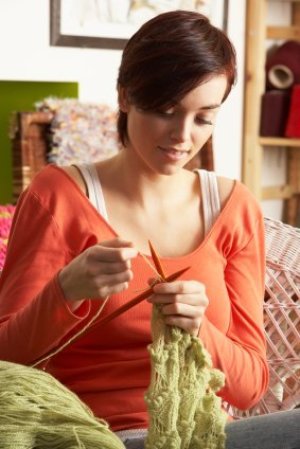
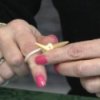 This video series by Toni Lipe, of Toni's Design Studio, teaches you the basics of how to knit. Be sure to watch the related videos for additional steps and more great knitting tips.
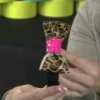 This video shows you how to make cute hair clips and bands from duct tape. Watch the related videos for more great duct tape crafts.
By ironduck2003 from Cortez, CO
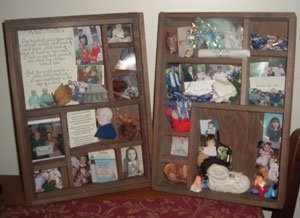
Memory boxes are a wonderful way of preserving small bits and pieces of your most treasured memories. They are easily made using thin wood or particle board and then stained or painted. My boxes are 11 inches x 14 inches with one main T-shaped shelf, 3 "cubbies" in the top right hand corner, plus 3 medium "cubbies" below the top shelf, and 2 small cubbies on each side. They can be stained or painted, covered in glass to prevent dust, or left open.
In the picture the one on the left contains mementos of my parents. It contains photos of them with their grandchildren, 50th anniversary photos and mementos, a poem of tribute to them, and dried roses from their funerals. The other box contains mementos of my children with photos, baby booties, graduation tassels, wedding mementos, and sports pins. I cherish these so because I can look at these and in one glance see reminders of little things that meant so much to me throughout my life.
By Sharon, Ky
Approximate Time: about 1.5 hours
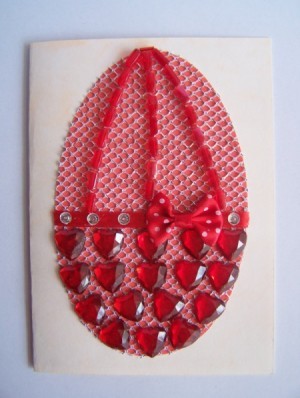
By Rachel's Mom from Wilkesboro, NC
Approximate Time: 20 minutes, excluding the time waiting for the eggs to cool down
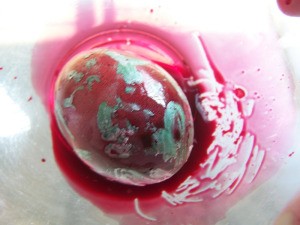
Photos included:
Photo 1: Dip each egg into one of the food colorings ~ make sure that the egg is covered all over with the coloring.
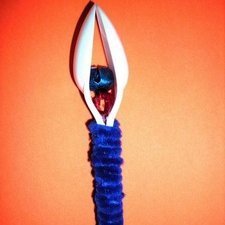
Photo 2: Dip the paintbrush into the melted wax and draw patterns onto the egg with the melted wax.
Photo 3: As soon as the wax that you have painted onto the egg has hardened, dip the egg into a second food coloring.
Photo 4: Use the cotton buds and the acrylic paint to add some detail to the egg.
Photo 5: Once the acrylic paint has dried, add some more detail to the egg with the Artline pen.
Photo 6: Finish the egg by decorating it with the ribbon, bow or rhinestones.
By Benetta from Pretoria, Gauteng
Approximate Time: 3 hours
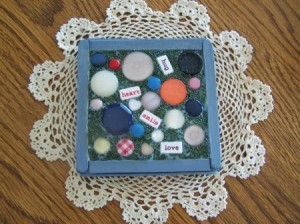
Note: If you choose shank buttons make sure they are no taller than the top of the craft sticks or cut the shank off with nippers.
By Ann Winberg from Loup City, NE
Approximate Time: 20 minutes
By Benetta from Pretoria, Gauteng
This sounds like long directions, but it is a very easy fun project to do with the kids!
By Jackie from Norton, MA

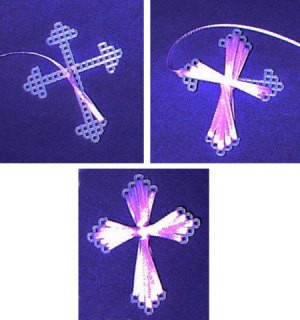
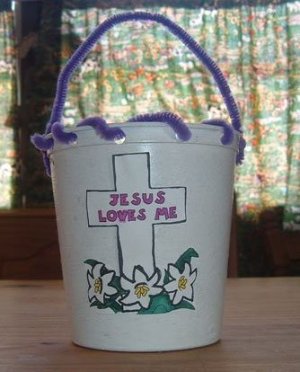
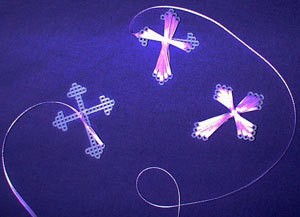
First you should cut a pattern, start with a rectangle that is 21 squares by 17. Find the center on top edge, leave center square uncut. Cut diagonally until you reach side. You now have a start to the top of the cross. Cross points should go, 1 square/3 square/5 square and then switch to strips of squares, that meet in center.
This may be confusing, but once you start making it everything will start making sense. Write if you need more help.
By Starchild in VT from Lamoille County, VT
By Missy from Pine City, NY
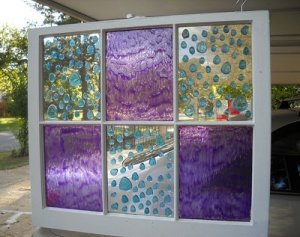
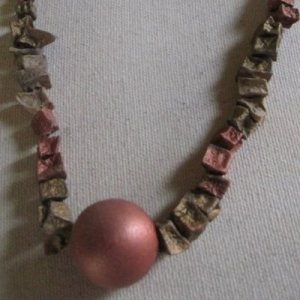
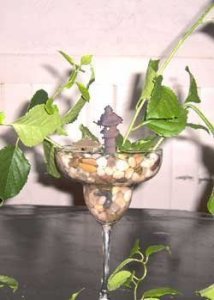
From the time that I was little, there was nearly always a cutting from a plant sitting in a glass in a sunny window in my grandmother's kitchen. I continue the tradition when I can, but my own tastes run to using the glasses and jars that I find in my shopping travels. Beautiful glasses are so very inexpensive, and lend themselves to creating lovely things. I seldom can pass up an unusual piece of crystal. The shape of this glass is unique, but the garden idea can be used with any wide mouthed bowl glass, or even a large brandy snifter.
The peace and serenity of an Oriental garden are equal parts color, living plants, and the natural stone. Even the structures that are placed in the garden are in keeping with nature, sandstone or natural wood, in lines that harmonize with the graceful shapes of garden plants. The materials used for the cuttings planter are simple to find and easy to assemble.
Caring for your planter:
Simply top up the water any time that the surface of the rocks is dry.
By Sally D
By Betty from MO
If we can't find a pattern to sew, I'm willing to buy one. I've already seen the Paula Young website, they didn't have anything.
2 cancer patients near and dear to me will send their thanks, and I send my thanks along with them.
By Karen
By Tammie
By J.B.
By lesley from England, UK
By judybug
By Cher
By Perla
By Joan
By GeorgiaBulldogsFan from Jesup, GA
By Ada Girl from Fremont, OH