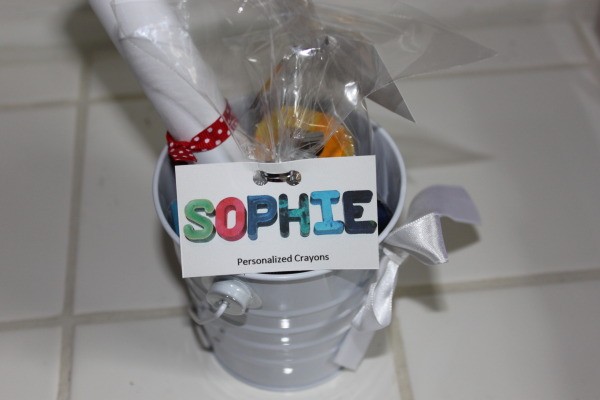
I threw my daughter an arts and crafts party for her 3rd birthday. For favors, I made each child their own set of personalized crayons spelling out their own name.
What you need:
- crayons (Crayola work the best)
- silicone trays (I used alphabet ice cube trays, you can find them on Amazon)
- cookie sheet
- oven
Directions:
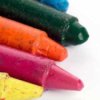
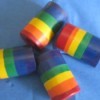
- Remove the wrapper from the crayons and start breaking them into smaller pieces. I used about 2-3 crayons and tended to stick to similar colored crayons per letter.
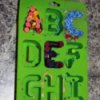
- Fill your mold with the pieces of broken crayon. I filled mine to the top, remember, they will melt down and shrink in size. Again, I used my alphabet silicone mold, but you could use any shape you want (flowers, cars, just find the mold).
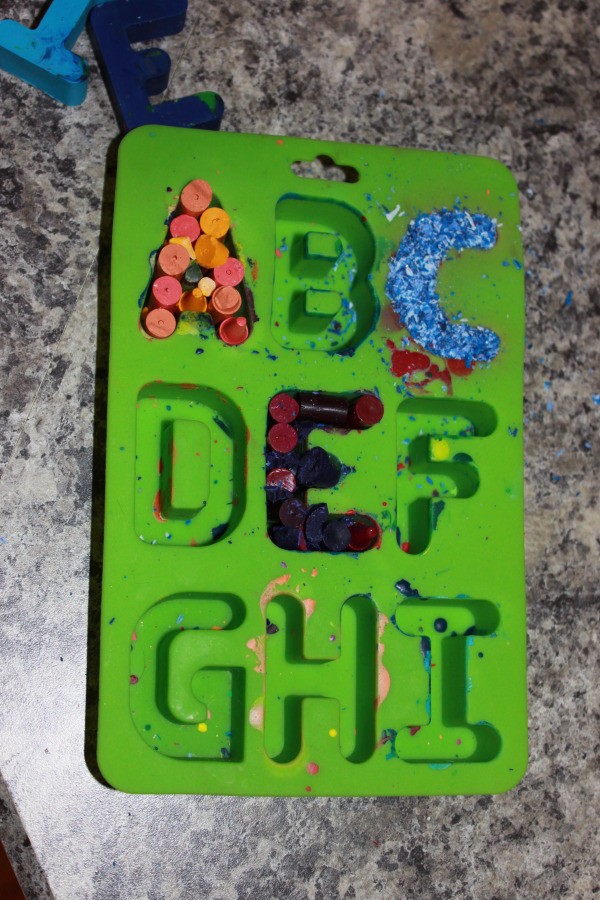
- Preheat the oven to 225 degrees F. Set the silicone molds onto a cookie sheet and bake for 20-25 minutes.
- The better quality crayons you use, the less clear wax will rise up to the surface. If you notice a lot of clear wax at the top of the mold, you can attempt to mix it. I used a paper clip (I stretched it out straight) to stir in the clear wax back into the rest of the colored wax. If you opt to incorporate the clear wax back into the colored wax, you must do it immediately after you remove the molds from the oven. As the crayon starts to harden, you won't be able to mix, it will just clump.
- Wait for the crayons to set up and completely cool off before removing them from the silicone tray. This is the hardest part, the waiting, BUT if you rush it, your crayons won't be hard enough to pop out of the mold and will break, SO wait!
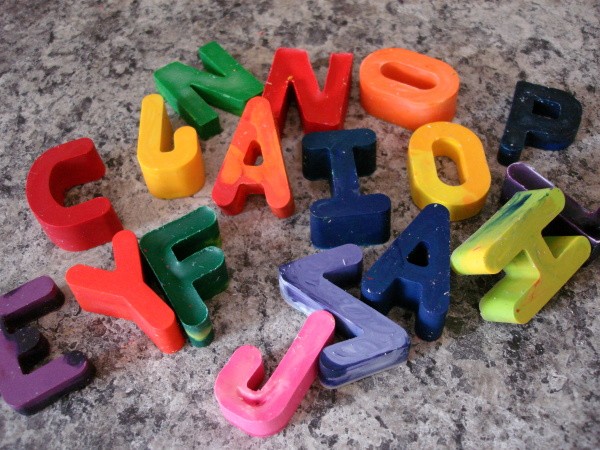
- After I completed the set of crayon letters I needed for a guest's name, I placed them, in order, on white paper and photographed them.
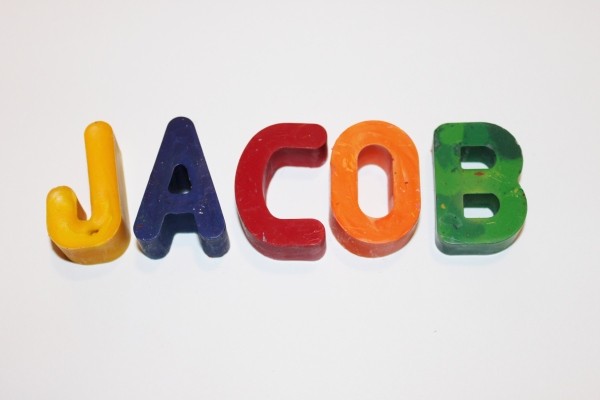
- I then pulled the image into a word document, into a text box I could resize and typed 'personalized crayons' under the picture. I printed these out and used them as tags for my favors.

This is so simple, personal, and inexpensive. I hope you enjoy!
By Mom2Gracie from Wheaton