You have a great old wool sweater that you just love and can't part with. But it is too small, has holes in it, and accidentally was washed and shrunk. So what do you do with it besides pass it on to the kids? You make it into a purse that you can carry with you everywhere.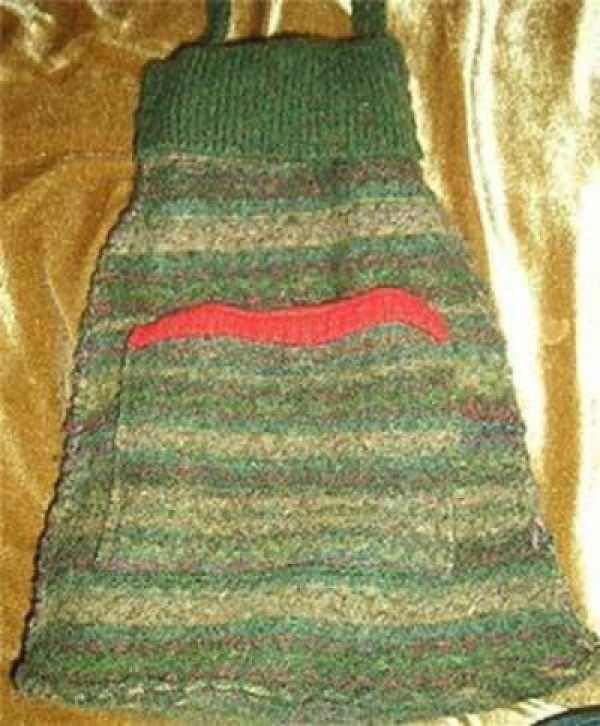
Supplies Needed:
- 90% to 100% Wool Sweater
- scissors
- dual duty thread in coordinating color
- sewing machine
- straight pins
- any embellishments that you would like to add
Directions:
- If you haven't already accidentally washed your sweater and shrink it you will need to do this first. This is called felting the wool and so simple to do. Fill your washer with the hottest water possible. Dunk your sweater in the water making sure that it is thoroughly saturated with water. Next apply dish washing soap directly to the sweater making sure that it is really sudsy. Place back in the washer and start the wash cycle like normal. You also want to rinse the sweater in hot water. This is very important to insure that all the fibers shrink/felt properly. After the sweater is finished in the wash place in the drier on the hottest setting until it is completely dry. You will see that the fibers are now tightly woven together. You are ready to make your purse.
- Lay sweater wrong side out and cut the sleeves from the sweater making a perpendicular cut at the armpits.
- Cut the seams from the sleeves to open them up and lay them flat. The sleeves will form the body of your purse so you may want to iron them flat at this point.

- If you want to add an outside or inside pocket to your purse you will want to cut this in the shape and size you want from the body of the sweater or use scraps of other materials or another sweater you have.
- Place the pockets on the sleeve pieces where you would like them to be and use a straight stitch to attach them.
- Take care to make sure that the pockets are placed so that the arm bands are still the top of your purse.
- Take care when cutting pockets to leave one side whole for the base and to only cut one seam on the waist band because this will be needed later to make the strap for the purse.
- Lay the sleeves wrong sides out and pin them together.
- Now sew the left and right seams only using a simple straight stitch or a zig zag stitch depending on what you prefer. If you have a serger you can also serge the side seams for a neater appearance.
- The base is easy to cut and apply. Measure the bottom of your purse to determine the size of the base piece you will need. Make sure that you cut the piece larger than what you think you need.
- After you cut the piece and you have turned your purse right side out attach the base piece using straight pins.
- Now sew the two pieces together. You should have an overlap all the around the base. It is important that you have this and it is important that you sew the two pieces together with the purse body right side out. This helps the bag to have some stability.
- Now you can either leave the overlap if you like how it looks or you can trim it. This all depends on you.
- To make the strap you need that waist band that you reserved. If you haven't cut it off already you will need to do so at this time. Take care to cut it in one long piece.
- Now lay it flat and fold each other so that they just over lap one another. Sew down the middle of the piece to hold the folds in place. Sew two additional seams one on each side of the middle seam.
- Pin the shoulder strap to the inside of the purse side seams and adjust to the desired length. You may need to cut the strap to shorten it to the length that you desire.
- Sew to the side seams making sure it is sturdy and will hold.
- You can now adorn the purse with any additional decorations that you would like to add.
Keep the scraps from this project because you may want to use them later when you make another purse. If you haven't cut the body of the sweater up you can also keep it and make another purse or you can make a wool diaper cover.
Have fun with you purse. You are going to get a lot of requests to make them for others. If you don't have any wool sweater hit your local thrift store. I only paid 50 cents for the sweater I used in the picture. Be creative and enjoy what you are doing.