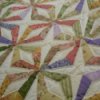
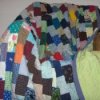
Ready to give quilting a try? Paper piecing allows you to more easily piece intricate patterns for your quilt blocks. Here are the instructions to make a simple paper pieced block. Once you have mastered this block you will be off to try more difficult patterns.
Remember that newly purchased fabric will need to be washed and dried prior to use. This will pre-shrink the fabric. You will also want to test for colorfastness at this time (reds in particular). After washing and drying it, iron the fabric and trim off any stray threads along the edges.
Approximate Time: 20 minutes
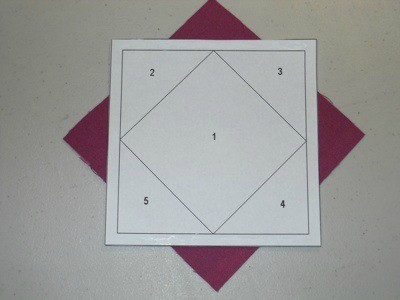
First print or copy the number of pattern blocks you will need for the project. Here we are making a sample block, so we only needed one pattern page. Be sure to measure your copy to verify that it is the correct size. The foundation paper piecing technique will destroy the paper pattern, as you will be tearing the paper pattern off, once the block is complete. So be sure to make enough, when making a full-sized project and check them all for size.
Set the stitch length on your sewing machine to a small/short stitch, approximately 12-18 stitches per inch, or 1.5 on a machine with a stitch range of 0 - 5. It is recommended that you use a larger needle (90/14). The larger needle and shorter stitch length will allow you to remove the paper more easily.
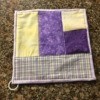
Cut a piece of fabric large enough to cover the area labeled #1. Make sure this piece is at least 1/4 inch larger all the way around. Now center the fabric RIGHT side up on the "unprinted" side of your paper pattern. You can use a small piece of tape, a pin, or dab from a glue stick to hold this first piece in place.
Turn the paper over and hold it up to a light. Make sure that the fabric extends beyond the stitching lines.
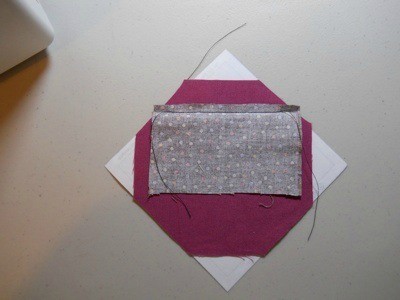
Now cut your next piece of fabric large enough to cover the #2 space, including 1/4 inch all the way around. Place this piece "right side down" on the first piece. Once again hold up to a light and check coverage. Make sure that you have your #2 (and subsequent) pieces oriented correctly so that they fold back from the seam and cover the correct area of the pattern, with the right side of the fabric facing up.
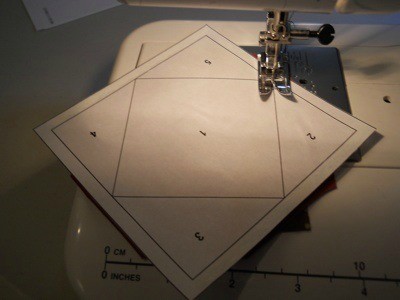
Once you are sure of correct placement turn paper and fabric over and sew pieces 1 and 2 along the stitching line on the printed side of the paper pattern.
Note: Some quilters recommend that you begin and end the stitching inside of the 1/4 inch seam allowance.
Backstitching does not replace the cross seaming that occurs when your seams extend into the 1/4 inch seam allowance area. This step will help reduce the chance of a gap occurring in the patchwork as subsequent pieces are added.
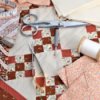
After adding each new piece of fabric, trim the seam allowance to 1/4 inch. Take care not to cut the paper pattern.
Now open the piece out from the seam and press flat (on the right side of the fabric) using either a dry iron or specialized tool.

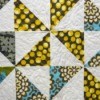
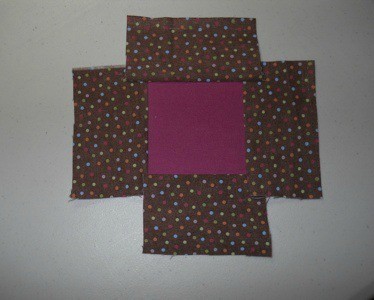
Continue this process adding pieces in numerical order. Once your block is finished give it a final pressing.
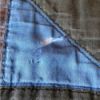
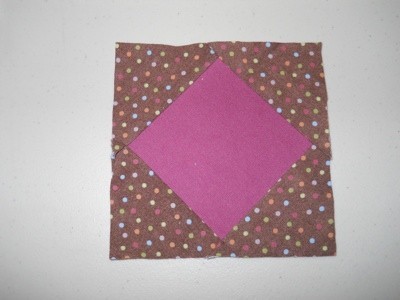
Carefully trim away the excess fabric along the outside of the 1/4 inch seamline of the foundation paper. DO NOT sew along the outer seamline at this time. You will be piecing the blocks later and taking a 1/4 inch seam at that time.
The foundation paper can be removed at this point or it can be left on the blocks until they have been sewn together. Removing will help reduce the bulk, but leaving it attached adds some stability. You can be the judge based on the fabric being used. If it is stretchy you will probably want to leave the paper attached.
You are now ready to move on to your next block. Happy paper piecing.
Coming Attractions: We will be posting an example of a more intricate paper pieced block in the coming weeks.
By lalala... from Port Orchard
Add your voice! Click below to comment. ThriftyFun is powered by your wisdom!