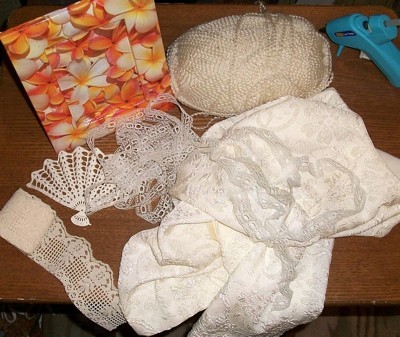
With just about any frame that has wide edges, you can make a beautiful frame from fabric and scrap embellishments.
Approximate Time: 1.5 hours
The first thing to do is make sure your fabric will cover the front, but fold around to the back, as well.
Hot glue all four corners, then the middle of the top, bottom, and both sides. This will secure the fabric while you work. Do not worry now about the center where the photo goes.
Choose the lace that will cover some of the fabric. My frame was a horrible orange design, so the fabric didn't hide the color as well, but it was all I had at the time.
I didn't want lace around the bottom, so I glued from the right bottom up, folded and went across the top, folded again and went to the left bottom.
Note: I made a mistake in making the folds on each corner the same direction. It looks better if they are either facing each other, or facing away from each other, just so you know.
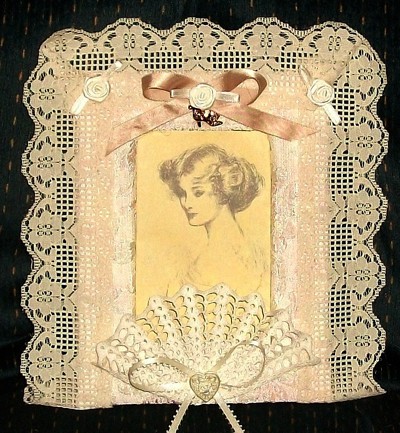
Once the lace is on, I embellished with buttons, bows, ribbon, and set out to put the photo in.
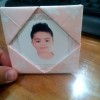
I printed the photo from a copyright free website, then made sure I had the cardboard just the right size. If the frame is recessed, this is vital before you put the photo on it.
I then cut out an oblong piece of the fabric that was taut across the photo indentation.
I then miter cut about 1/4 inch up so the fabric would lay down.
Just a little tape to hold it down is all you need to keep the fabric from either bunching or being so tight you can't get the photo in place. Then, with the photo taped to the cardboard, and hot glue in place on the back, press the photo in place and hold down for 15 seconds.
Note: Do not use high temp glue. Not only will you be using a lot of lace and it can give you 2nd degree burns, but it might bleed through the cardboard and ruin the photo.
Once the photo is in, you can put a string of beads around the photo, but the gluing is tricky so I just left it alone.
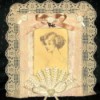
I then put the fan on, covering about an inch or so of the photo.
Your taste and what you have to work with will, of course, make your frame look distinct and unique. It won't look like mine, but this give you an idea of the wonderful things you can do.
Photo: You can leave the frame "photo less" if you think someone would like to put in their own family member. You can embellish it like mine. Or, you can give this as a gift with your photo in it.
I hope you enjoy this, as I did.
By Sandi/Poor But Proud from Coos Bay OR
Add your voice! Click below to comment. ThriftyFun is powered by your wisdom!
Add your voice! Click below to comment. ThriftyFun is powered by your wisdom!