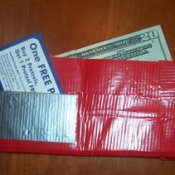
This very simple version of an old duct tape favorite is functional and sturdy enough for everyday use.
Items Needed:
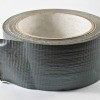
duct tape (various colors)
Advertisement
scissors
Instructions:
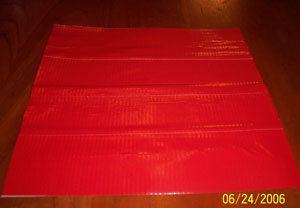
Take 4 strips of duct tape 7 inches long. Lay them on a flat surface, sticky side up, attaching each one to the next by overlapping a very thin strip length ways.
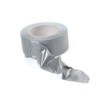
Take 4 additional strips of duct tape 7 inches long. Lay them sticky side to sticky side on the other duct tape sheet. Now, you have "duct tape fabric".
Trim off any excess sticky tape around the edges.
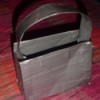
Fold your "duct tape fabric" in half length ways. You should end up with a long rectangle.
Use a piece of duct tape to close one of the sides of the rectangle. Trim off any extra duct tape around the edges.
Fold the wallet in half and, keeping it folded, use a piece of duct tape to close the remaining open side of the wallet. (Keeping it folded will help you to avoid the duct tape bulging.)
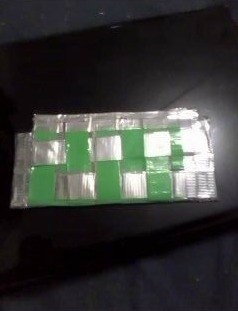
Personalize your wallet with duct tape designs. I added a pocket to my wallet for receipts or possibly a credit card. Just use two strips of duct tape that are the same length as one side of the wallet. Make those two pieces into "duct tape fabric". Attach to the wallet with the same or a complimentary color of duct tape.
Advertisement
Fairly easy craft that could be done with upper elementary aged children.
 This very simple version of an old duct tape favorite is functional and sturdy enough for everyday use.