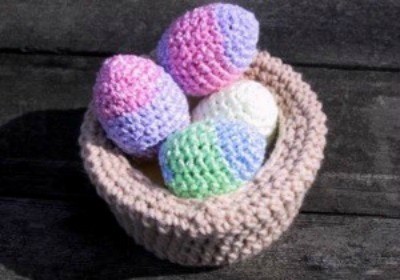
Turn plastic Easter eggs into a special treat holder, by covering them with handmade crochet covers. This is a page about making crochet Easter egg covers.
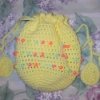
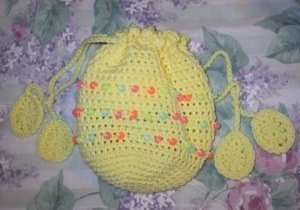
This is a page about making a crochet beaded Easter bag. You will enjoy making and using this cute little crochet beaded Easter bag.

Crochet a collection of pretty flowers to make an Easter bouquet. This is a page about making crocheted Easter flowers.

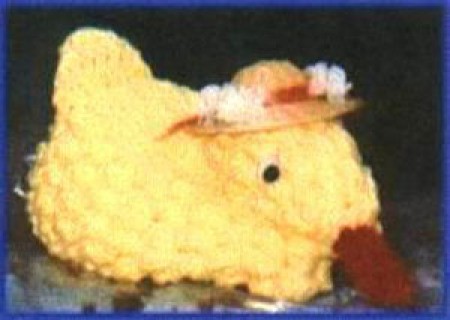
Crochet this cute little duck and add some jellybeans or other small candies to her drawstring pouch. This is a page about making a crochet jellybean duck.
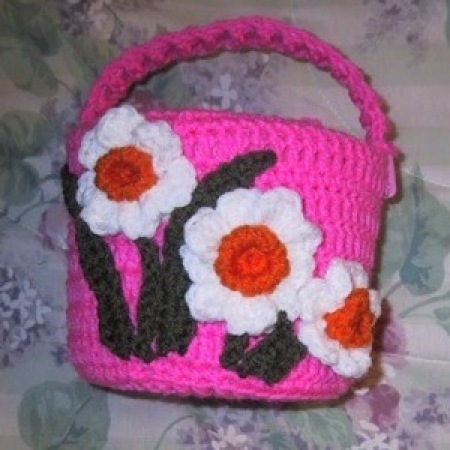
A fun crochet project is a handmade Easter basket. This is a page about making crocheted Easter baskets.