 This is a great way to have a very nice, sturdy cutting board on your kitchen counter or use as a craft board to glue gun or make small items. Recycle pieces of countertop that would normally be discarded.
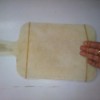
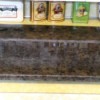
I saw a bin of pieces of countertop cutouts (from sinks and leftover pieces) in a bin at a local thrift store and decided to make it into a cutting board. You might have your own piece from building your home, or at a local building supply facility, etc...
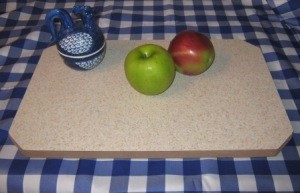
I selected one, brought it home and painted the rough cut edges with tole paint, color choice is yours! Pick a color to blend in or a contrast that matches your kitchen color scheme. Then adhere large felt furniture pads (sticky on one side) to each corner, this will stop it from sliding around and protect your kitchen counter.
This is great for making sandwiches, buttering your toast in the morning, cutting veggies, etc...and very very inexpensive. I made the one pictured for six dollars. Most good cutting boards are much more than this. I couldnt wait to throw out my old plastic one!
By linn from Canada
This page contains the following solutions.
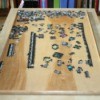
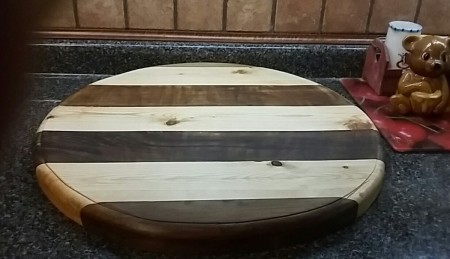
My husband made this board from scraps left from a breakfast bar top. The breakfast bar was made from different types of wood glued together, sanded and stained.
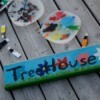
This project takes giving a gift with a personal touch to a whole new level.. Follow these steps to create a fun and functional cutting board designed (by you!) to match their kitchen and their personality perfectly.