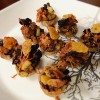
 Mushroom are used in lots of casseroles and soups as well as fried with onions for some good toppings on meat and potatoes. Now if you want fresh, fried mushrooms, you need to find an experienced mushroom hunter and go hunting. Experience is essential to avoid picking a poisonous mushroom. For canning, you do not need wild mushrooms.
Supplies:
- pressure canner
- set with funnel, tongs, lid lifter, and headspace measure
- pint or 1/2 pint jars
- lids and bands
- a saucepan
- ascorbic acid powder or vitamin C tablet (500 mg)
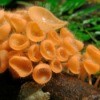
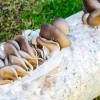
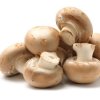
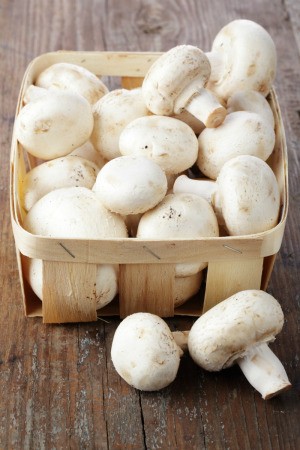
Selecting and Preparing Mushrooms
Select colorful domestic mushrooms. Look for any discolorations or spots on the mushrooms. Pick the ones with the caps still closed on the stem. Soak in cool water to get them clean for 10 minutes. Rinse off the mushrooms. Cut larger mushrooms and leave small ones whole. Place in a saucepan and cover with water. Boil for 5 minutes.
Canning Jars
To prepare the jars, they can be washed in a dishwasher if it has a sanitizing cycle. The jars can be left in the dishwasher on a heat cycle. The lids need to be washed and left in the hot water. The canner needs to be filled so that there will be an inch of boiling water over the top of the jars.
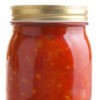
Canning the Mushrooms
- Fill jars with mushrooms leaving 1 inch headspace.
- Add 1/2 teaspoon of salt, if desired. Add 1/8 teaspoon of ascorbic acid powder, or a 500 milligram tablet of vitamin C for color to each pint jar.
- Add hot water to the mushrooms. Be sure that the mushrooms are covered, maintaining 1 inch headspace. Put the lid and bands on the top of the jar. Place jars into the canner.
- Turn on the heat and bring the heat up until the pressure builds to 11 pounds. When it reaches 11 pounds, turn on the timer for 45 minutes. After 45 minutes, turn off the heat, and let the pressure release. Once the pressure is down, take the top off the canner and remove the jars.
- Using the jar grabber, place each jar on a wooden cutting board or a thick towel on a level spot to let the jars seal completely and cool. If you leave them overnight, you can count on them being ready to put away in a cool, dark spot in the morning.
By Mary Belk