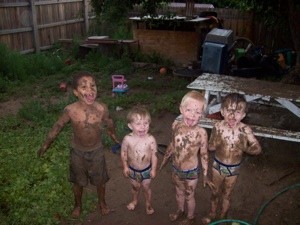
 This one is fun for kids and adults alike. Get out your camera and take some candid shots of your kids goofing off. I have one where four of my grandsons got into a mud fight in the back yard. They were just covered in mud from the heads to the feet. It was running off them in rivers. This is the photo I am going to help them make into a card for their mom's this Mother's day. Go to your local Walgreens and have a copy made of the picture.
Remember to have the kids sign it.
Hope this gives you a great idea for your mom.
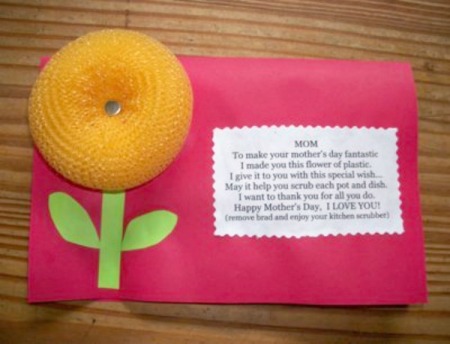
Make this cute card for Mom on Mother's Day or change the sentiment and it would be nice for other occasions. This is a page about scrubbie flower Mother's Day card.
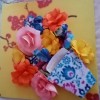
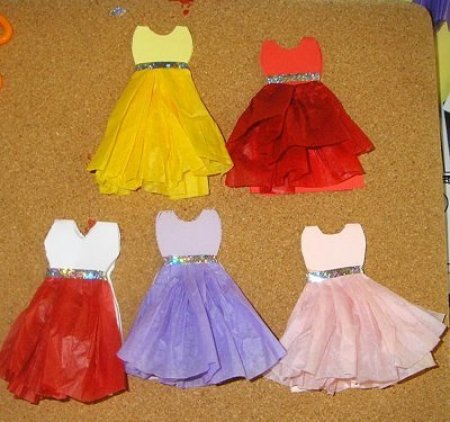
These cute little dress shaped cards can be personalized for your mom, using her favorite color and added bling. This page contains instructions for a handmade Mother's Day dress card.
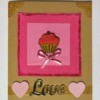
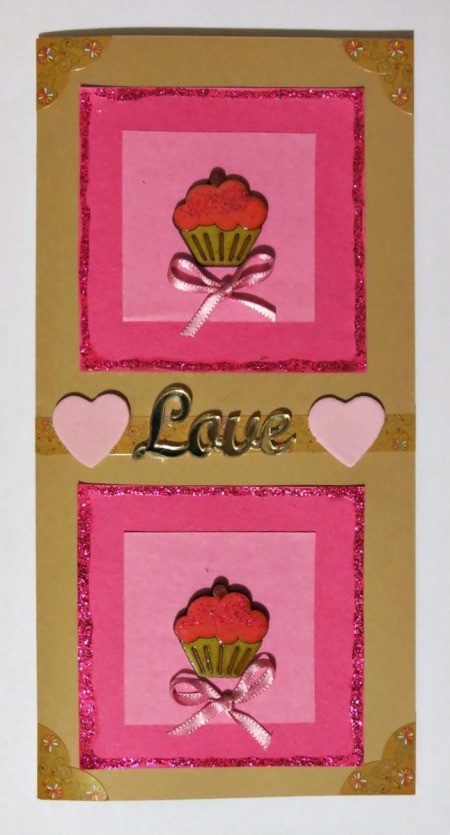
The cupcake motif on this cute Mother's Day card is sure to be a hit with Mom. This is a page about handmade Sweeter than Cupcakes Mother's Day card.
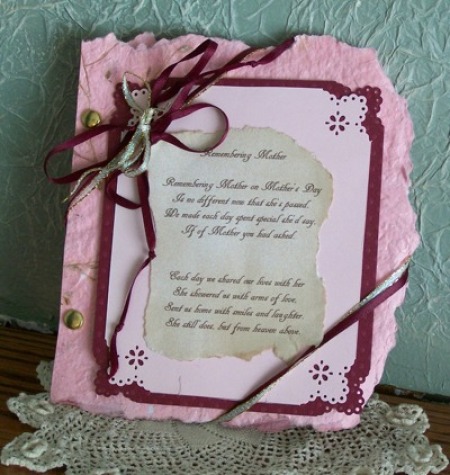
Even if your mother has passed, you can create a lovely remembrance card to share with your siblings on Mother's Day. This is a page about handmade remembering mother card for Mother's Day.
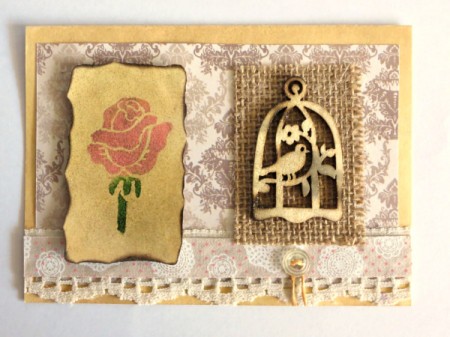
This is a page about making a shabby chic greeting card. By choosing special embellishments you can create a lovely vintage greeting card that can be used for many occasions.
This page contains the following solutions.
Calling all kids, this one is for you. A card that Mom can hang as a picture.
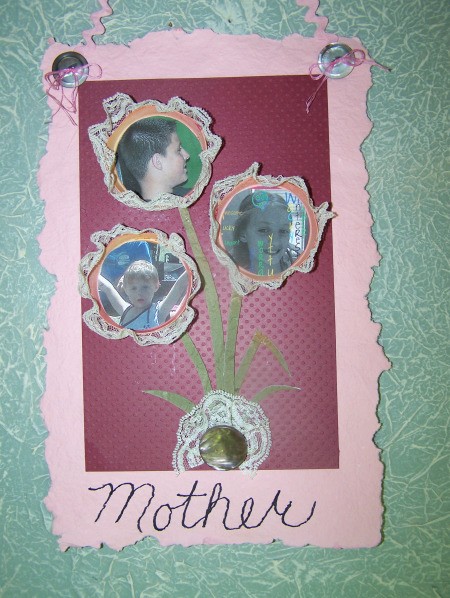
Kids of all ages love making Mother's Day cards. Even if you're working with a large group of kids, this activity costs next to nothing and is lots of fun.
I saved this empty tea box cardboard package and finally figured out what to make with it, a Mother's Day card! It's sort of like a book and in the empty space, I decided to put a clear cover so I can write notes on the punch out hearts for my mom to read and slid in money as a partial gift!

Using the tutorial for making paper flowers found on this site, or those of your own design, you can create this beautiful card for Mother's Day or any special occasion.

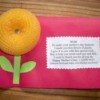
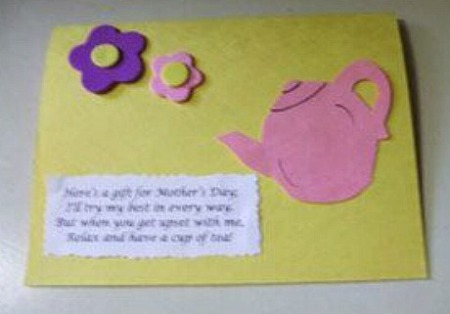
Cutouts of foam flowers and a paper teapot accent the face of this thoughtful Mother's Day card. Include a personal message and a bag of mom's favorite tea to honor her on this special day.
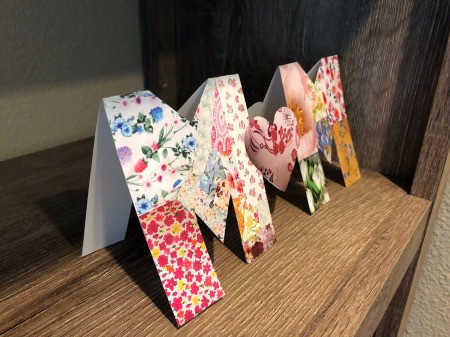
This standing MOM card is the perfect way to wish your mother a Happy Mother's Day. She will treasure it even more because you made it.
This simple looking greeting card has a loving surprise inside. A great project for children to give to their mother or grandmother. This page has instructions for making a Mother's Day surprise greeting card.
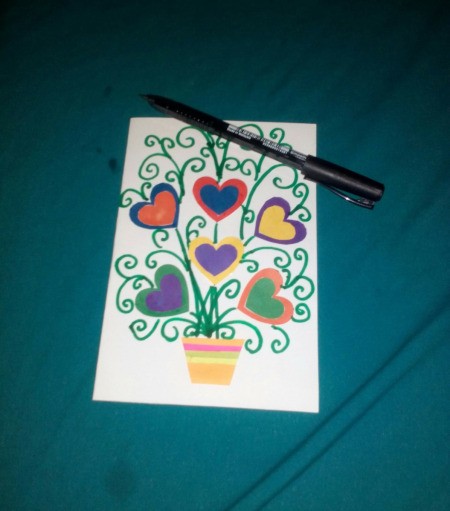
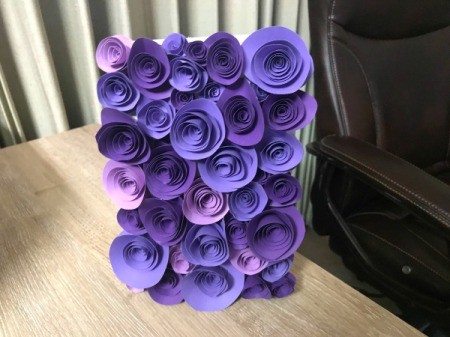
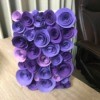
Spiral paper flowers in your choice of colors decorate this pretty handmade card. This is a page about how to make 3D flower Mother's Day card.