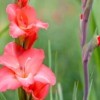
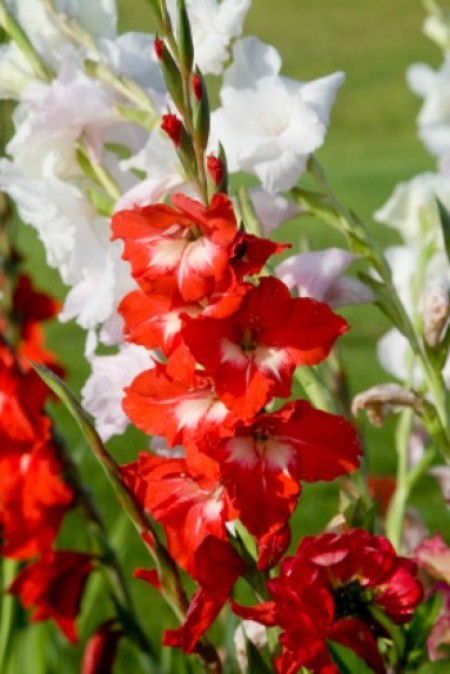
About the time roses and other perennials take a respite from mid-summer heat, summer bulbs step into the scene with an explosion of color. That's because unlike their spring-blooming cousins, summer bulbs are programed to thrive when temperatures rise. Here's what you need to get started growing them.
Summer bulbs are categorized by their ability to withstand cold temperatures and are generally classified as either hardy or tender. Hardy summer bulbs consist of a small group of bulbs that can withstand cold climates. Except for in the most northern climates, these bulbs can be planted and left in the ground for blooms year after year.
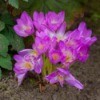
Tender bulbs are made up of a group of tropical and subtropical bulbs. None can withstand very cold temperatures, so depending on the severity of your winters, they will either need heavy protection, or you will need to dig them up at the end of each growing season and store them indoors. In the warmest climates (zones 9-11) tender bulbs can be grown as perennials. In most other climates they are either treated as annuals, or lifted in the fall and stored over winter.
The tender bulbs encompass a large group of plants, some of which are hardier than others. It's important to note that depending on where you garden, there may be a good deal of crossover between the classifications. A bulb considered tender in one growing zone may be considered hardy in another.
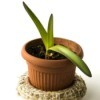
Since most of the bulbs that bloom in the summer are sensitive to frost, it's best to wait until close to tomato-planting time (after your average last spring frost date) to plant bulbs outdoors. If you want to get a jump on the season, you can pot them up indoors 4 to 6 weeks ahead of the last frost and transplant them outdoors when the weather warms.
The general rule for planting bulbs is to plant them at a depth 3 to 4 times the height of the bulb. This will help to protect the bulbs against frost and (sometimes) foraging animals. Deeper planting also encourages stronger stems. A tubular bulb planter or narrow trowel is the best tool for the job.
From active growth (when shoots emerge) through flowering and fading foliage, summer bulbs should be given an ample supply of food and water. The soil in container-grown bulbs loses moisture and nutrients quickly due to drainage. Prepare to water them on an almost daily basis, along with a weekly shot of half-strength liquid fertilizer. Bulbs planted in the garden should be given a one-time slow-release organic fertilizer as soon as the shoots emerge from the soil. Keep the soil evenly moist, but not wet, to avoid problems with rot.
Timing: The timing for bringing the bulbs in varies depending on individual species. Cannas and dahlias, for example, will tolerate some cold. Leave them in the garden until after the first frost. Tender species like tuberous begonias that cannot tolerate frost should be removed from the garden as soon as nighttime temperatures start dropping below 40 degrees F.
Markers: If the plant's foliage dies back before it is time to lift the bulbs it can be difficult to remember where you planted them. An easy way to remedy this is to surround your bulbs with a small piece of chicken wire at the time of planting. The wire will be easily hidden by growing foliage and reappear again as soon as it dies back.
Lifting: Use a trowel or spading fork to carefully lift your bulbs out of the soil. Trim back dead foliage to within 1/2 inch of the bulb and remove excess soil from around their roots with your fingers (or a gentle garden hose). Spread bulbs out on a newspaper in a shady spot to dry.
Storage: Once dry, loosely pack the bulbs in paper or mesh bags each labeled according to variety. Toss in a handful of slightly dampened peat moss to help prevent them from drying out. Store the bags in a cool, dark place for the winter, like a basement or garage. Temperatures between 45 and 55 degrees F degrees are ideal. Check the bags occasionally throughout the winter, adding moisture if necessary, and discarding any bulbs that show signs of shriveling or decay.
About The Author: Ellen Brown is an environmental writer and photographer and the owner of Sustainable Media, an environmental media company that specializes in helping businesses and organizations promote eco-friendly products and services. Contact her on the web at http://www.sustainable-media.com
Add your voice! Click below to comment. ThriftyFun is powered by your wisdom!