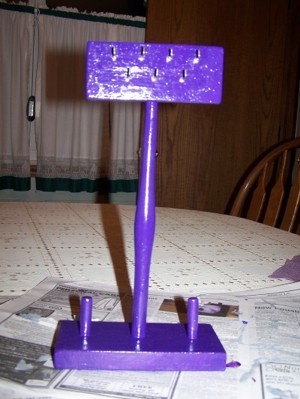
I made one for the first granddaughter when she was in the 2nd grade. Now the second granddaughter wanted one so I couldn't refuse her. Make a cute wood jewelry stand to hang necklaces and put your rings on so you know where to find them.
Approximate Time: 3 hours.
Supplies:
- scrap wood
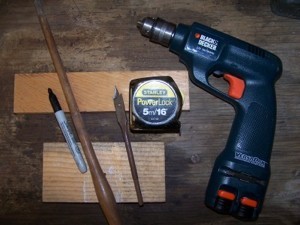
- drill
- drill bits
- pencil
- tape measure
- paint
- paint brush
- dowels
- wood and fabric glue
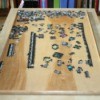
- felt
- screw in hooks
- nail
- hammer
- saw
- sandpaper
Instructions:
Collect your supplies.
- Decide how wide and tall you want it to be. Mine is approximately 12 inches tall. 6 1/2 inches wide on the bottom and the top is 5 inches wide.
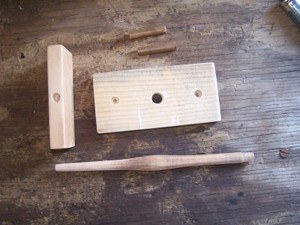
- Cut your pieces with a saw. My dowel was 3/8 inch round x 2 1/2 inches long for the ring pegs. The center dowel was about 9 1/2 inches long.
- Drill a hole the size of the center dowel in the center of the bottom piece. Also, drill a hole the size of the dowel in the top piece on the underneath of the wood. Drill 2 holes in the bottom piece on either side of the hole for the center dowel.
- Sand all pieces. Sand the corners and edges so they are not sharp.
- Glue the dowels in their drilled holes using wood glue. Hammer if it's a tight fit.
- Paint several coats.
- Measure and mark where the hooks will go. I put 2 rows and alternated the rows so necklaces can hang without tangling. Screw the hooks in tightly.
- Glue the felt on the bottom with fabric glue.
By Little Suzy from Millbury, OH