Mary
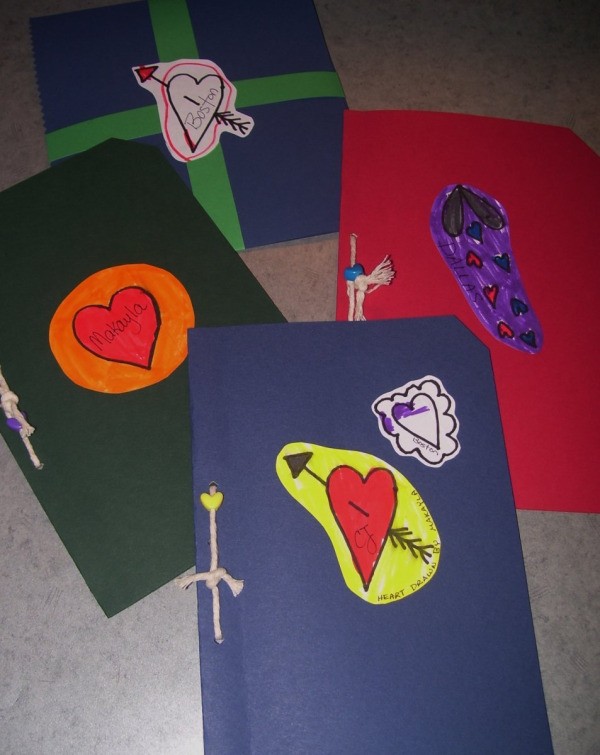
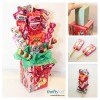
Bronze Craft Medal for All Time! 52 Crafts These are sure to brighten up any fridge and make a perfect little gift for grandparents.
Approximate Time: approximately 1 hour
Supplies:
- cardstock
- magnet sheet
- craft glue
- clear contact paper
- double back tape (DBT)
- small photo of child
- trims of your choice
Instructions:
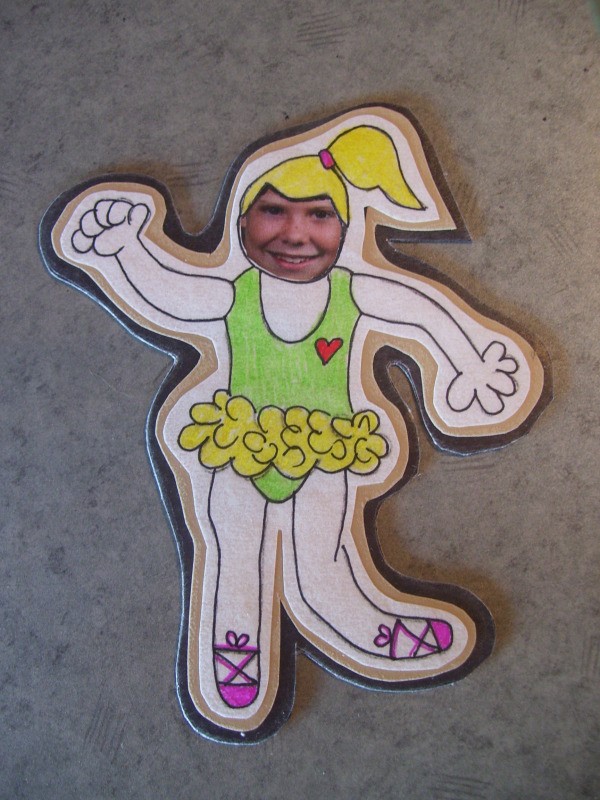
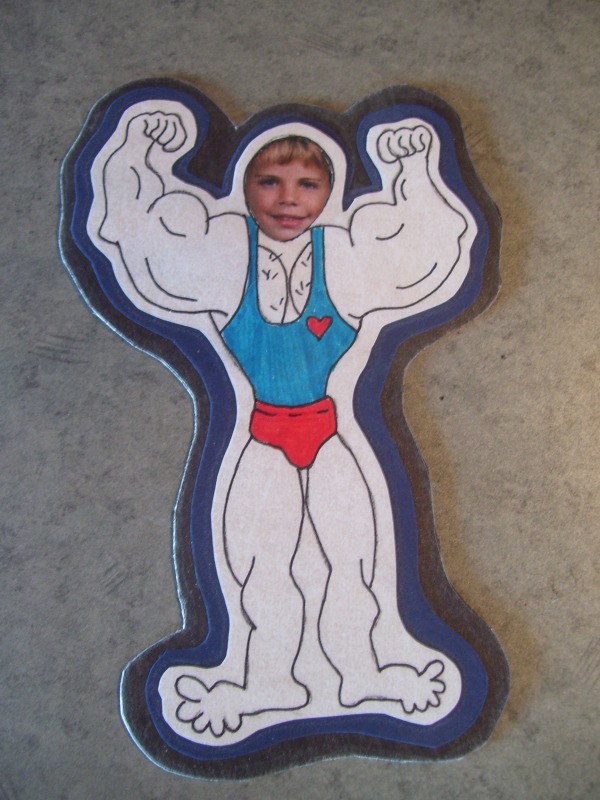
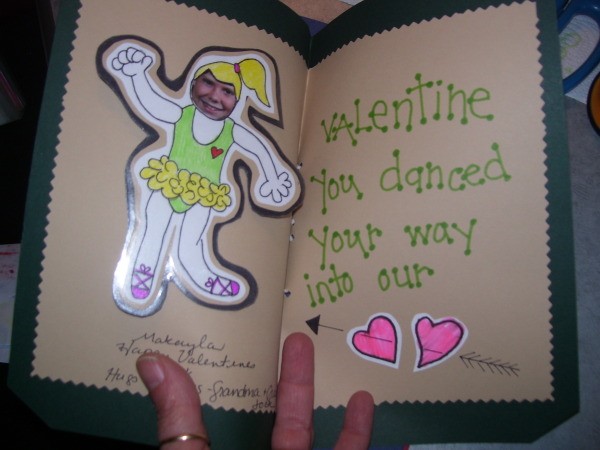
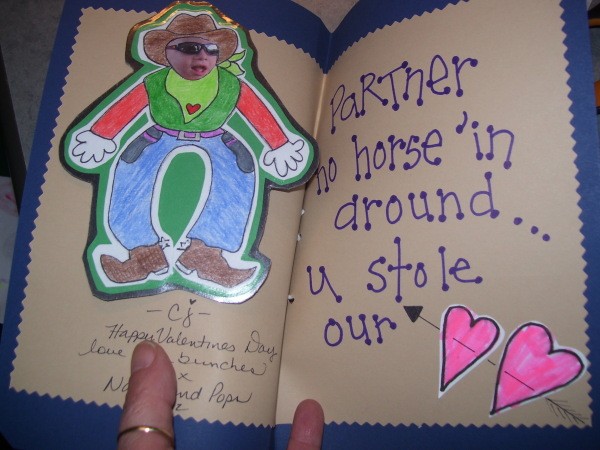
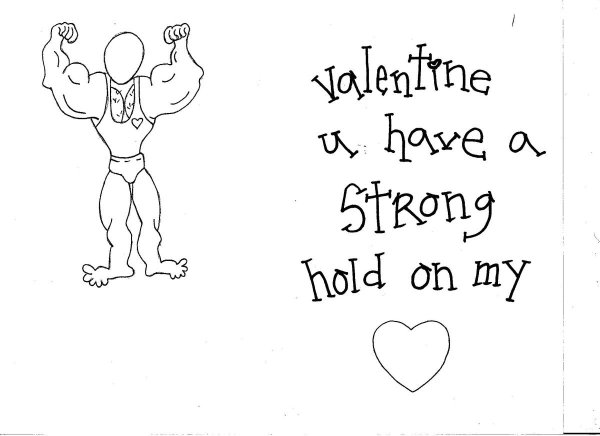
- Begin by making the photo figure. You can color your figure and design your card any way you choose. The ones shown here are only an example.
- Print out the figure you want. Cut around it, leaving a slight edge.
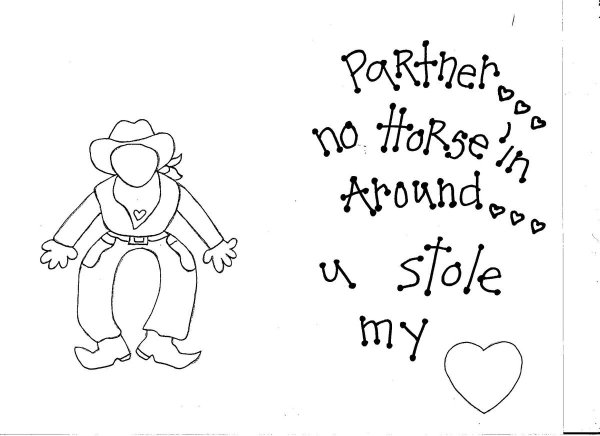
- Carefully cut out face where photo will go. Print photo and while it is still on your screen, test fit the figure to see if you need to adjust the size of the photo. When okay, print out photo.

- Put a small piece of DBT on backside of figure, one at top and one at bottom. DO NOT peel backing off yet. This is just to hold it in place on cardstock backing.
- Put small piece on back near face. Peel backing off this piece and adhere to photo. Trim away any photo paper sticking out from figure.
- Peel off those other 2 pieces of tape and lay figure on cardstock. Trim around figure leaving a nice colored edge of cardstock.
- Cover figure, front and back with clear contact paper. Tip: When covering with Con-Tact paper, always leave a slight edge of contact. This enables the front and back to stay stuck to one another and they won't peel apart.
- Cover back side of figure with craft glue. Don't use too much. The magnet sheet has a sticky peel off backing, but some glue will ensure the figure will not peel off. I rubbed the glue flat all over the back side with my finger.
- Now stick figure onto magnet sheet (sticky side). Cut around figure, even with edge of contact paper. You probably have a grin on your face about now. I know I sure did seeing my grandchildren's faces in these figures!
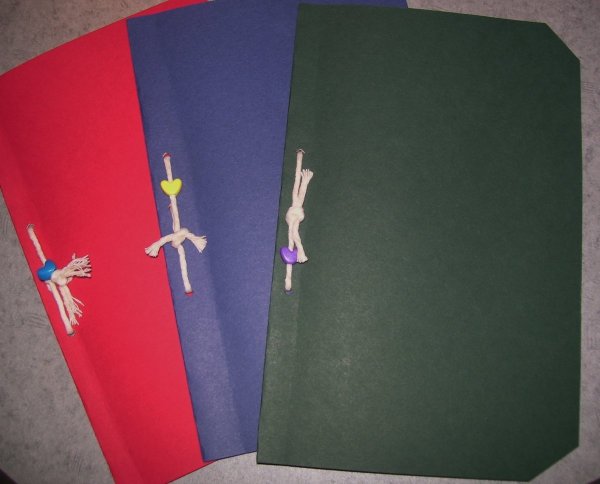
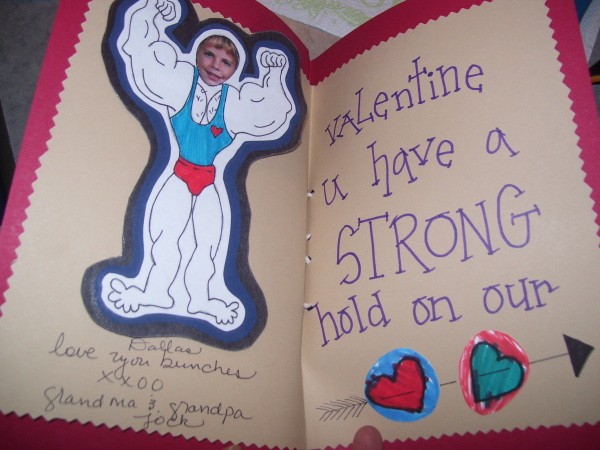
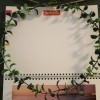
- I folded a sheet of cardstock in half and then cut an inner folded piece, slightly smaller. I used the inner sheet to write my saying on with magic markers.
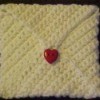
- The hearts on my cards were drawn by my grandchildren so I decided to incorporate them as part of their cards.
- On the left inner side, I signed the card at the bottom.
- I used a bit of sticky tack (also known as poster putty) on the back of the magnets to stick them to the cards. This way they can just pull them off to put on the fridge.
By Mary from Florida
About The Author: Mary is half of a creative team on a craft oriented website. Here you will find pages of free projects and patterns in a wide variety of categories, with an entire section made especially for kids. There also is a gift shop where you can purchase unique handmade items such as collectible dolls, toys, and home decor. They offer free sayings, tips, ideas, and humor. Enter their contests for a chance to win great prizes. Visit them at: craftingtales.com
Add your voice! Click below to comment. ThriftyFun is powered by your wisdom!