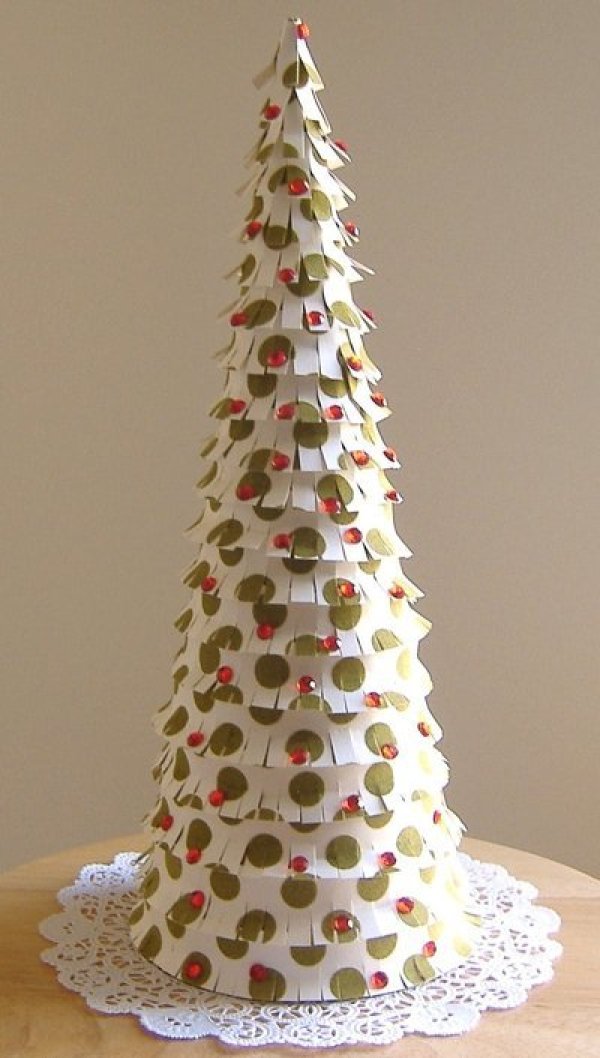
This adorable tree is made from green polka dot paper and embellished with red gems. It's fun and easy to make.
Approximate Time: 60 minutes
Cut 12 x 1 inch strip of polka dot paper. Cut straight fringe lines all the way along the paper. Curl up the edges by rolling them around your pencil.
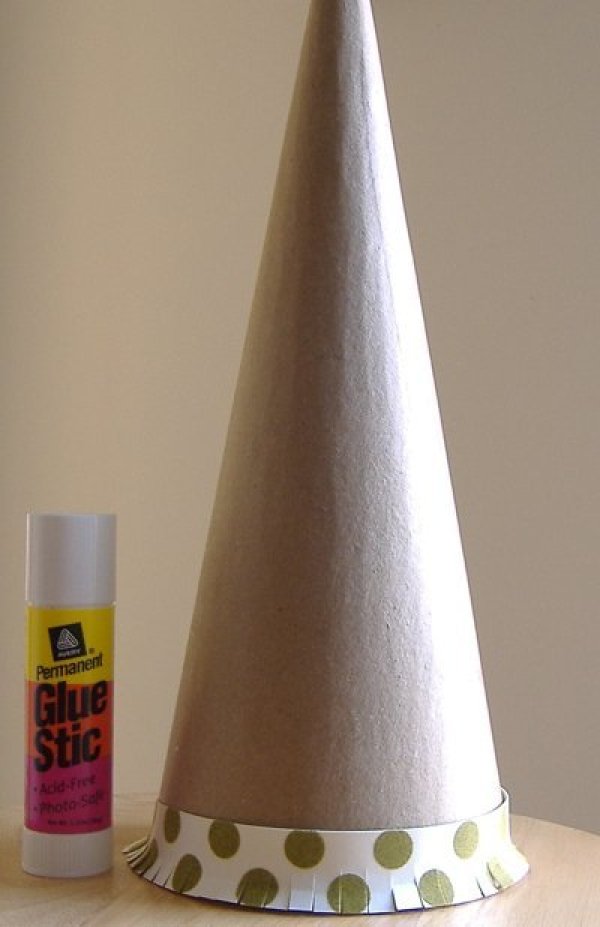
Starting at bottom of cone, apply glue at the end of paper strip and overlap it with the opposite end, holding it until dry.
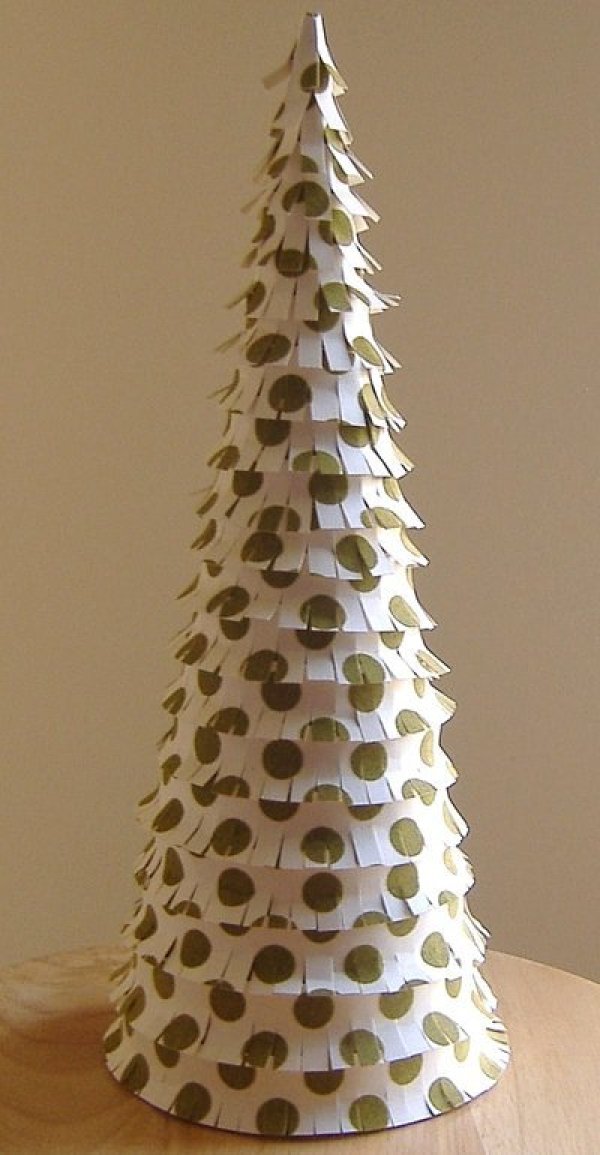
Continue until the cone is completely covered with paper strips, allowing piece to extend slightly beyond bottom.
Use red gem stickers to embellish the tree.
By Maricel from Fairfax, VA
Add your voice! Click below to comment. ThriftyFun is powered by your wisdom!
So simple, but ever so pretty! Thank you for sharing a great idea!
I love this little tree, and all it takes is time and patience. Everything else is pretty much what you have. It wouldn't have to be red "rhinestone" stickers. It could be beads or buttons even, if you take time to paint or glitter them. I really like this. My grandchildren will love making it. We might do it over the weekend too, then pack it away for next Christmas.
We could make one for Valentine's Day cutting out little red hearts and gluing them in place on a white tree to be used as a centerpiece. I'm never satisfied with just one thing. How about Halloween with tiny orange owls on a black tree? St. Patrick's Day conjures up even more ideas. Wow!
Thank you Maricel. I need to buy reams of card stock and construction paper, I see.
Lee
Add your voice! Click below to comment. ThriftyFun is powered by your wisdom!