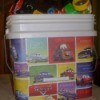
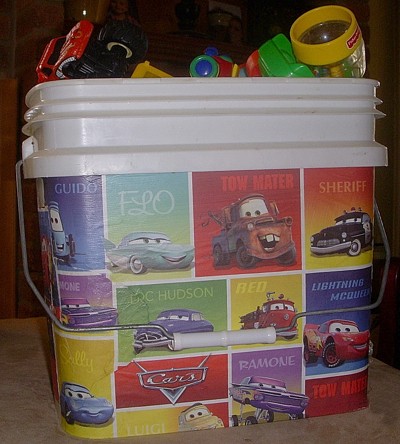
Apply decorative finishes on bucket surface using Mod Podge or similar product. I made a toys carry-all bucket for my grandson. These buckets are just the right size for small children to carry around by the handle. Use with or without the lid. There are lots of other uses too.
Approximate Time: One hour for project. Longer time depending on how many coats of finishes applied
Cut paper to fit around the bucket or cut as you go. If using large scrapbook paper, only the paper for the sides needs to be cut. Overlapping the paper is okay. You want to cover all the writing on the buckets. Pour a small amount of Mod Podge into a bowl or use out of the container. Apply a medium coat of Mod Podge on front of bucket evenly.
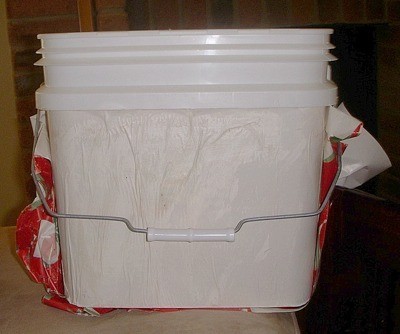
Put on scrapbook paper or other paper of your choice. Make sure the paper is straight and where you want it. You will only be able to move it once or twice, as it gets tacky fast. Smooth out as much of the bubbles and wrinkles you can with your fingers before it gets tacky. The rest will flatten as it dries.
Once you have finished the first side, start on the opposite side. Do the sides of the bucket last. You might need to overlap the side paper with the front and that will be fine. Let it dry. You can then put 2-3 thin coats of Mod Podge on. I put two coats on mine. You can follow what's written on the Modge Podge container for the coats.
There is no right or wrong way to do this project. If you think it doesn't look right, wait till it dries. It does look a lot better dry than wet. Once the coats are applied, most of flaws disappear. It is very unique looking. Use with or without the lid on.
I am making one for a granddaughter next. And another to give as a gift for a little boy.
By xintexas from San Antonio, TX
Add your voice! Click below to comment. ThriftyFun is powered by your wisdom!
Great recycling idea.Endless possibilities.
Thanks for sharing.
Great idea! Someone gave me some gal. size buckets with Budweiser on them that were going to be thrown out. I done the same thing that you did for my daughters craft room using tinker bell wrapping paper. Very cute for organizing.
This is a great project for organizing. We go to a local deli who puts buckets like these out for the patrons to take. They previously held condiments like mayo, extra. Just takes a little refreshing scrub and they work great. I even use them for container gardening. So check out your deli for buckets. : )
Add your voice! Click below to comment. ThriftyFun is powered by your wisdom!