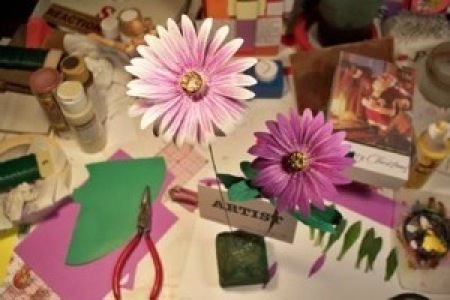
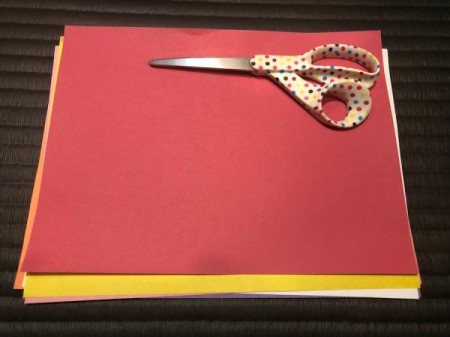
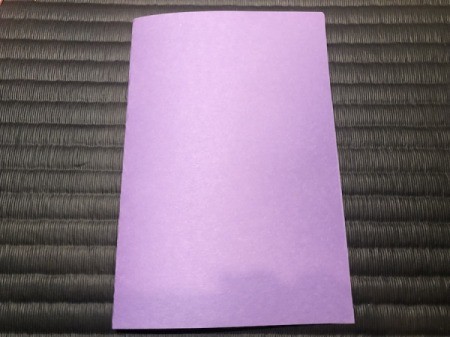
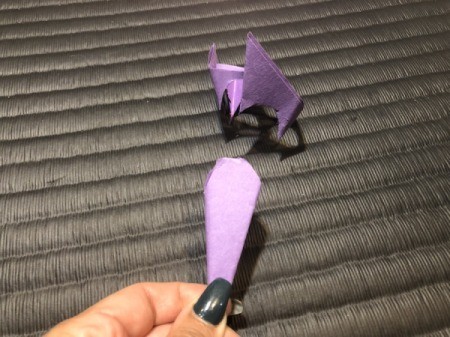
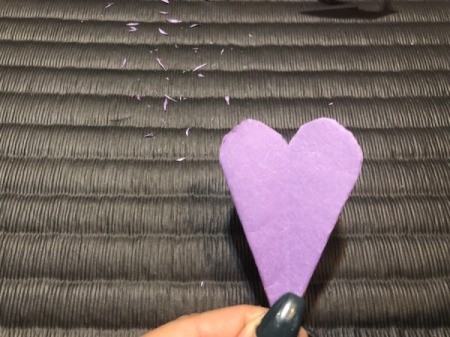
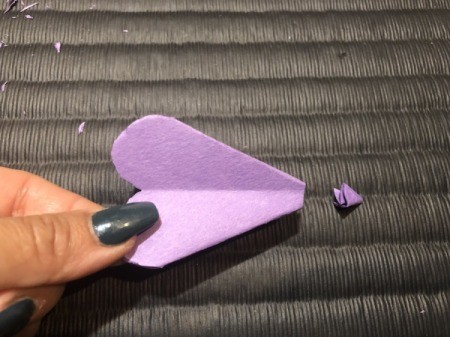
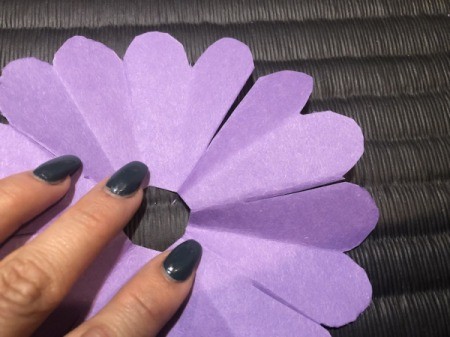
 My friend's mother was gardening and got bitten by a hobo spider. Her arm puffed up and she was rushed to the hospital where she stayed for several days. When she got out, she was paranoid about anywhere a spider might be lurking about. I really wanted to get her some welcome home flowers, but what if she worried about critters being in there? I decided to make her these paper daisies instead. They are full of dimension and beautiful colours... and totally spider-free! All you need is some paper and a pair of scissors.
Total Time: 90 minutes
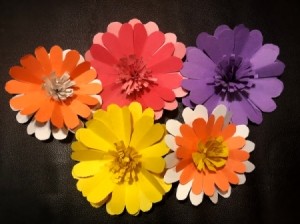
Yield: 5 large daisies
Supplies:
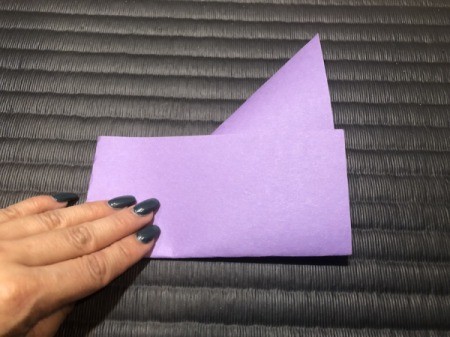
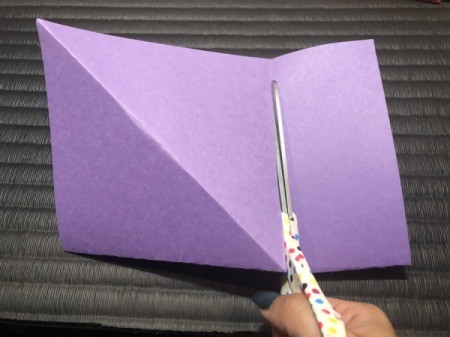
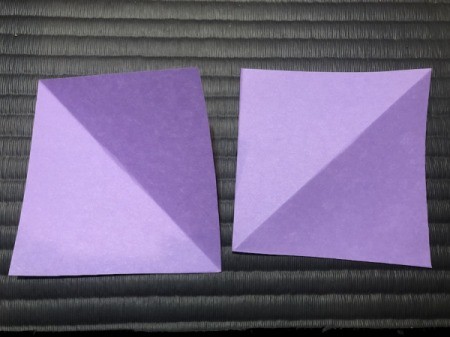
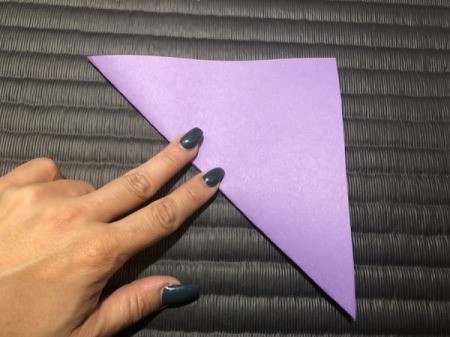
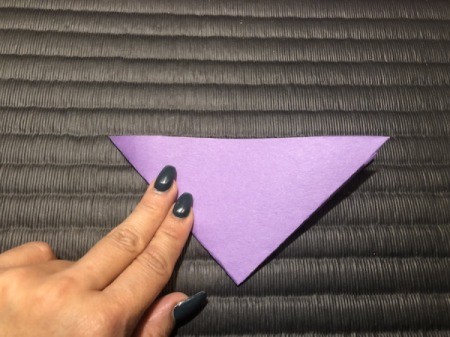
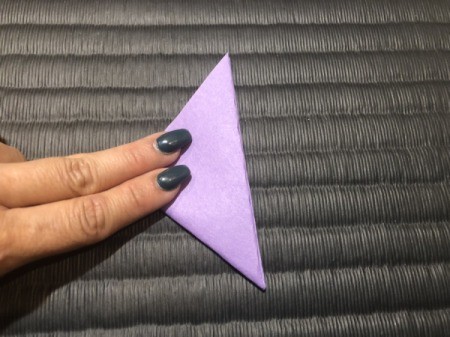
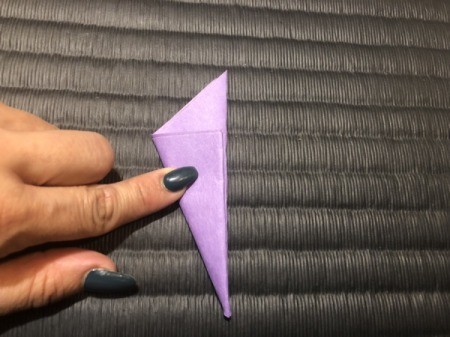
Steps:


This page contains the following solutions.
Making paper daises is a fun and easy craft for these winter days. Here in Southern California, we are blessed with warm weather and early springs. Many flowers are blooming now and I was inspired to make, with paper, some paper daisies.