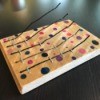
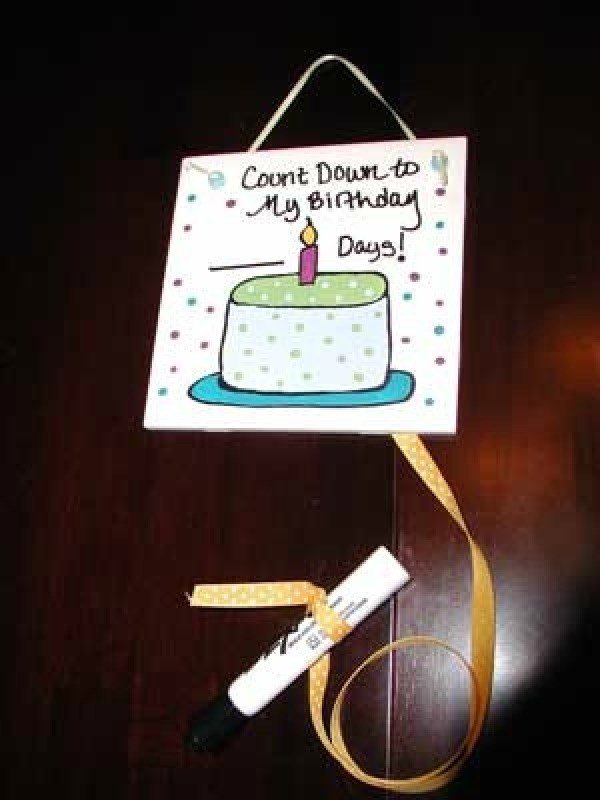
This is a really fun project to give as a gift for kids or parents. You can make anything from count down to Christmas or birthday tiles or count down to baby tiles.
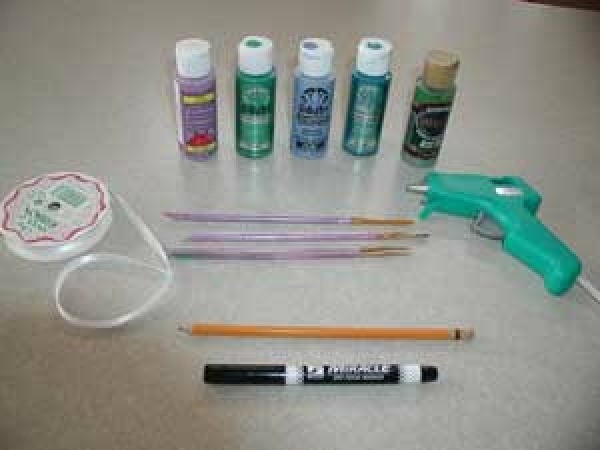
Supplies:
- tile
- water
- ribbon
- hot glue gun
- pencil
- dry erase marker
- paint
- paint marker
- paint brushes
- alcohol & cotton ball
Directions:
- After you have gathered all your supplies, clean the face of your tile with the alcohol and cotton ball, this will removes oils so you can see your pencil marks clearly.
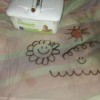
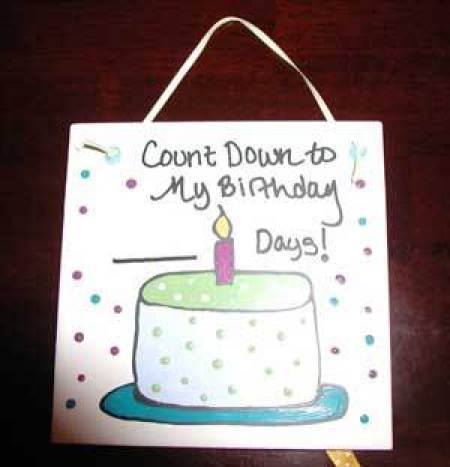
- Next use a pencil to draw out your words and design on the tile (this is a draft, if you make a mistake don't worry you can wipe it away with the alcohol.) This step is an important one, take your time with it, after the next step everything is permanent.
- When you are happy with your design use your paint marker to draw the outlines and words on permanently. Watch carefully so your hand doesn't smear the paint. When you are done let the tile dry for 2-3 minutes.
- Next select your paints and fill in the colors to your design. Note that you want to leave the area for the dry erase marker paint free. The dry erase marker will not wipe away if you use it on the painted parts of the tile.
- Let the tile dry about 20 minutes before you continue. The next step is to cut your ribbon the length you like and tie it to your dry erase marker. Using your hot glue gun attach the ribbon to the back of the tile.
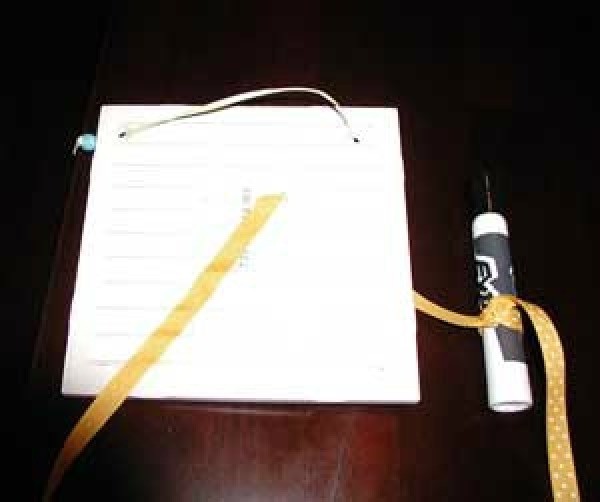
- If your tile does not have holes at the top to string a hanging ribbon through you can use the hot glue gun to glue a wire or string/ribbon into place at the back. If you are using wire or ribbon that does not match make sure to glue it low enough that when you hang the tile you cannot see it.
Add your voice! Click below to comment. ThriftyFun is powered by your wisdom!

Stacey Silva
Silver Feedback Medal for All Time! 453 Feedbacks March 27, 20060 found this helpful
That is an absolutely beautiful and fun-looking idea! I love it!
March 31, 20060 found this helpful
I love this idea!!
By Yaritza (Guest Post)
December 10, 20070 found this helpful
Where did you buy that tile from?
Add your voice! Click below to comment. ThriftyFun is powered by your wisdom!