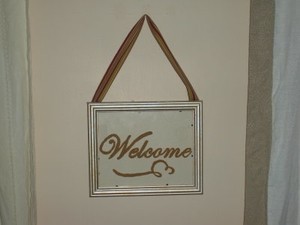
This is a fun way to create custom art using very inexpensive supplies, often things most people have on hand. Great for giving old items new life.
Approximate Time: 30 minutes
Supplies:
- computer and printer
- picture frame, old window, or other piece of glass
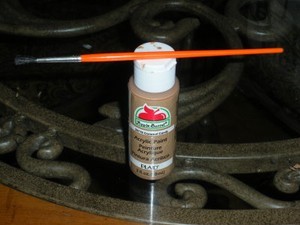
- paint brush
- acrylic craft paint
- razor blade
Instructions:
- Before you begin painting, clean your glass well.
- Determine which side is your favorite as this will be the side you tape your template to.
- Create your art and flop or reverse the image before printing. You may need to print in tiles and puzzle piece together your final artwork. Print your art in a color other than the color of paint you will be using. This is helpful to see areas you have yet to paint. When your paint and template art are the same color, you are more likely to miss areas.
- Tape your art into position on the best side of your window face down.

- Begin painting on the opposite side.
- Once dry, you can remove most of the template and view from the good side to see if you have any transparent areas you'd like to go over.
- Clean up any imperfections by scraping with razor blade.
By Liz from Warrensburg, MO
Add your voice! Click below to comment. ThriftyFun is powered by your wisdom!

April 17, 20090 found this helpful
That is really neat. Thank you for the instructions. Where did you get the curly que under Welcome. How do you reverse it on the printer. Just got a bunch of frames with glass that came into our thrift shop.
Think I will make some of these signs. I'm sure they will sell better than the frames alone.

April 18, 20090 found this helpful
You don't even need to go buy acrylic craft paint. It's a great project to use up any bits of paint you have.
April 23, 20090 found this helpful
I have seen stuff like this done using Sharpies - also used Sharpies and coloring book pages, with crumbled up aluminum foil, then flattened out, and put behind the picture - forgot what it is called, but years ago we used to do it with India ink.
Add your voice! Click below to comment. ThriftyFun is powered by your wisdom!