ThriftyFun Logo
Home   Find   Ask   Share   Answer   Join   Index   Login  
 
 User Login:  Username:    Password:      Forgot It?  | Join ThriftyFun!

 - Beauty
 - Budget and Finance
 - Cleaning
 - Consumer Advice
 - Craft Projects
 - Craft Tips
 - Food Tips
 - Garage Sales
 - Gardening
 - Gifts
 - Green Living
 - Home Improvement
 - Organizing
 - Parenting
 - Parties
 - Pest Control
 - Pets
 - Product Reviews
 - Recipes
 - Repair
 - Weddings for Less

RSS Feed
About Us
Media
Advertising
Contact Us
Privacy Statement
Disclaimer

Craft Project: Christmas Mailbox

1x1
Date: 12/13/2008 Topics: Christmas > Decorations > Crafts | Craft Projects > Christmas > Decorations | Photos > Crafts  
1x1
Post Feedback | Get Responses | Bookmark | Link | Print | Print (With Feedback) | Rate: Thumbs Up Thumbs Down | Bookmark and Share
Christmas Mailbox
Christmas Mailbox
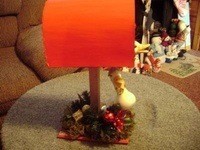
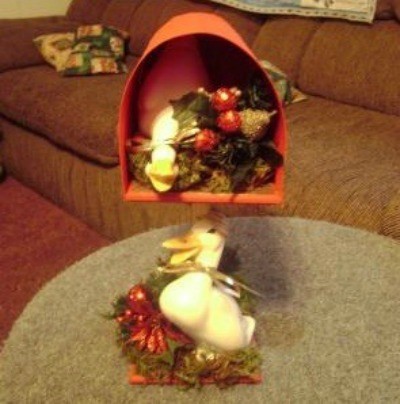
A decorative mailbox made from wood and posterboard.

Approximate Time: 1 hour 30 minutes

Supplies:

  • 2 pieces wood the same size as big or little as you want
  • dowel cut to however far apart you want the mailbox from the base
  • spray paint any color you want
  • acrylic paints
  • drill or wood glue
  • sturdy posterboard
  • Spanish moss
  • decorations
  • hot glue and gun
You can find the pieces of wood (as shown in picture) at Wal-Mart already cut, but you certainly could cut your own wood to make as big as you want.

Instructions:

Take the dowel and, if you need to, cut to the size you want your base and mailbox apart. Then you can drill or glue the dowel to the bottom of one piece of wood and the top of the other piece. Then spray paint that and let dry. Cut your poster board the width of one of pieces of wood. You can lay the board on the poster board and measure. You will have to lay the poster board shape like the mailbox after you cut it out on the remainder of the poster board to make the back of the mailbox.

Mailbox200x150.jpg
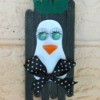
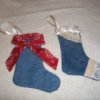
Glue one side of the poster board on one side of the board and bend over top and glue to the opposite side of the board, that's your mailbox shape. Glue the back on then paint the mailbox any color you want. Let dry, then you can decorate any way you want. I used ducks for mine but you could use any thing, just use your imagination. You could do this in any theme for any holiday or occasion.

By Sandy from Bluff City, TN

(1x1 graphic )
Previous: Craft Project: Baby Food Jar Santa Candy Jar ThriftyFun Next: Creamy Jello
(1x1 graphic )
1x1
1x1
 Feedback
1x1
1x1
1x1

By CalaLily (15) Contact
What a wonderful idea, and how nice it looks. You are right you could create this for any occasion. You have inspired me to make one for Easter. When my mom passed away I couldn't part with her garden ducks...same ones you have. So they are going front and center as you have used them. Thanks! God bless!

Posted on 12/19/2008 | Report Spam or Abuse

By imaqt1962 (837) Profile Blog! Contact
how beautiful. I love this

Posted on 12/14/2008 | Report Spam or Abuse

1x1
1x1
 Post Feedback:
1x1
1x1
1x1

Login using the form on the top of the page to post feedback (if you are a registered user). If you have not yet registered, click here to do so. It's FREE!.

1x1
(1x1 graphic )

© 1997-2009 ThriftyFun.com - Design by Cumuli Design
Disclaimer: ThriftyFun.com cannot accept any responsibility for any injury or damage that you may cause to yourself, others, or property when following any advice given on this site. Read the full disclaimer. If you find any information on ThriftyFun.com or in our newsletters that is either erroneous and/or potentially harmful to others, please Contact Us, immediately.