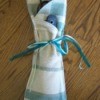
Not knowing what to do with an odd flannel pillowcase, I decided to make a travel bag that I could put my hot curling iron in.
Approximate Time: 1 hour
Whether using a pillowcase or fabric, cut a rectangle 28 x 20 inches. Fold your fabric in half so you end up with a 14 x 20 inch rectangle, right sides together.
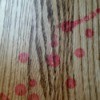
Use the pattern photo as a guide; make a curved cut on the top left corner (see photo) and two curved cuts, on the other 14 inch side, ending approximately 2 inches down. Starting at this point, continue with the second curve ending with a straight 8 inch side on the second 14 inch side. I used a dinner plate for my curve; this is only a suggestion for the curves any angle will work.

Sew an 1/8 inch seam around from the folded edge around to within 6 inches of the other folded edge.
Once that is done fold the edge (A) with the single curved cut over to the center (B) of your fabric; sew from the bottom of the curve to the fold.
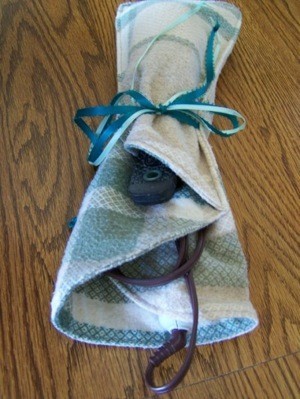
Fold the remaining fabric completely over the first half (C will line up with A) then fold that part that is left overlapping (D will line up over B) back accordion style to match up with the right side.
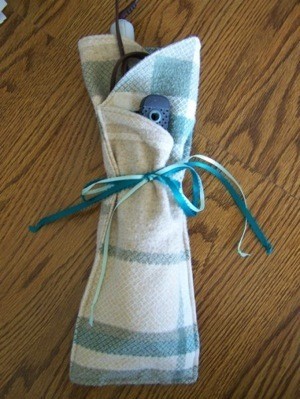
You now have a place to slip your hot iron in the back compartment, the folded cord into the second and a brush and comb in the front compartment and not have to wait for them to cool to put them in your suitcase.
By Ann from Loup City, NE
Add your voice! Click below to comment. ThriftyFun is powered by your wisdom!
I have never heard of doing this without adding a layer of teflon type cloth on the inside. I think that is what it is called.
I love what you've done! Looks great.
I've seen the various items with the "Teflon" fab in them as well. I'm not sure what the point is though, do any of you?
If your not going to be handling it after you put it in the holder; why waste money on the expensive "Teflon" type, reflective lining? I would think once it is unplugged and in the holder, it shouldn't be too hot for careful handling anyhow.
Add your voice! Click below to comment. ThriftyFun is powered by your wisdom!