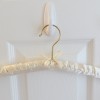
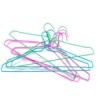
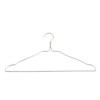
I went to Walmart the other day and they had Halloween shirts on clearance sale. I bought a couple thinking that it would great to have a couple of long sleeved shirts next Halloween. Anyway the cashier asked me if I would like the hangers. I thought a minute and then asked "Don't you guys reuse these?" She replied that most of the time they just get thrown away. So I said sure I would take the hangers.
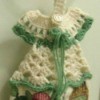
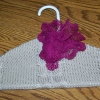
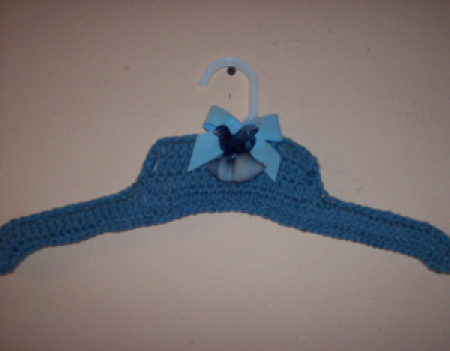
On the way home I thought about how I could cover them to make them nice enough to be used as Christmas presents for my girlfriends. On a tight budget like everyone else this year I still want to be able to give something to my closest friends. I knew I had some yarn that was like a denim and other colors I could use from other projects and except for my time these gifts would practically be free. So I sat down with my hook and some yarn and designed these easy covers for free.
They really are quick and easy so you can make lots of them and you will be helping to keep the earth green, as with all plastics it takes a long time for these to break down in the landfill. Crochet a couple of extra and take them to your local nursing home, these are perfect for hanging nightgowns on because they help to keep the gown on the hanger. These could be made for men also, just use more earth tones. I added a bow to the top and a small easy sack made from wired ribbon so that the ladies could add their favorite perfume or essential oil.
Time to Complete: 30 minutes crochet time
By Debra from Colorado
Add your voice! Click below to comment. ThriftyFun is powered by your wisdom!