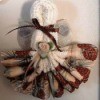
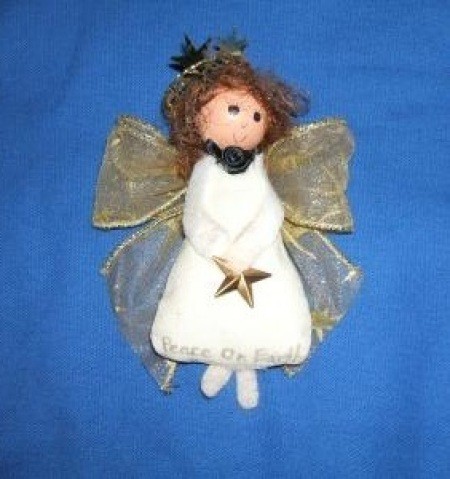
This heavenly kitchen angel makes a nice little gift for family and friends. I have made several of these and they were a big hit. You could also make several to adorn your tree at Christmas or use to adorn packages.
Approximate Time: About 1 hour (not including drying time)
By Rachel's Mom from Wilkesboro, NC
Add your voice! Click below to comment. ThriftyFun is powered by your wisdom!
 |
| Kitchen Angel |
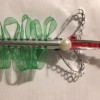
Mom will make a point of glancing at the fridge to remember that her child/children aren't always angels, but sometimes they come pretty close.
Approximate Time: Less than 30 minutes
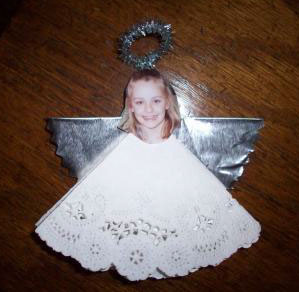
Fold the doily in half and then in half again to form a cone shape. Cut a head out of a photo and glue it onto the point of the doily. Fold the foil in half and cut a 3 inch circle using pinking shears or decorative scissors. Fold the circle in half and glue onto the back of the clothespin's top to form the wings. Twist one end of the chenille stem into a loop to form a halo. Trim the chenille stem leaving about a half inch stem to glue to the back of the photo.
Point the clothespin closed-side down. Glue the angel onto the top prong. Glue magnetic tape onto the back of the clothespin. Clip bland paper to the clothespin mouth beneath the skirt for holding messages.
By Mom of 1 from Wilkesboro, NC
Hey, this is a nice craft. I'm going to try it when my mom gets home so she can help me. (04/29/2008)
By shelby