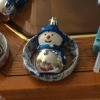
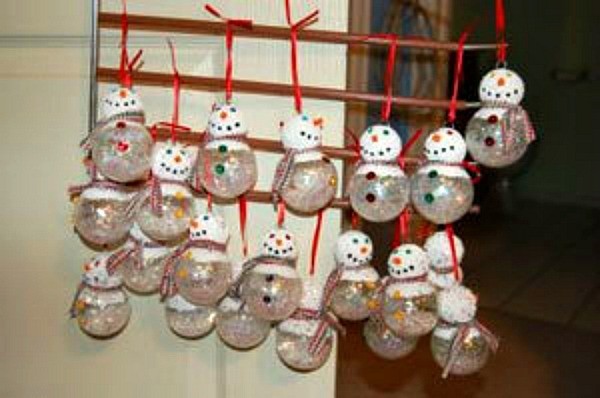
Clear glass ornaments and Styrofoam balls makes this cute snowman ornament. You can either use a bigger glass clear ball ornament or a smaller one, just make what size you use, have the head part smaller. We chose the smaller ones as that, my kids and I made 42 last year as gifts for their classrooms. The clear ball ornaments come in a pack of 6 or 12 depending on the size. The styrofoam balls we got at the Dollar Tree for $1 for 12. Everyone loved them!
Approximate Time 30 minutes
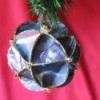
Supplies:
- clear glass ornaments
- hot glue w/hot glue gun
- Buffalo Snow (found in the Christmas aisle
- tiny buttons
- eyelets (found in scrapbooking aisles)
- pipe cleaner and/or orange paint
- scraps of homespun fabric
- ribbon
- Christmas ornament hooks
- scissors
- Deco-Art Snow Tex (found in glue section)
- 1 inch Styrofoam ball (dollar store)
- black tulip paint
- paint brush
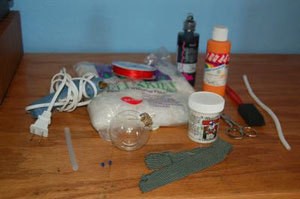
In the image, the Styrofoam is not pictured.
Instructions:
- Take the glass ball and push it into the Styrofoam ball, just enough to make a dent into the Styrofoam. Release (meaning take it back off) so you have the clear ball in your hands only and not the other piece.
- Fill the clear ball up with the Buffalo Snow snowflakes (usually found in the Christmas section of the villages) up to about 3/4 full, shake it a little bit.
- Once filled with snow, you'll need to hot glue the Styrofoam ball where its indented to push onto the clear ball and hold a few minutes. Let sit for a minute or two.
- Paint with the Snow Tex about 1/2 onto the neck of the clear ball and also the whole part of the Styrofoam ball. Make sure it's good and covered. Attach the hook and center on the top.
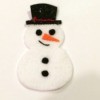
- I used eyelets for the eyes (poke with a pencil and hot glue in place). You can find these in the scrapbooking sections of the craft stores. Otherwise, tiny buttons work too.
- Take the pipe cleaner (I only had white) so I painted mine and cut about 1/2 inch off and stick into the Styrofoam ball for the nose part of the face. Add the smile with the paint brush tip using the black tulip paint.
- Once the Sno Tex is dried, you are ready for the scarf. I used homespun because I love a Country Christmas. 12 inches should work, cut to size once on the snowman. Tie a knot and you may have to secure the bottom part of scarf just a bit so it doesn't stick up, depending how the scarf is tied.
- Add a ribbon to hang as part of the ornament.
- Don't forget to sign your name and year on the back of your snowman.
By Bonnie from Norman, OK