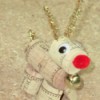
I saw one similar somewhere and took it a few steps further. The kids will really have fun making this quick ornament, a great teachers' gift or how about that neighbor you want to give a little something to.
Approximate Time: 10 minutes
Supplies:
- 1.25 inch wooden wheel or 1.25 inch diameter Styrofoam ball
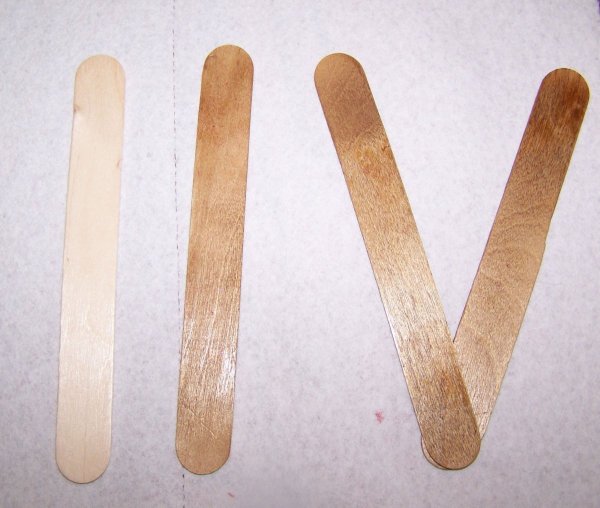
- 3 tongue depressors or craft sticks
- hot glue
- red, white, and brown acrylic paint
- brush
- pencil
- artificial greenery stem for wreath
- nippers
- scrap of fur fabric
- scrap of red fabric
try something with a nap such as velour, cotton velvet, or even fleece
- fine black marker
- 1/8th inch ribbon
- optional: red beads for the berries
Instructions:
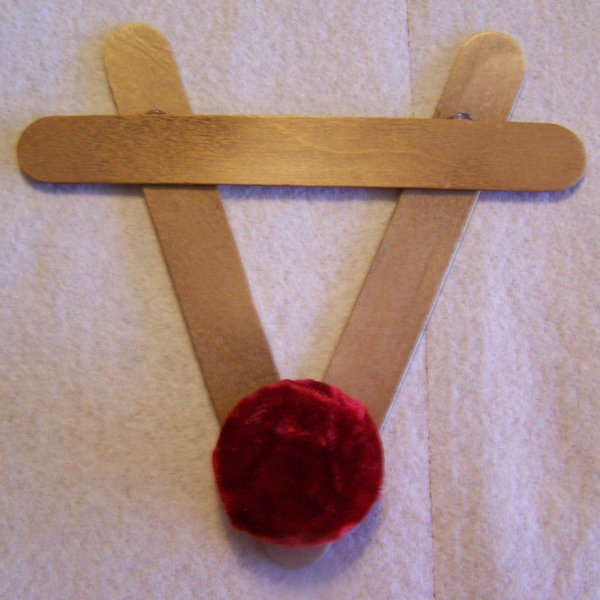
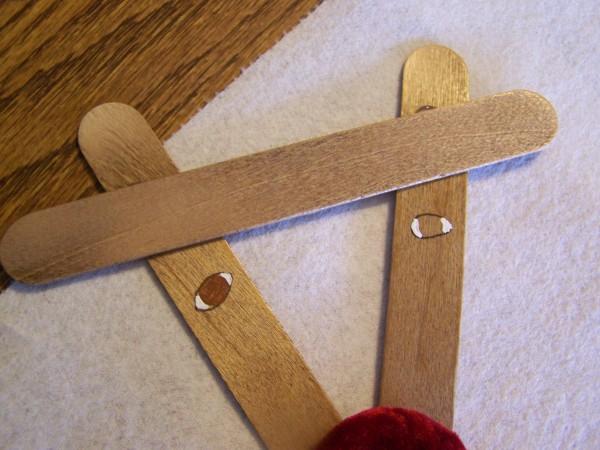
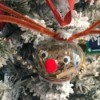
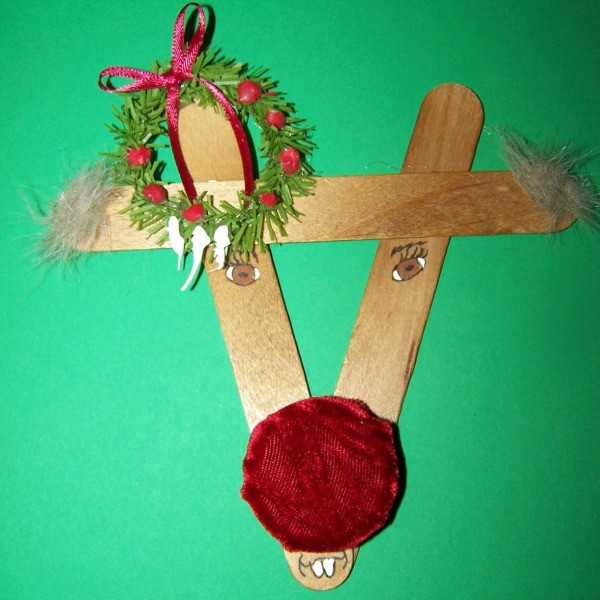
- Paint or stain your tongue depressors brown then glue two of them into a V as in the photo, lay the third one across the top making a triangle.
- Cut circles 1 inch larger than your wheel or cut your Styrofoam ball in half and cut a circle from your fabric 1/2 inch larger.
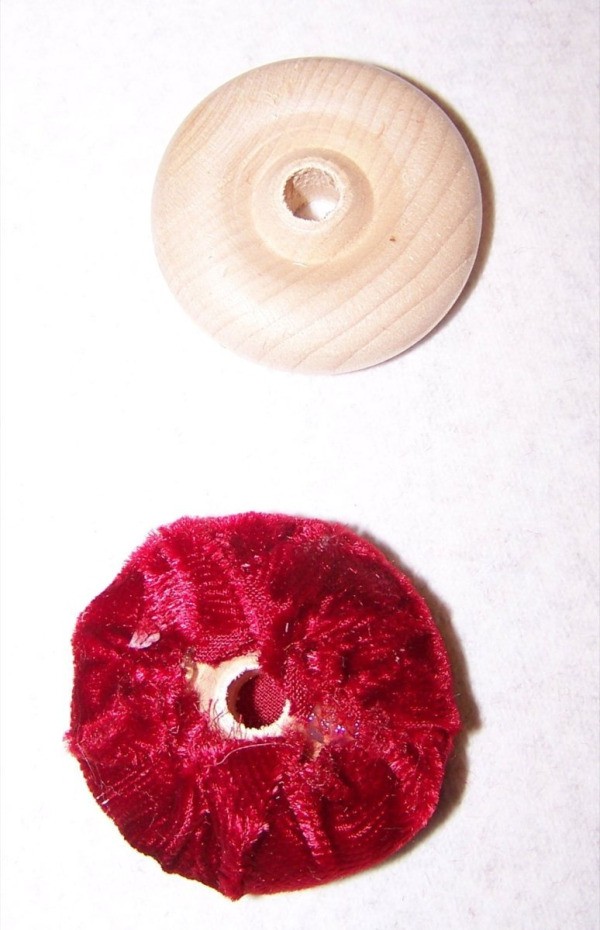
- Glue the fabric around to the back of whichever you are using then glue it just above the bottom of the V leaving room to make the mouth.

- Draw on your eyes and mouth with a pencil then trace them with your permanent marker and paint them in.
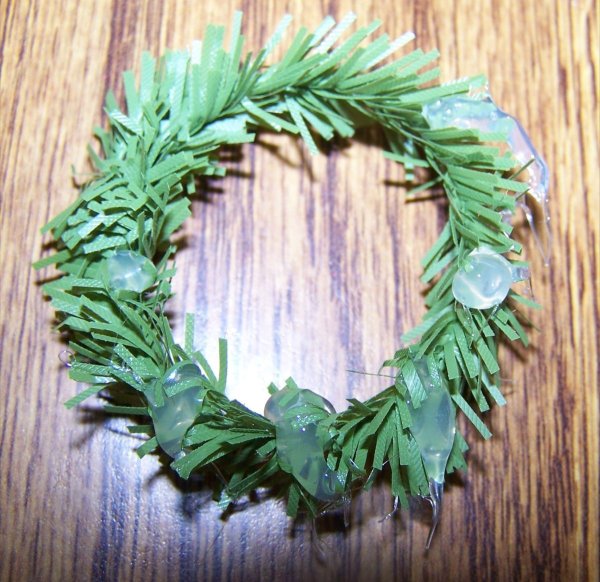
- Cut 6 inches for each wreath from your artificial stem and shape into a wreath.
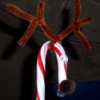
- Using your hot glue make drops like red berries in a few spots and then across the bottom make a drop of hot glue then drag it downward to form icicles. You could also glue red beads on the wreath instead. Paint the dots of glue red and the icicles white.
- Make a small bow from 1/8th inch ribbon and glue to the top of your wreath then glue your wreath to the top of one of the tongue depressors that make the antlers.
- Cut a 1/4 inch piece of fur fabric for each ear and glue on the other two ends at the top which are the ears. Tie on a piece of ribbon to hang your ornament with.
By Ann W. craftingtales.com from Loup City, Nebraska