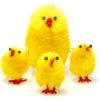
Have a go at making a cute pompom chick. All you need to make your chick is some card rings, yarn, scissors, and a few craft basics. What's more, you'll soon get hooked on making pompoms and will want to make a whole brood of chicks for your friends. So pick some yarns and get started - the kids are bound to want to join in, too!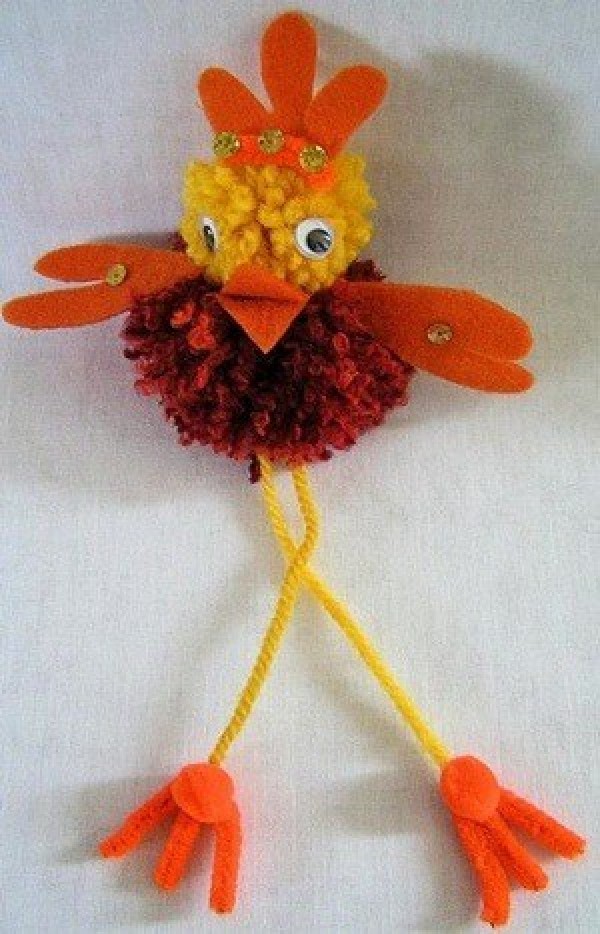
Approximate Time: 1 hour
Supplies:
- yarns
- stiff card - a cereal box is ideal
- sharp scissors
- set of compasses
- pencil
- ruler
- a darning needle
- felt
- joggle eyes
- non-toxic PVA glue
- sequins
- 1 chenille stem for feet
- 2 ready-made mini pompoms for feet
Instructions:
- Make your own pompom makers out of cardboard. To do this, draw two identical doughnut-shaped rings on a piece of card. For each ring use a compass to draw two circles inside one another. For example, for a small pompom, set the distance between the compass point and the pencil to 2.25 cm/0.89 in. Draw the first circle. Reset the compass to a radius of 0.9 cm/0.35 in., placing the compass point on the centre point again to draw the inner circle. Cut out the circles so that each ring has a hole in the middle. Repeat the process using measurements of 4.5cm/1.77 in. and 1.8cm/0.71 in. to draw two large pompom makers.
Note: you can draw and cut out larger circles to your own measurements, if you want to make a larger chick.
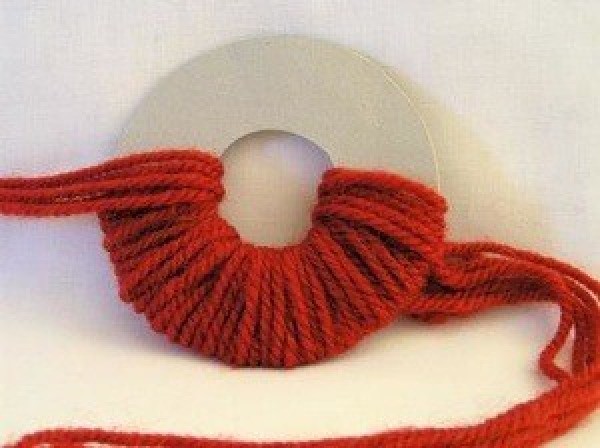
- Put two card circles of equal size together to make one ring. Wind yarn loosely around the ring, until the hole in the centre is nearly filled up. Work with approximately 2 metre lengths of yarn at a time and leave any loose ends hanging on the outside of the ring. Note: if using fine yarn, wind in bundles of 5-6 strands to save time.
- Push a scissor blade between the two rings and cut the yarn around the edges of the rings - young children should not handle sharp scissors.
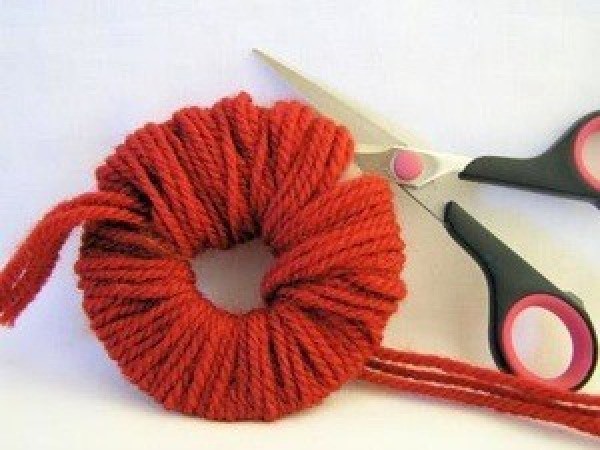
- Pass a length of yarn between the two pieces of card, around all the strands of yarn and tie firmly. The yarn will bunch together into a round pompom shape. Remove the cardboard discs and keep for next time.
- Fluff up your pompom; trim any stray ends to tidy the finished shape. Note: to make a speckled chick, wrap two or more different coloured strands of yarn together.
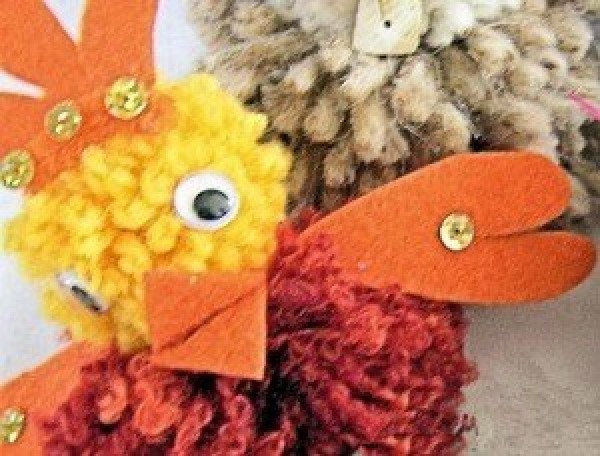
- Use two pompoms, one large and one small to make the body and head of your chick. Sew both pompoms together using a length of yarn.
- Glue a small felt triangle for a beak and cut out some feathers from the remaining felt and attach to your bird. Glue sequins to the feathers.
- Add a pair of joggle eyes and stitch a length of yarn to the base of the chick for the legs. Using a needle, thread each leg through the centre of a mini-pompom and knot the yarn to secure in place.

- Bend cut lengths of a chenille stem to make the feet and glue each foot underneath a mini-pompom to finish. Enjoy your chick!
By Anne D from Cheshire, UK
About The Author: Anne has written a range of educational articles for publications worldwide, whose readers include teachers, home-schooling parents and craft therapists. She is based in the United Kingdom.
Add your voice! Click below to comment. ThriftyFun is powered by your wisdom!