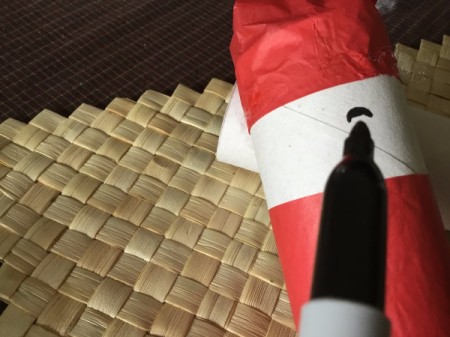
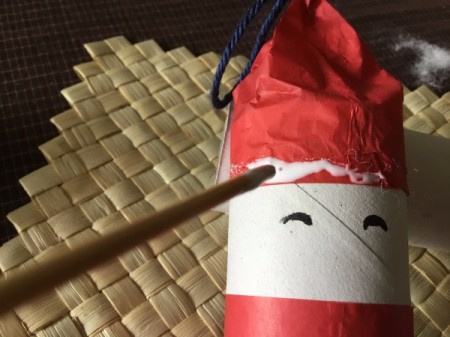
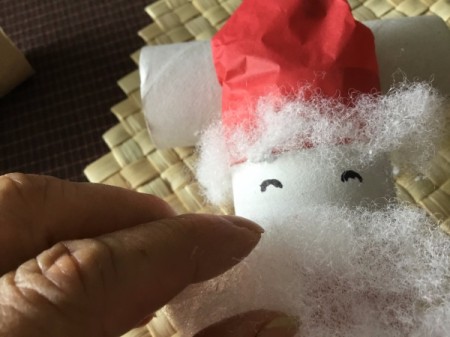
 This is a fun craft for all ages using the cardboard tube from toilet paper and gift tissue paper. Use a marker to make Santas with different expressions! Happy holidays!
Total Time: 30 minutes
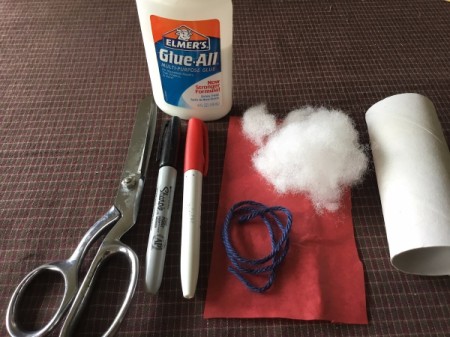
Supplies:
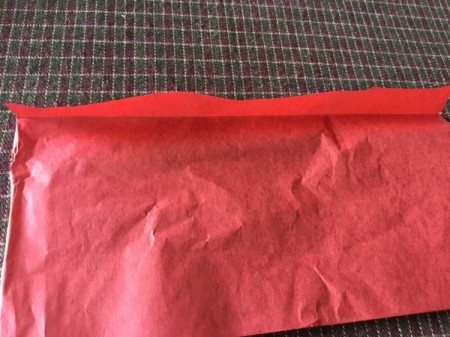
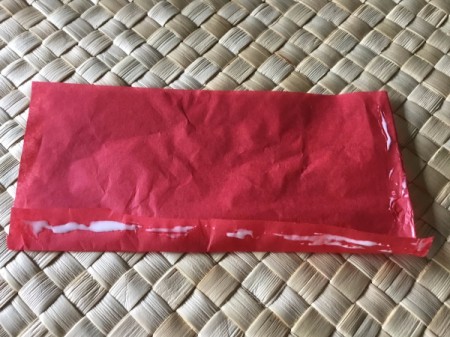
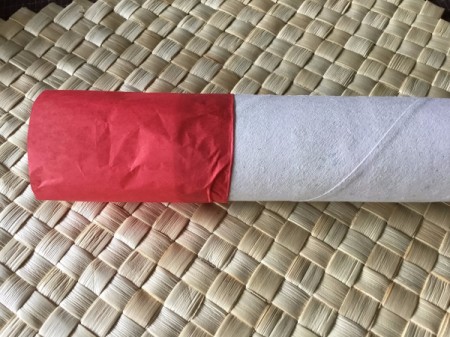
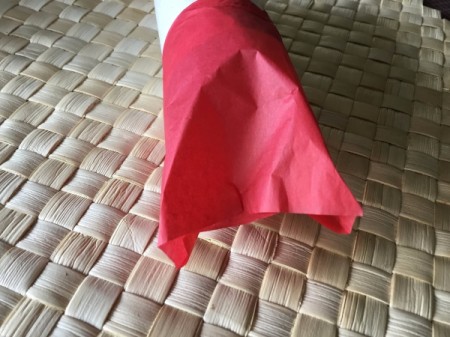
Steps:

This page contains the following solutions.
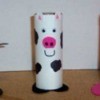
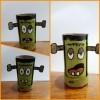
Toilet paper rolls usually make their way into the garbage, but they can be useful in making great craft items. One item is the annual favorite - Santa Claus. This simple craft has the ability to be a Christmas tree topper (for a very small tree), an ornament, or a stand alone decoration.