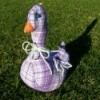
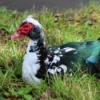
While short on crafting supplies and desperate to make something I came up my version of a recycled rubber duck, a soft sculpture.
Approximate Time:
Supplies:
- old shirt or scrap of fabric
- left over ball of yarn
- needle and thread or sewing machine
- scrap of orange felt
- 2 beads for eyes
Instructions:
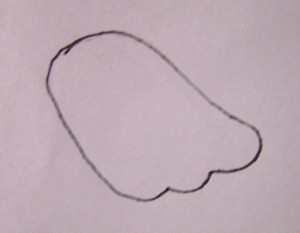
- Trace the main body pattern twice on your fabric and the insert once.
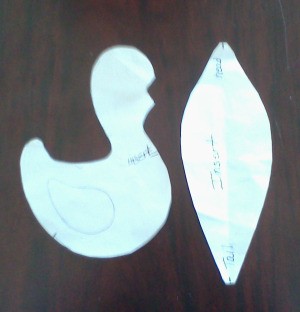
- Trace the wings four times.
- If you fabric has a right and wrong side take this into consideration when tracing the pattern.
- You can make his beak separately and attach it after you are all done. Ignore the cutout for the beak if you want to add it afterward; just draw straight down connecting the head.
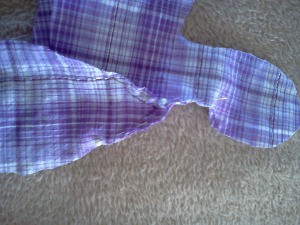
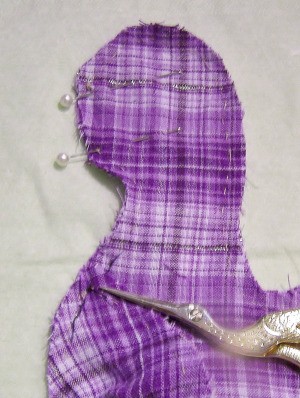
- Starting at the tip of the insert marked neck, pin the insert in place, right sides to right side of your fabric, all the way around the insert to make sure it fits. You can see in the photos where this junction is; the point of my scissors is pointing at the juncture. Since both pattern pieces have some bias to them it is better to pin the complete piece first, then stitch. (Note: adding beak during construction, below.)

- If you chose to make his beak separately, it can be added after you are all done by attaching it over the indent in the head. I have ignored the cutout and sewn the beak in before turning the body right side out.
- For the beak cut two triangles 1 inch wide and 1/2 inch high at the point. Doing a tight overcast stitch, join them together leaving the long edges open. This edge will attach to the body.
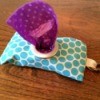
- Slip the beak into the opening you leave between the pins as in the photo of the head. The right side of the beak will be touching the right side of the duck's body. The seams on the beak should be on the sides of the head. Sew with very small stitches to secure the beak to the head.
- Stitch from the insert up and over the head and to the other insert at the tail.
Note: Do not sew across the beak opening, you will need to stuff it too, once the body is turned right side out.
- Leave an opening in the bottom on one side to stuff your duck.
- Stitch up your wings now, so you can do all of your stuffing at the same time (remember to leave an opening for stuffing).
- When you have your stitching done turn them right side out and stuff them.
If you have an extra skein of yarn laying around it makes great stuffing. Just lay it on a flat surface and cut through the skein crosswise every 3-4 inches clear through the skein, move down the skein and repeat until you have it all cut. Store the extra in a clear bag until you need more stuffing. The yarn is great for pin cushions and is easier to manipulate once your piece is stuffed, than regular stuffing is. With a long stout pin or needle you can pull it around to fill out points such as the beak on this duck.
- Close the opening.
- Stuff the wings and attach them with a double strand of yarn by going through one wing, through the body of the duck and out through the other wing. Go back through the wing, body, and the first wing leaving enough yarn to make a knot with at least 1 1/5 inch" tails on both sides.
- Make a double knot on one side leaving the long tails, then make a single knot pulling it tight so it pulls into the body slightly then double knot it so it holds securely.
- Make a single knot about 1 inch from the wing and trim the yarn in each strand.
- Attach the beads for eyes with thread and needle sinking them in the body slightly.
- Tie a bow around your duck's neck and you are done.
By Ann Winberg from Loup City, NE
Add your voice! Click below to comment. ThriftyFun is powered by your wisdom!
Robyn Fed
Silver Post Medal for All Time! 398 Posts February 6, 20120 found this helpful
That is so creative!
Add your voice! Click below to comment. ThriftyFun is powered by your wisdom!