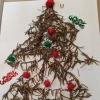
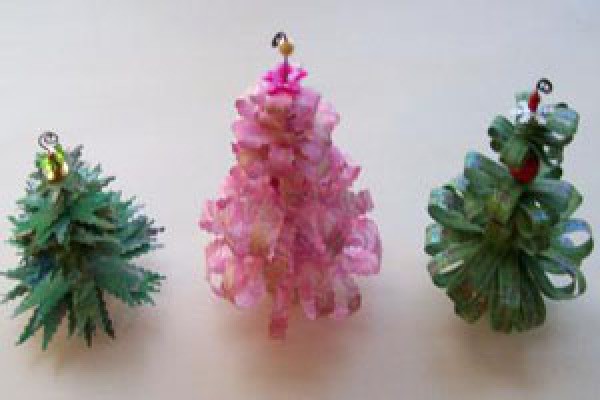
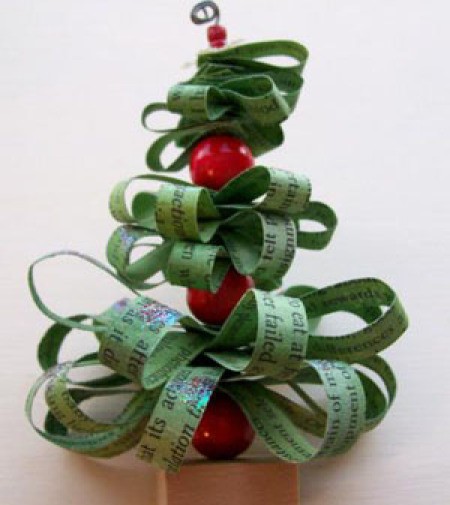
These cute trees can be made from old sheet music, scrapbook papers or even good quality magazine pages.
Approximate Time: 1/2 - 1 hour
Insert one wire end into a small wood block. Apply some glue and let dry.
Cut about 10 strips of paper, 8 inches by 1/3 inch. Cut 8 more strips 6 by 1/3 inch, then 6 strips, 4 inches by 1/3 inch and last about 6 strips - 2 inches by 1/3 inch.
Use a needle to punch holes on each end of the strips about 1/5 inch from the ends and also a hole right at the center point of each strip.
Starting with the longest strip thread the wire through the center hole then each of the end holes, once you are done with the longest one, slip a coordinating bead on, then follow with the next longest strip. Continue with each size strip dividing them with a bead.
Once at the top you could add a star or flower bead, once done curl the top of the wire to keep it all on. These little trees can stand or with a cord through the top curl, be used as an ornament.
Decorate your trees with glitter and/or paint to suit your fancy.
You could also make these trees different sizes by changing the size of your strips and length of wire; experiment and have fun!
By NoRulesArt from Sunny Florida
Add your voice! Click below to comment. ThriftyFun is powered by your wisdom!
Very cute and creative but wish I had seen them before the school bazaar began! Oh well, next year, thanks for sharing.
I think these trees are adorable! Did you "trim" the small green tree on the left with scissors after assembly to get the pointy look of the branches?
Very cute! It looks like the small green tree was made by (1) cutting the paper with pinking shears, then (2) after assembled, cutting a "V" into each of the loops (as you might do to ribbon ends). You could probably do this with stiff fabric also.
Thanks for the comments. These have been a big hit with all that made them. You could also use flat printed paper (tree on left) and cut the strips with a decorative edge scissors and cut the ends into points.
Add your voice! Click below to comment. ThriftyFun is powered by your wisdom!