"May the Irish hills caress you. May her lakes and rivers bless you. May the luck of the Irish enfold you. May the blessings of St Patrick behold you."
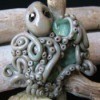
If you're looking for some novel craft ideas to help celebrate St. Patrick's Day, why not try making your own polymer clay buttons. You only need a small amount of clay and scraps left over from other projects make really interesting marble effects when rolled together. What's more PVC clay is a fun material to work with and when baked in an oven will last for always. Use your finished buttons to decorate greetings cards, scrapbook pages, or even sew them onto a bag to wear on an Irish holiday parade. Have fun!
Approximate Time: 20 minutes plus baking time
Supplies:
- polymer sculpting clay - Fimo (Europe) or Sculpey (US)
- a baking tray
- a craft/palette knife
- modelling board
- a rolling pin or brayer/roller
- cookie cutters
- toothpick or needle tool - to make small holes
- an electric oven - not gas
- water-based gloss varnish (optional)
Instructions:
- Cut a piece of Fimo in a chosen colour(s). Soften the clay by working it with your hands - push on it, pull it, roll it into a ball and flatten it out again.
- Roll the softened clay out on a modelling board with a rolling pin or brayer until it is approximately 1/8 inch or 3mm thick. Note; to obtain a perfectly flat surface, cover the clay with a layer of parchment paper and card, prior to rolling.
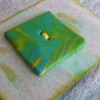
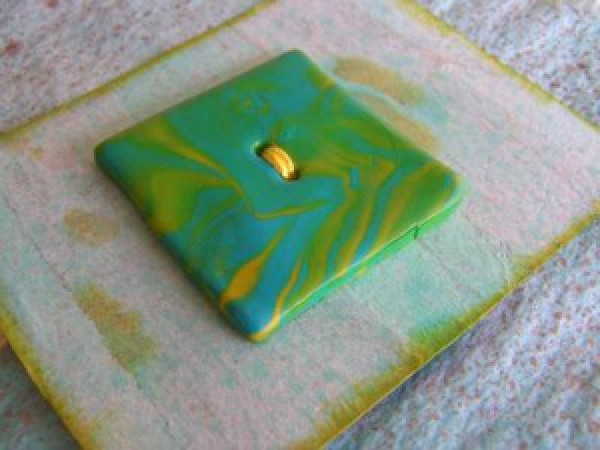
- Cut out the shape of your button with a cookie cutter and peel the excess clay away so that only your button cut-out remains. Transfer your button onto a baking tray, by sliding a craft knife gently underneath it and placing the button in position on the tin.
- Make two or four holes in your button with a toothpick or needle tool. Poke the toothpick through to the surface of the baking tray; then move it in tiny circles to slightly widen the hole and ensure that it goes all the way through the clay.
Tip: Use different cookie cutters to produce a variety of buttons shapes: squares, hearts, circles, triangles, or even shamrocks.
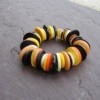
- Bake your finished buttons in a home oven according to the clay manufacturer's instructions for example, Fimo at 11 degrees C (230 degrees F) for 30 minutes. Use an oven thermometer to ensure the correct temperature.
- Allow the buttons to cool. Carefully, remove the buttons from the baking tray using a craft knife.
- Apply a coat of water based gloss varnish to make your buttons extra resistant to wear and laundering. The varnish is touch dry after 30 minutes, and permanent 24 hours after application. For a really permanent finish, bake a varnished button at 100 degrees C (212 degrees F).
By Anne from United Kingdom