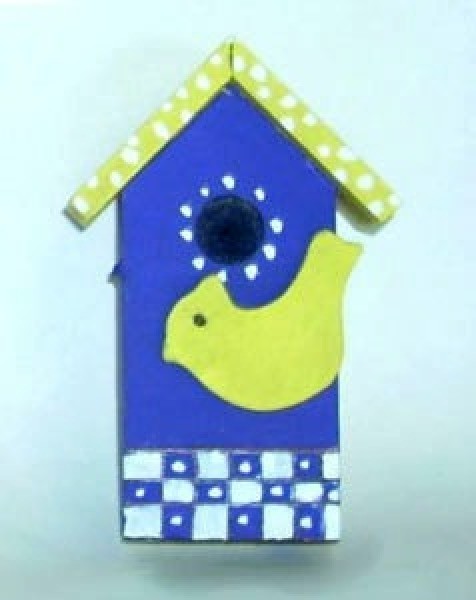
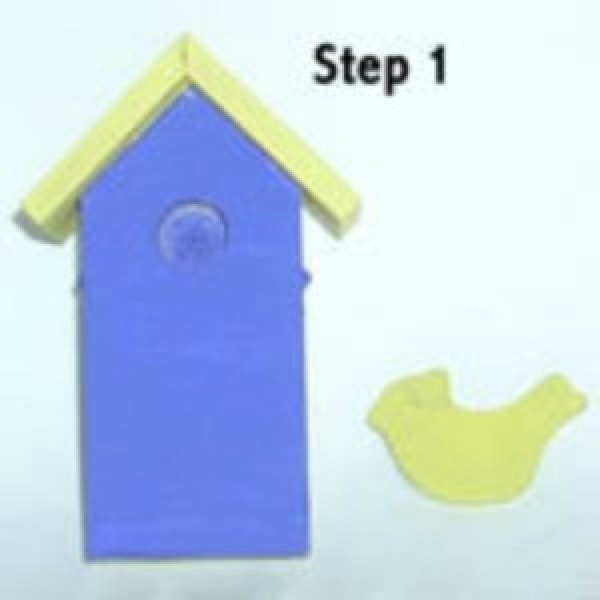
This small birdhouse and bird decoration is a classic example of country style painting. It uses a woodcut birdhouse and bird as the canvas. Various crafts paints are used to do a type of "Tole Painting" to create a wholesome, country theme.
Approximate Time: 30 minutes without drying time
Supplies:
- woodcut birdhouse - 4 inches tall, 1 inch thick
- woodcut bird - 1 inch tall, 1/4 inch thick
- purple paint
- yellow paint
- white paint
- black paint
- paintbrush
- glue
- pencil
Instructions:
- Paint the body of the birdhouse a solid purple, as shown in the "Step 1" picture. Carefully paint the roof and bird a solid yellow. Let dry.
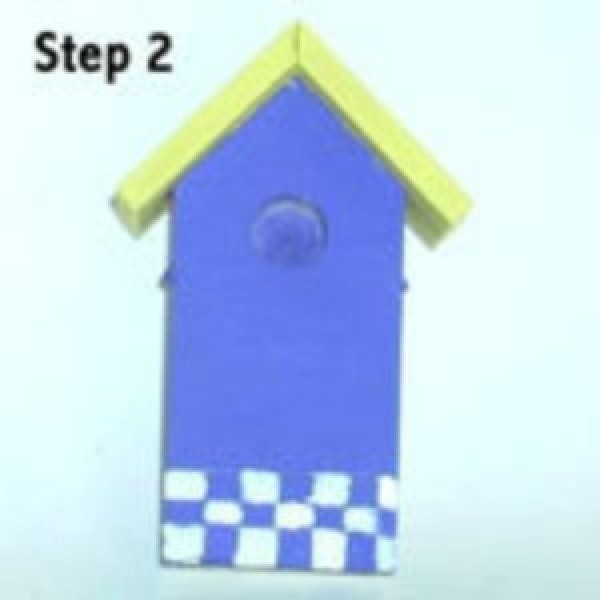
- Use a pencil to sketch out thee lines across the bottom of the birdhouse. Then sketch four lines evenly across the bottom. This should create a small grid. Paint every other "block" white, as shown in the "Step 2" picture. Let dry.

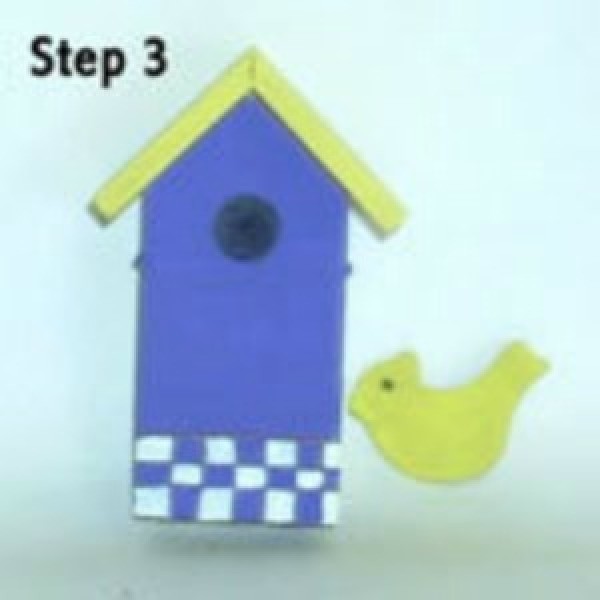
- Outline the white boxes with a thin black line, as shown in the "Step 3" picture. Use a thin paintbrush with black paint, or cheat and use a fine tip Sharpie pen. Fill in the little hole in the birdhouse with black as well. Make a small black dot on the bird as an eye, as shown in the "Step 3" picture. Let birdhouse and bird dry.
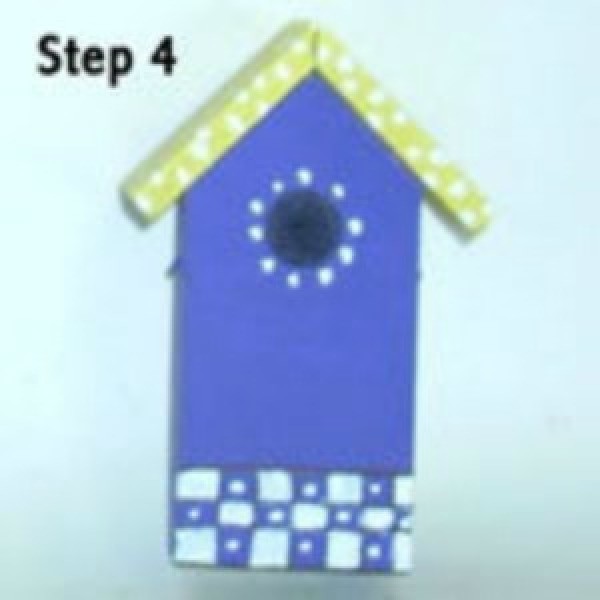
- You can stop and skip to the next step where you glue the bird to the birdhouse if you like the birdhouse as is. However, I wanted a more decorated birdhouse. So to decorate the roof, use a tiny brush and some white paint to create little polka dots, as shown in the "Step 4" picture. Add a dot to each purple square along the bottom. Make a little circle of dots around the opening of the birdhouse. Let dry.
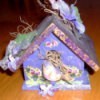
- Glue the bird to the birdhouse at an angle, as shown in the finished craft picture. Let glue dry. If you plan on putting the piece outside, make sure to cover it in a clear, waterproof sealer first.
Note: This woodcut birdhouse is a great craft for kids or adults. Once created, you can use it as a general decoration, or glue on a magnet to make it a fridge magnet. You can glue it to a picture frame or message board to change a bland appearance, or just glue it on a stick, cover it in waterproof sealer, and put it in your yard.
By Aysha from Boise, ID